Card Recipe #0003

Today’s card for mom is a similar design to #0002 but with fewer layers and a different colour scheme.

First I cut out some of the labels. I ended up using them for a few more card variations too.

Here is how I laid it out, but the Soft Suede was looking pretty boring so I decided that it needed some texture. Plan A to emboss wasn’t an option since I don’t have my Big Shot at the cottage.

So I went with Plan B which was to transform the Soft Suede into a monochromatic patterned paper using Crumb Cake ink because I didn’t want the images too dark and I don’t yet have a Versamark ink pad at the cottage (but I did put it on my list to bring up here).

Once the card was assembled, I stamped the upper left corner and back flap of the envelope as well as the lower right corner of the inside layer and the bottom back edge of the card.

Then I decided to add a few 1/2″ strips of paper I had on my table. I have not yet decided which variation I like better, but the strips are stuck on now so that is the card that mom will be getting!

Here is the card recipe summarizing the dimensions of the ingredients.

Thinking of You (Bird Ballad DSP) – Card Recipe #0002

I try to make and/or send a card to my mom most days. She lives here in Ottawa too but I think it is fun for her to open her mailbox and find something other than bills. Also, she had Aphasia which affects her language abilities, especially orally, so it is easier for her to read cards or emails than for us to talk on the phone or in person.

I am trying to use up, rather than accumulate, supplies so my plan is to limit myself to purchasing one patterned paper pack (Designer Series Paper – DSP) as well as one stamp set and one die-cutting set (or punch) each month and to use up as much of the DSP as I can during the month. Ideally all the patterned paper will be used up before my next month’s order arrives and beckons to me to start crafting with it.

The Bird Ballad DSP (149592) and Stitched Nested Labels dies (149638) along with the coordinating Free as a Bird stamp set (149468) are from my favourite collection from the new 2019-2020 Stampin’ Up catalogue.

I cut out the image from one of the DSP sheets and mounted it on a label onto which I had stamped a sentiment from the Apron of Love stamp set (145835). I used a few more stamps from that set to decorate the white card-stock rectangle on the inside of the card as well as to brighten up back of the card as well as the top left corner and back flap of the envelope.

I used Old Olive and Petal Pink card-stock. Here are a few other combinations that I tried before settling for the combination you see in the finished card (first photo of this post).

The dimensions I used for the card are listed in the image below.

I plan to type up a ‘card recipe’ to add to this post sometime soon. In the meantime, here are a few other images from the Stampin’ Up catalogue featuring cards made using this collection.

If you don’t have this or other DSP (for layer or for image on the label), you can use your favourite colouring medium and your favourite stamp set to create the label image and your own patterned paper. If you don’t have the stitched nested labels die cut set, you could cut a similar-sized rectangle or use a circle or oval shape for the label if you happen to have a die set of those shapes.

Ten Timmie Treats

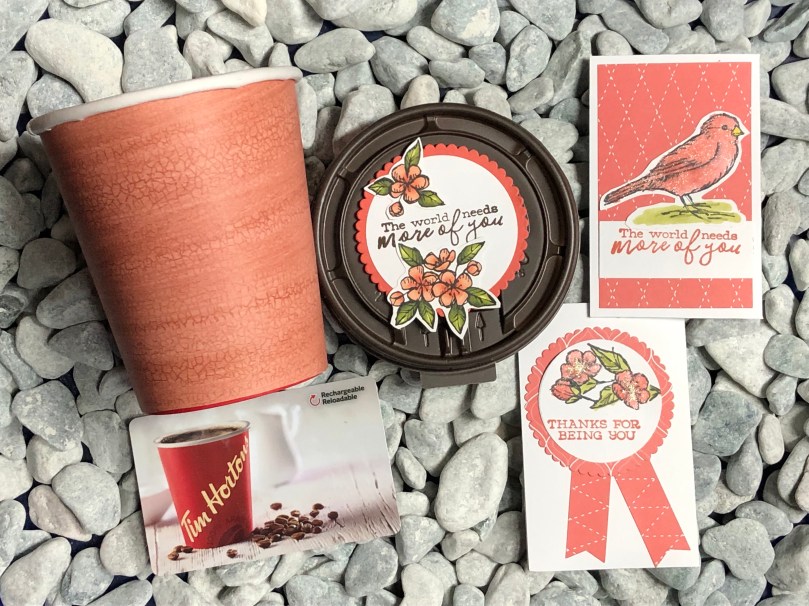
One of the main goals of Creative Treats Club is to create treat packages to give to people in need. I will use the all funds raised from workshops and card sales to buys gift cards to include in the treat packages.

Over time, as this little social enterprise grows, the amount of each gift card will increase. My first big goal (in the year leading up to my 58th birthday in July 2021) is to be able to treat at least one person each day to at least $58.

But my first little goal is to use my own funds to treat at least 56 people to at least $5.60 by my 56th birthday.

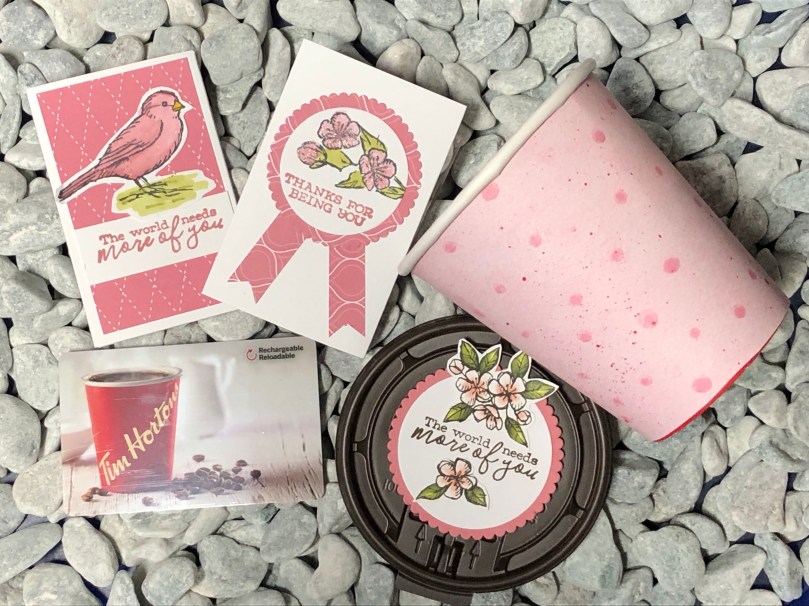
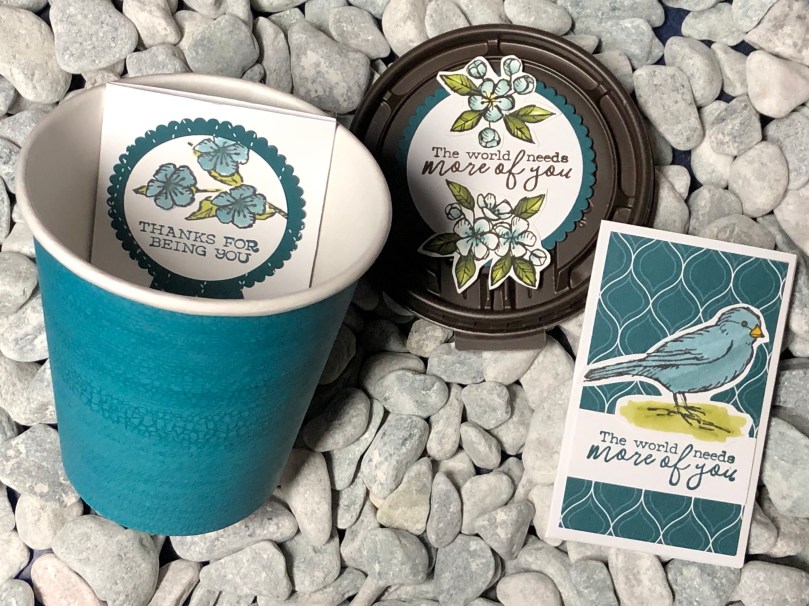
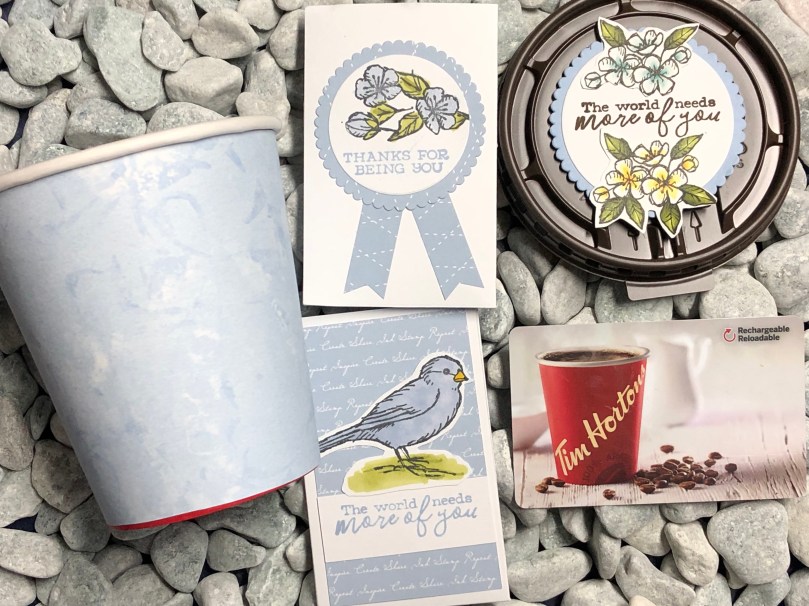
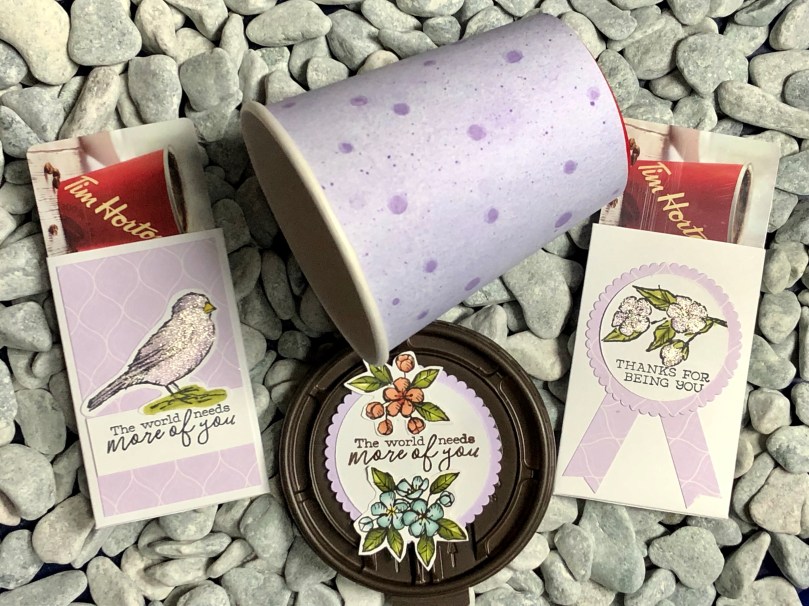
This is my first set of 10 treat packages. I am still figuring out what I will put into the cups along with the gift cards. The small size is a bit smaller than I thought. Perhaps a Tim Horton’s Peppermint tea sachet along with a little packages sweet of some type. I will try out medium sized cups for my next batch of 10 treat packages.

To make them, I took apart a cup to use as a template to cut out paper to wrap the cup.

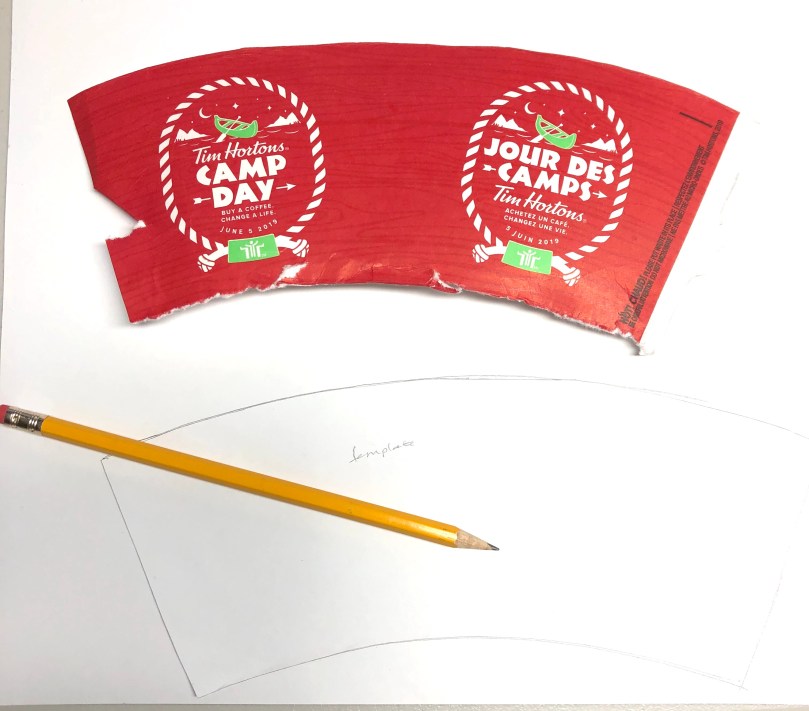
I then used that paper template to trace the other cup wrappers. I put a piece of 2-sided tape along each end edge of each wrapper.

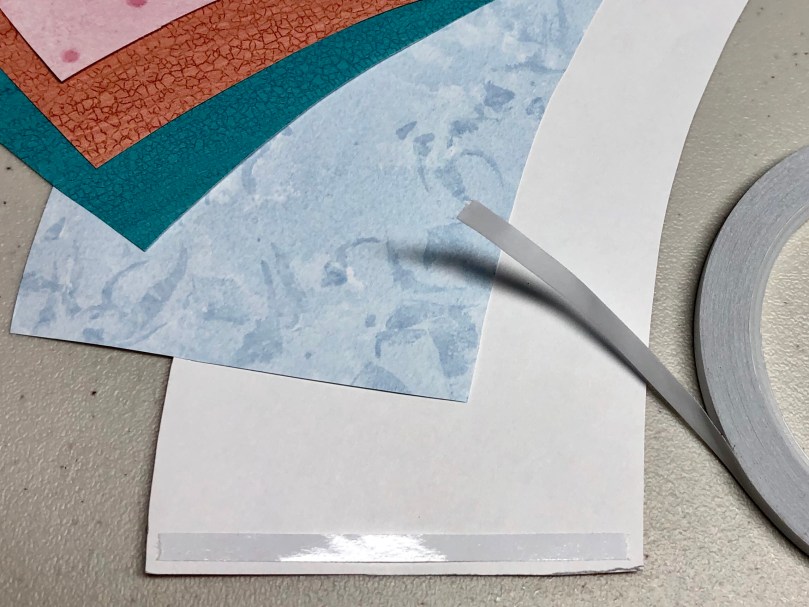
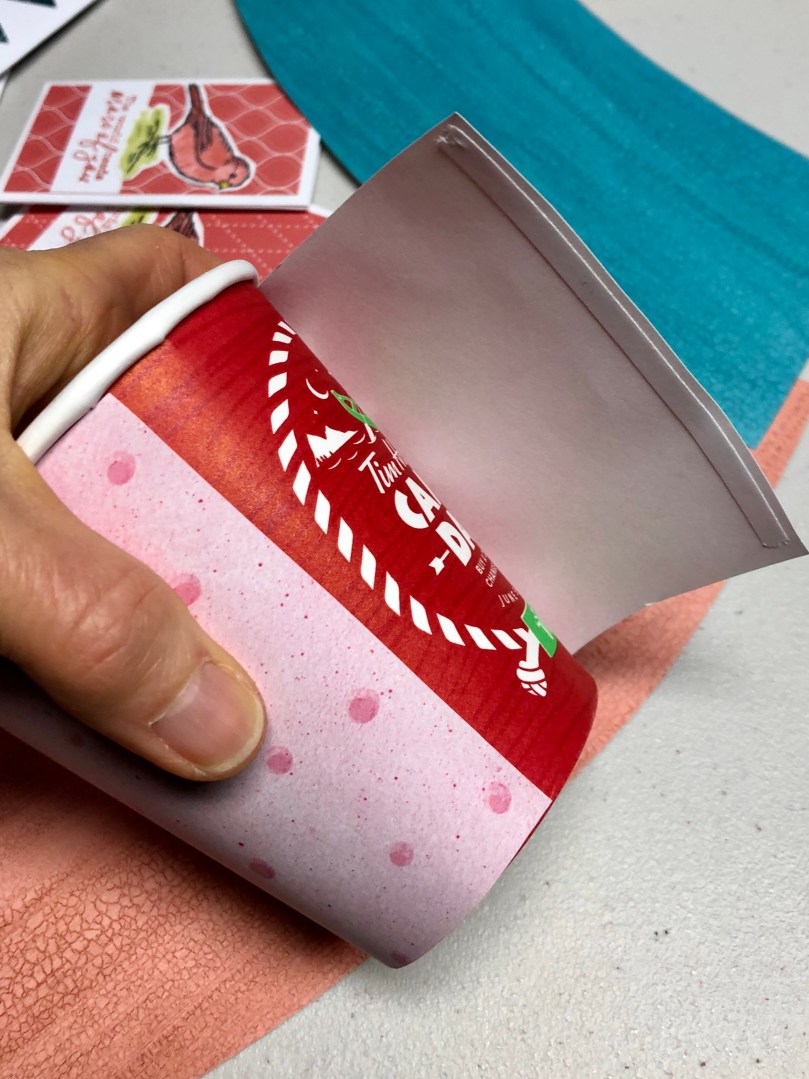
To adhere each wrapper to a cup, I lined the wrapper up before removing the backing from the first tape, then wrapped almost all the way around before removing the second tape backing to finish securing the wrapper.

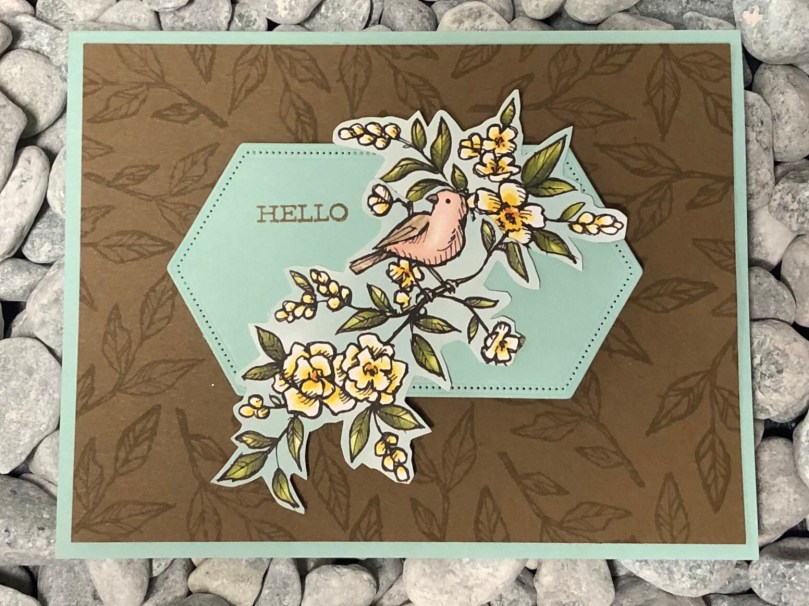
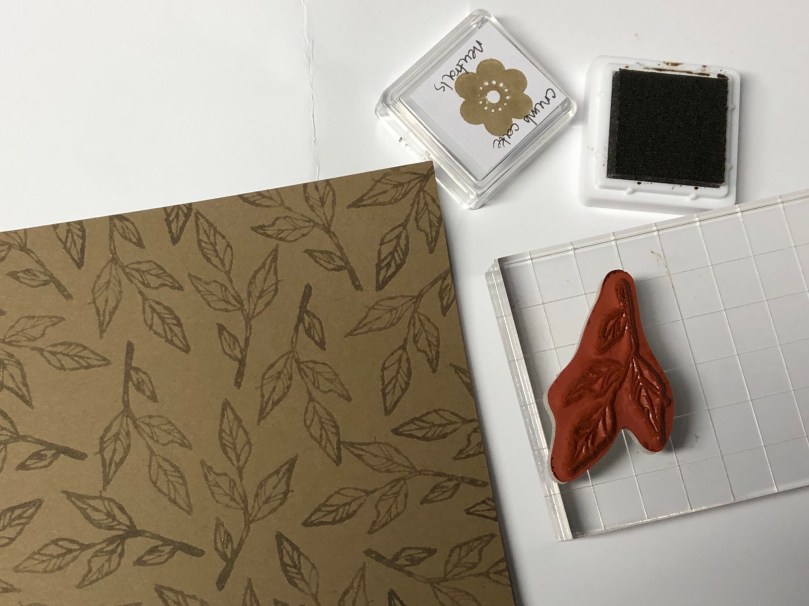
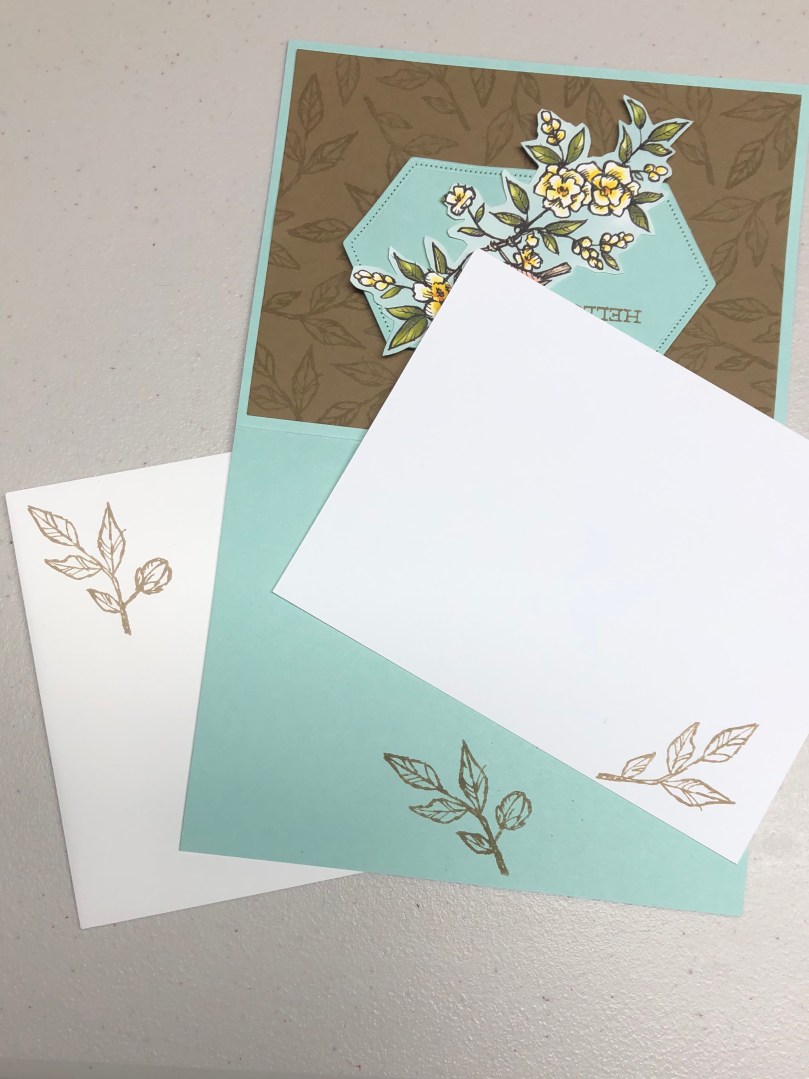
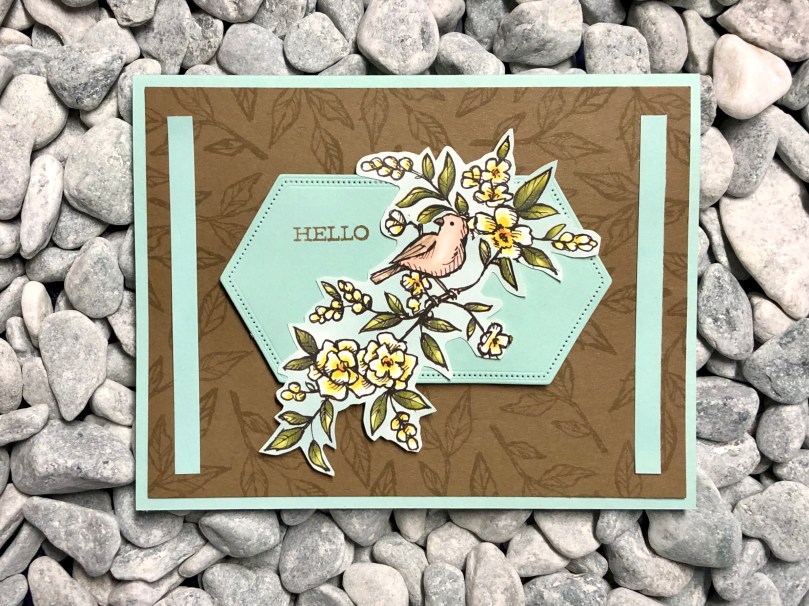
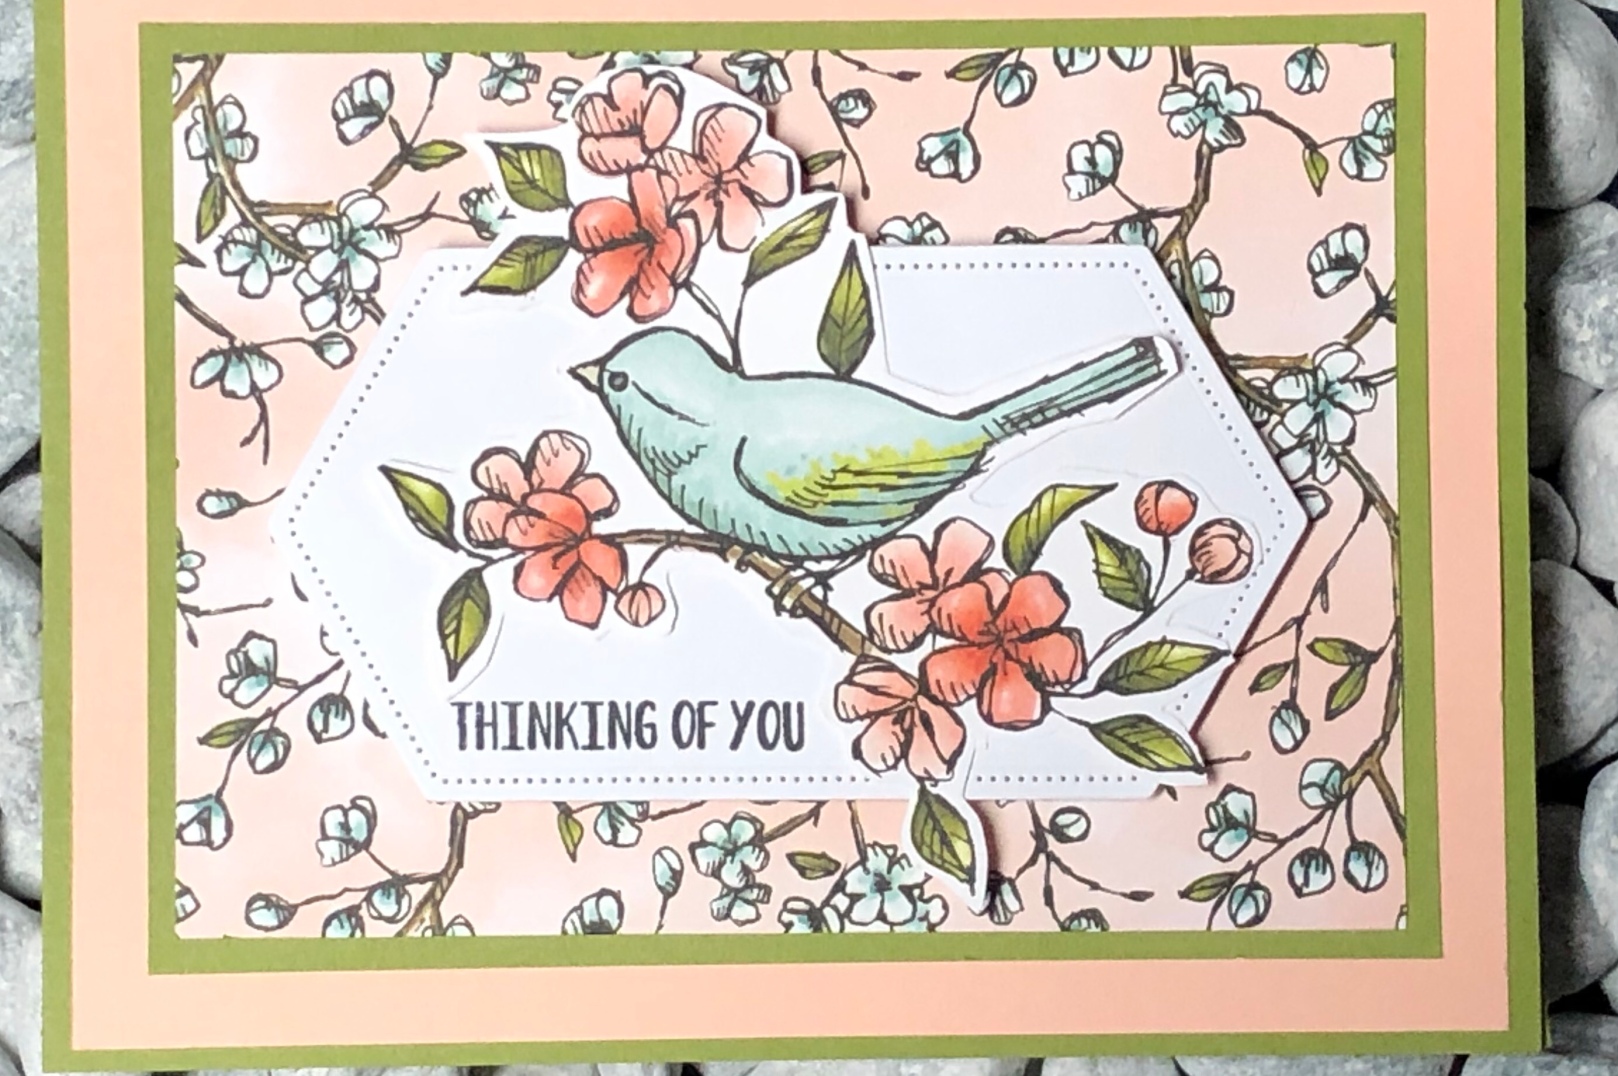
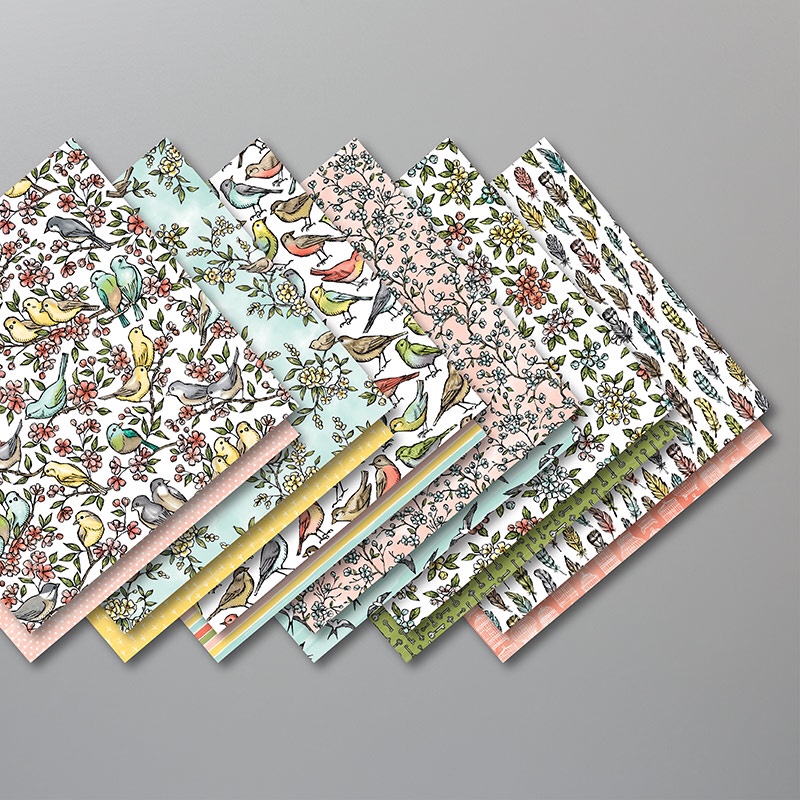
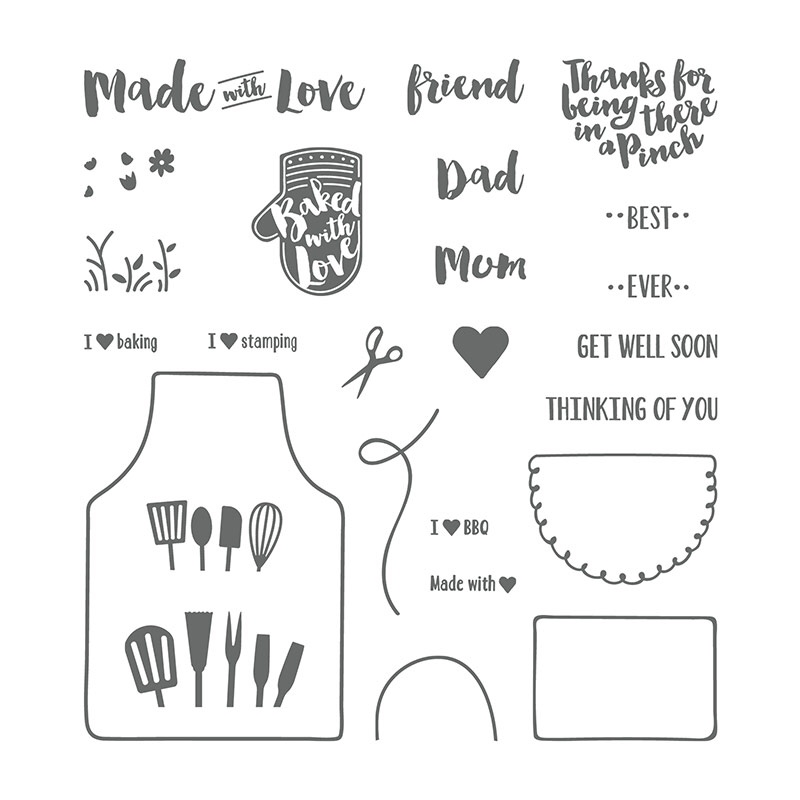
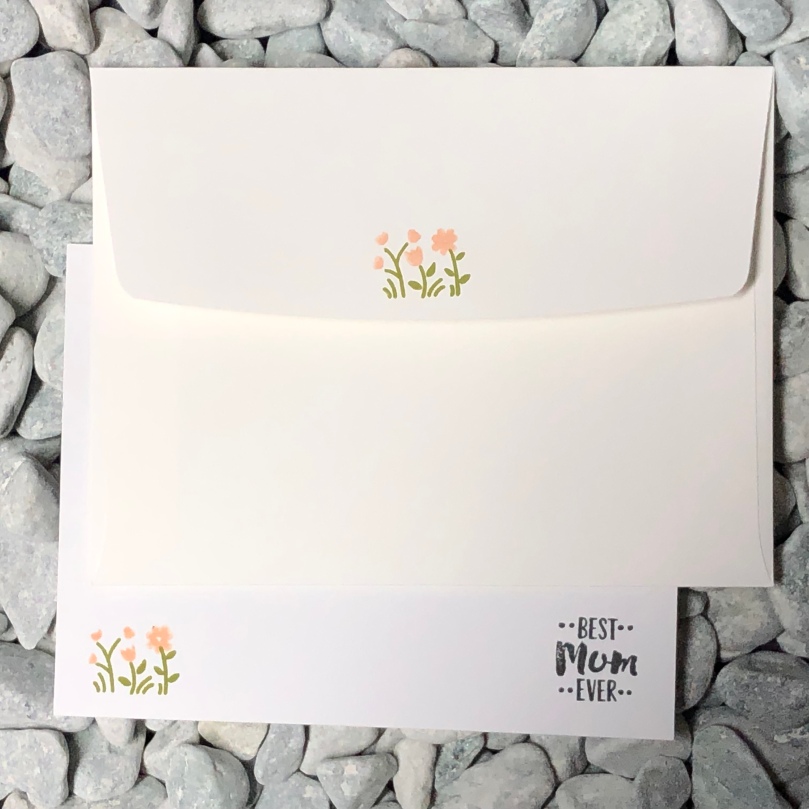
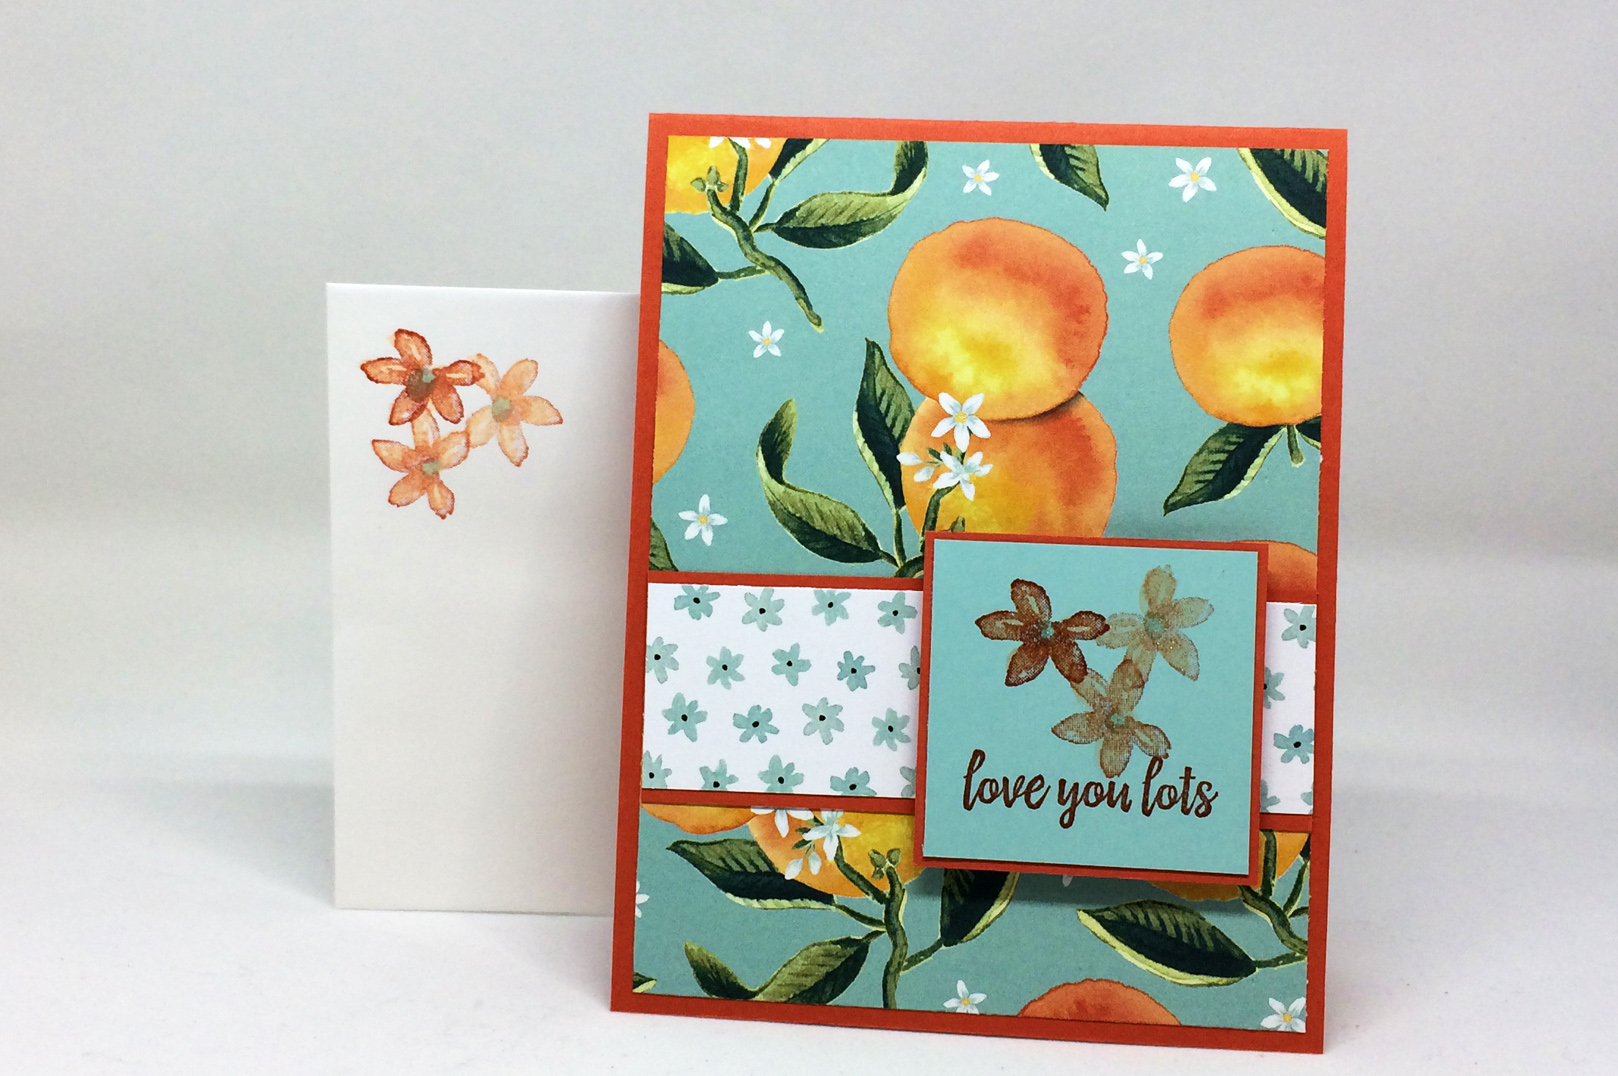
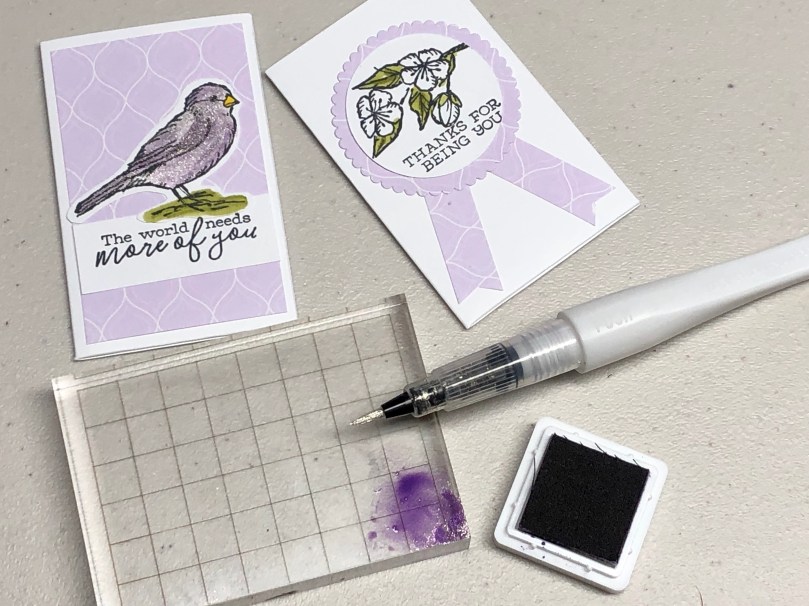
I made the gift card holders and lid decorations using a Stampin’ Up stamp set and the new 2019 In Colours (ink and the 6×6 DSP paper packs). The wrapping paper was some donated old (non-Stampin’ Up) 23×23 paper that seems to coordinate well with the new ink colours.

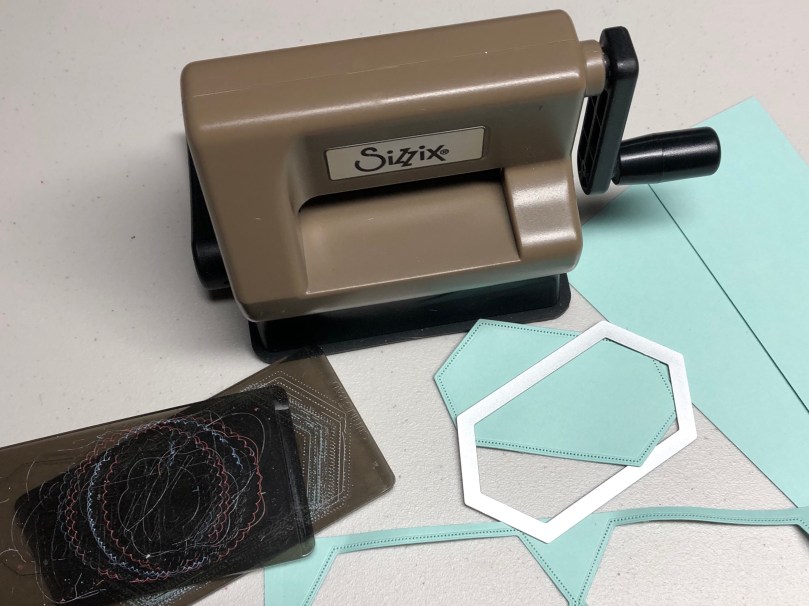
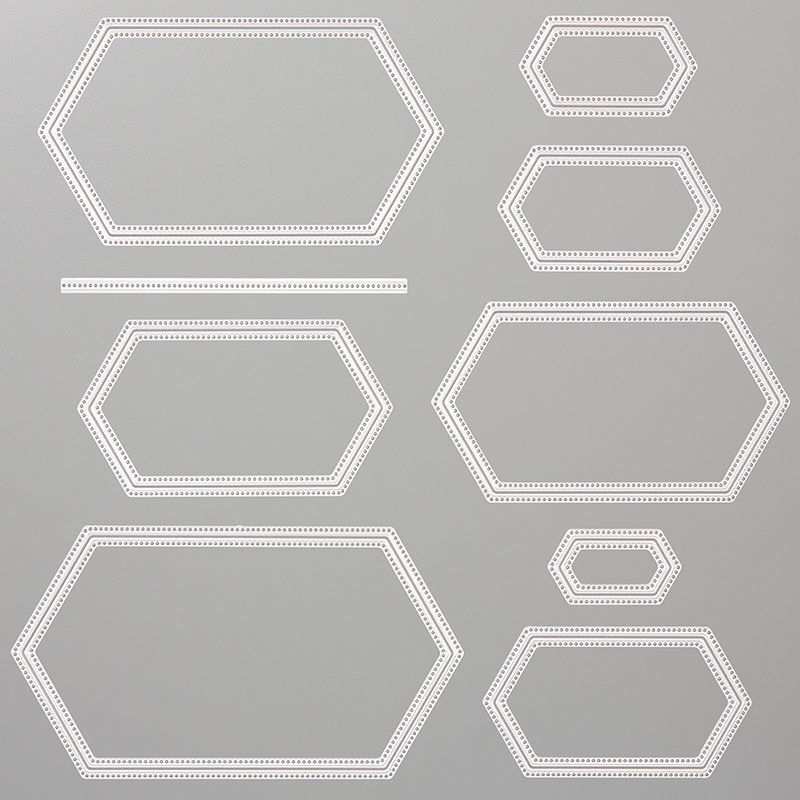
I used my Side Kick to cut the circles. It is so handy for cutting smaller dies, especially at the cottage where I don’t have my regular sized die cutting machine.

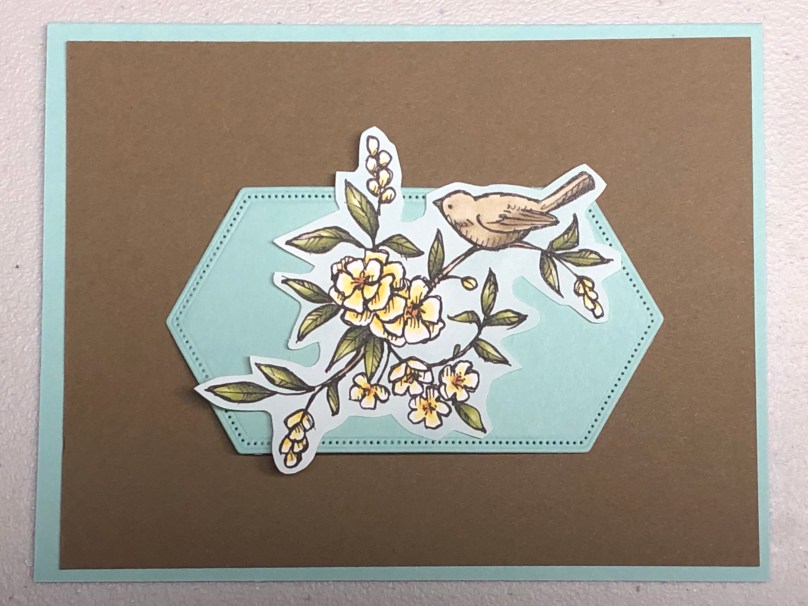
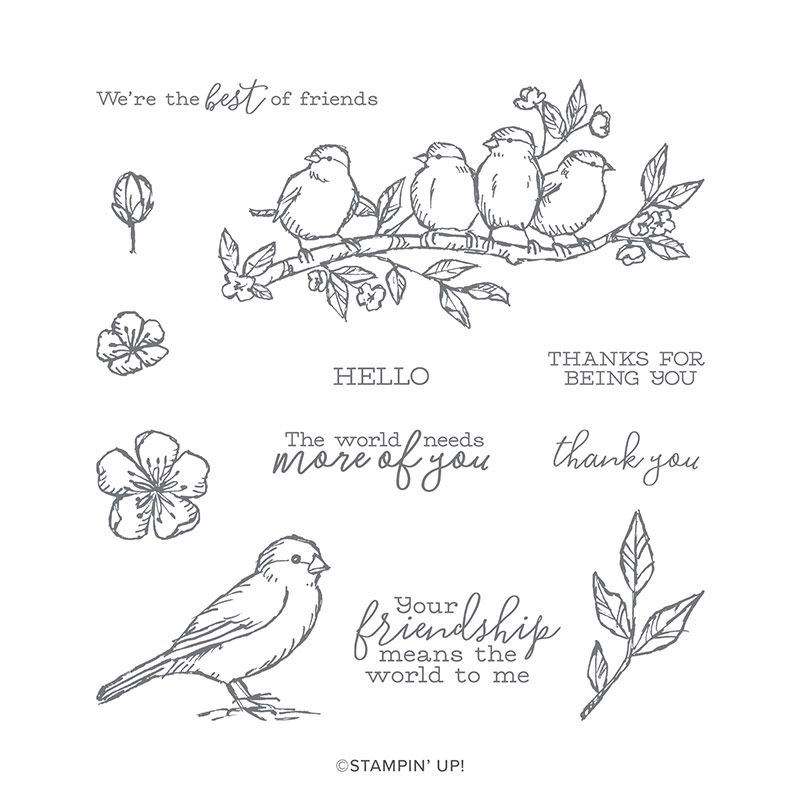
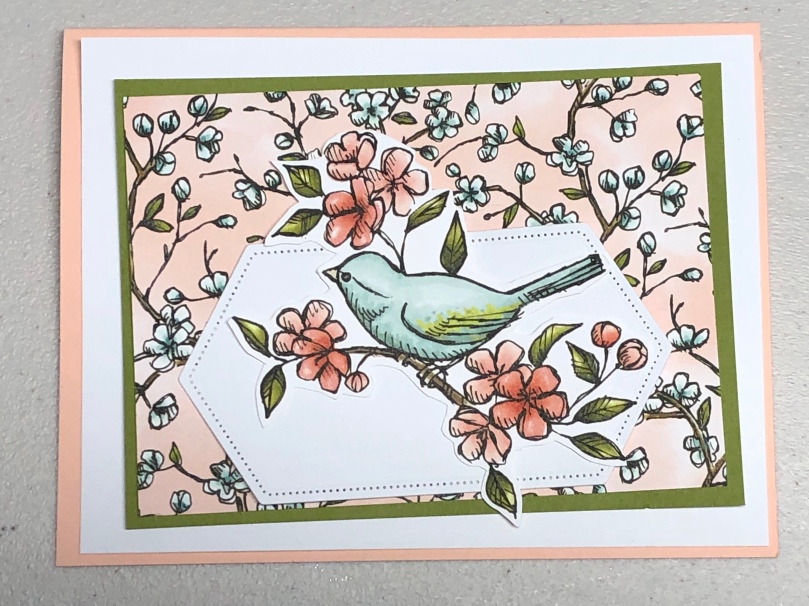
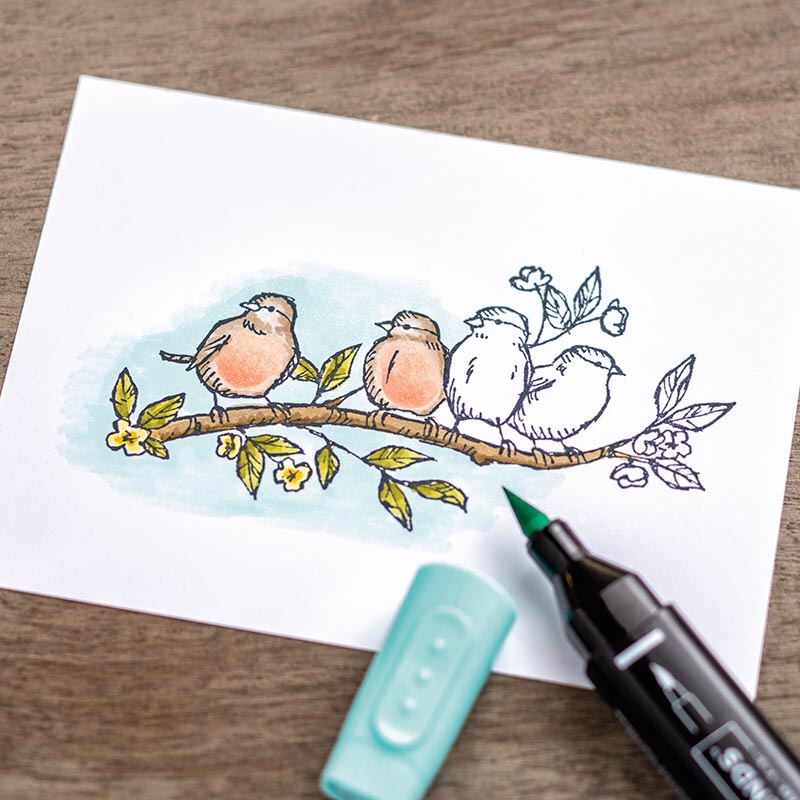
I coloured the stamped images using Old Olive Stampin’ Blends for the greenery and a Wink of Stella brush pen and ink for the birds and flowers. Blender pens are slither great option for colouring if you don’t yet have coloured markers or pencils in the colour you want.

I forgot my circle punch at home to make a thumb opening at the top of each gift card holder. I will try to remember to punch the half circles at home before so give them away.

I plan to give them to Interval House of Ottawa

Please contact me if you would like to host or attend a card or treat package workshop at your home or mine.

Card Recipe #0001

Cutting Instructions

Layer 0 (orange card base): either 8-1/2″ x 5-1/2″ scored at 4-1/4″ or 4-1/4″ x 11″ scored at 5-1/2″ to form 4-1/4” x 5-1/2”

Layer 1 (paper with peaches): 4” x 5-1/4”

Layer 2 (orange strip): 1-5/8” x 4”

Layer 3 (paper with tiny flowers): 1-1/2” x 4”

Layer 4 (orange square): 2” x 2”

Layer 5 (turquoise square): 1-7/8” x 1-7/8”

Inner (white): 4” x 5-1/4”

Assembly Instructions

  1. Fold and score card base (layer 0)
  2. Adhere layer 1 (patterned paper) to card base
  3. Adhere layer 3 (narrower strip) to layer 2 (wider strip)
  4. Adhere layers 2/3 to layers 0/1, approx. 1” from bottom edge
  5. Stamp image(s) and/or sentiment(s) onto layer 5 (sm. square)
  6. Adhere layer 5 onto layer 4 (larger square)
  7. Adhere layers 4/5 to layers 0/1/2/3
  8. Add any embellishments to front of card
  9. Stamp image(s) and/or sentiments onto inner layer
  10. Adhere inner layer to inside of card
  11. Open card flat and stamp image(s) onto backside of card base
  12. Stamp image(s) onto upper left corner of envelope
  13. Stamp image(s) onto flap of envelope

#The100DayProject

I am participating in #The100DayProject for my first time ever. I will be creating, writing and sending a thank you note every day for 100 days and posting them on Instagram.

I have been making, writing and sending my mom a Happy Mail card every day since January 1st and plan to continue doing so. I hope that I will be able to add a thank you card to my daily routine. And, I’m planning to thank my mom for something in her daily Happy Mail card.

first of my #ctc100thanks2019 cards
Mom’s Happy Mail card