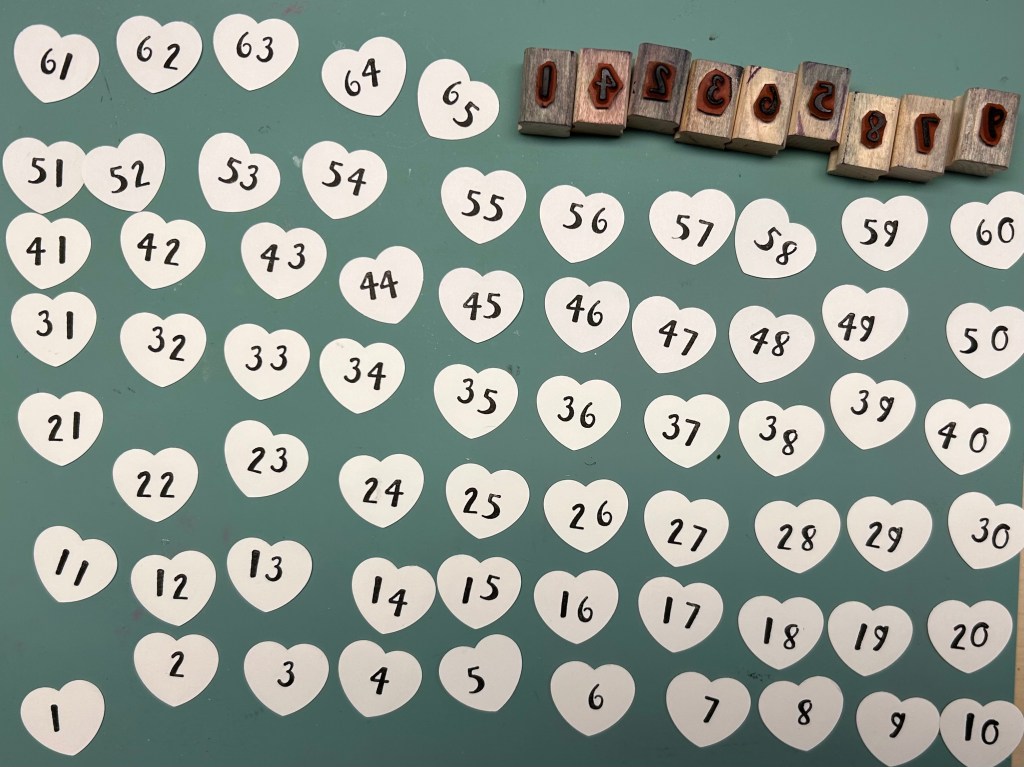
100DayProject Day 31
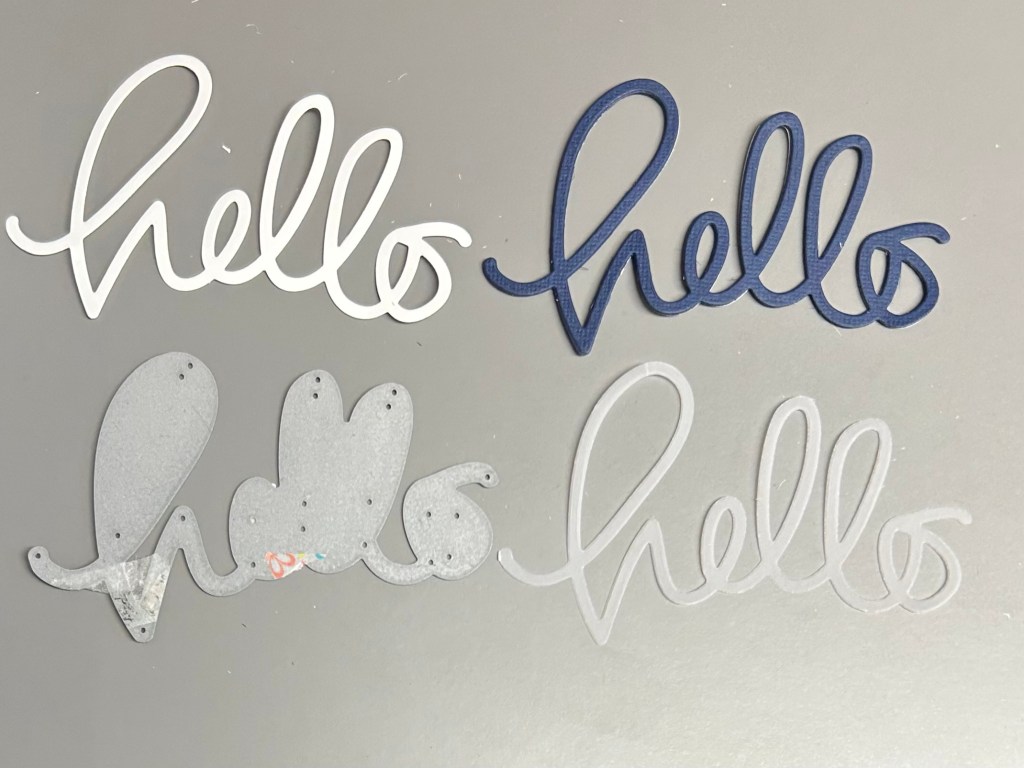
Nothing to report on my Altenew courses and the assignments of making cards. Still busy working on a few totally different craft projects for a friend’s birthday which I can report on a bit later.


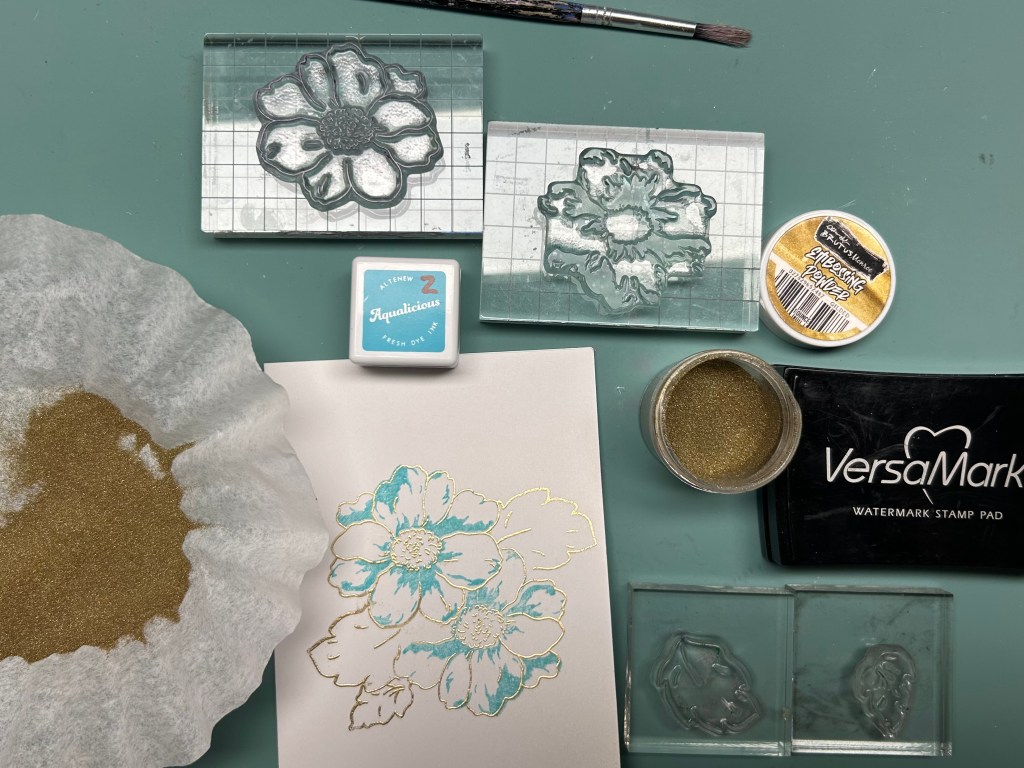
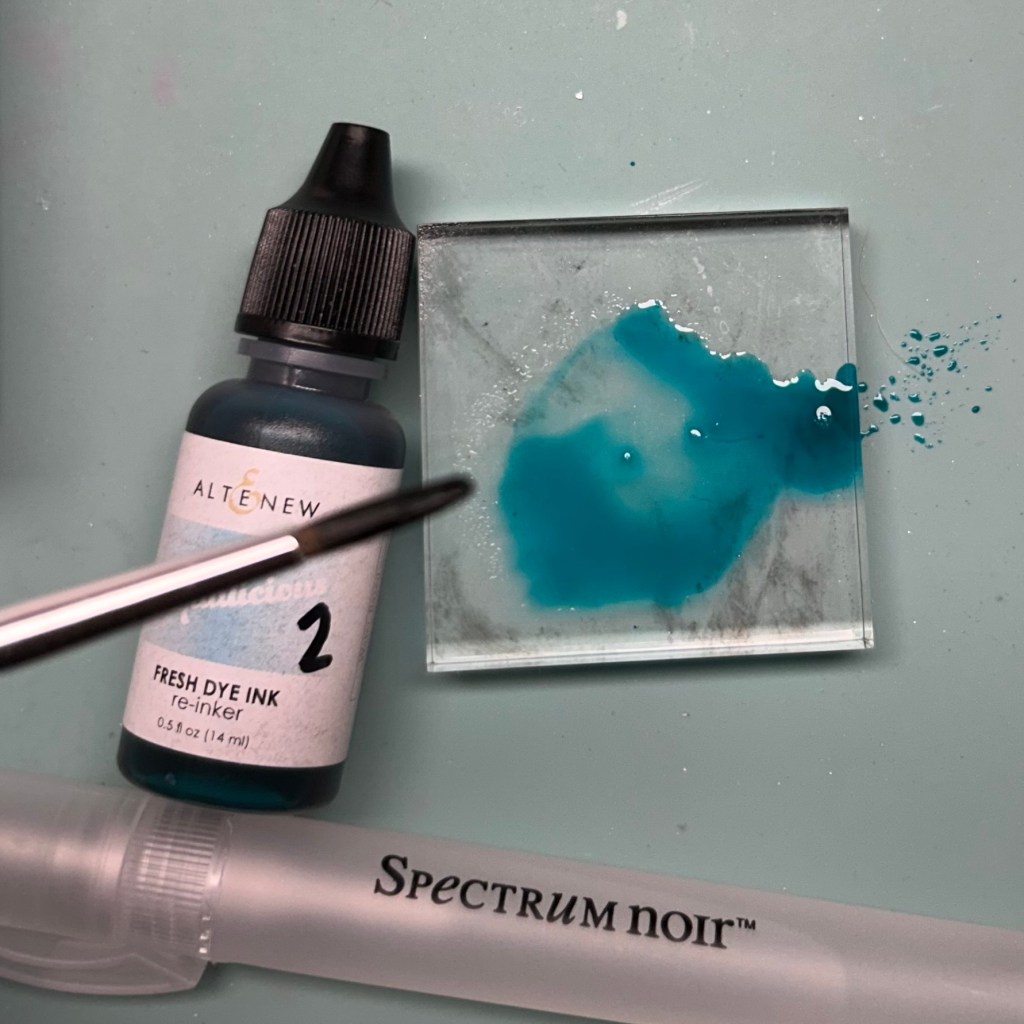
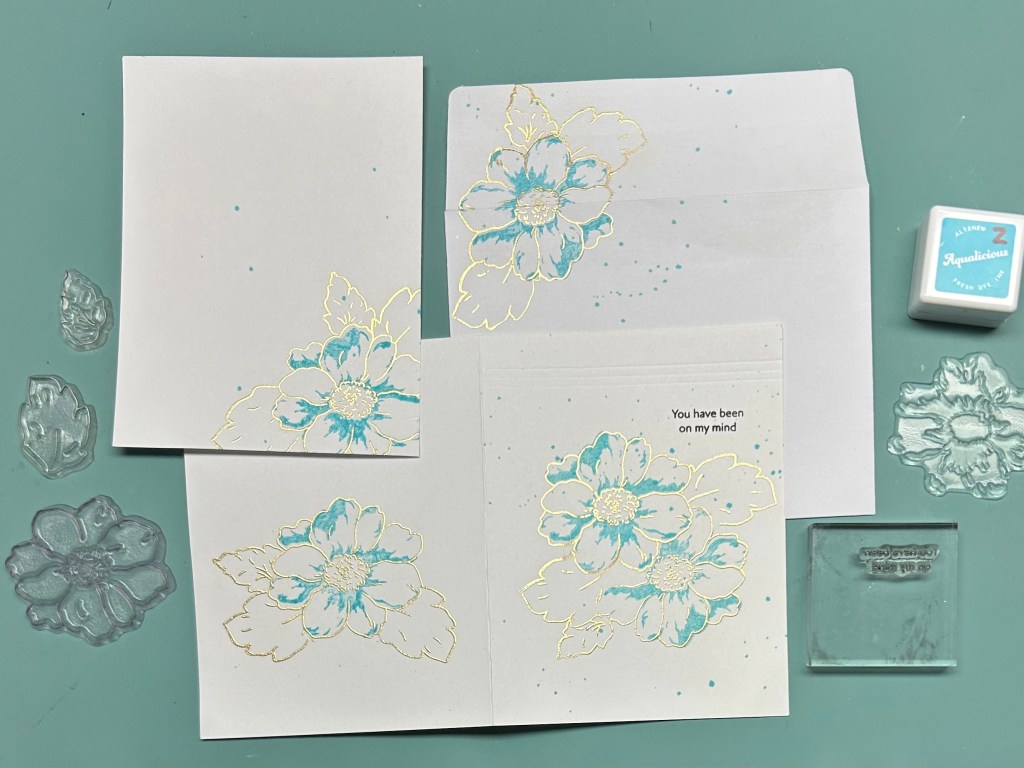
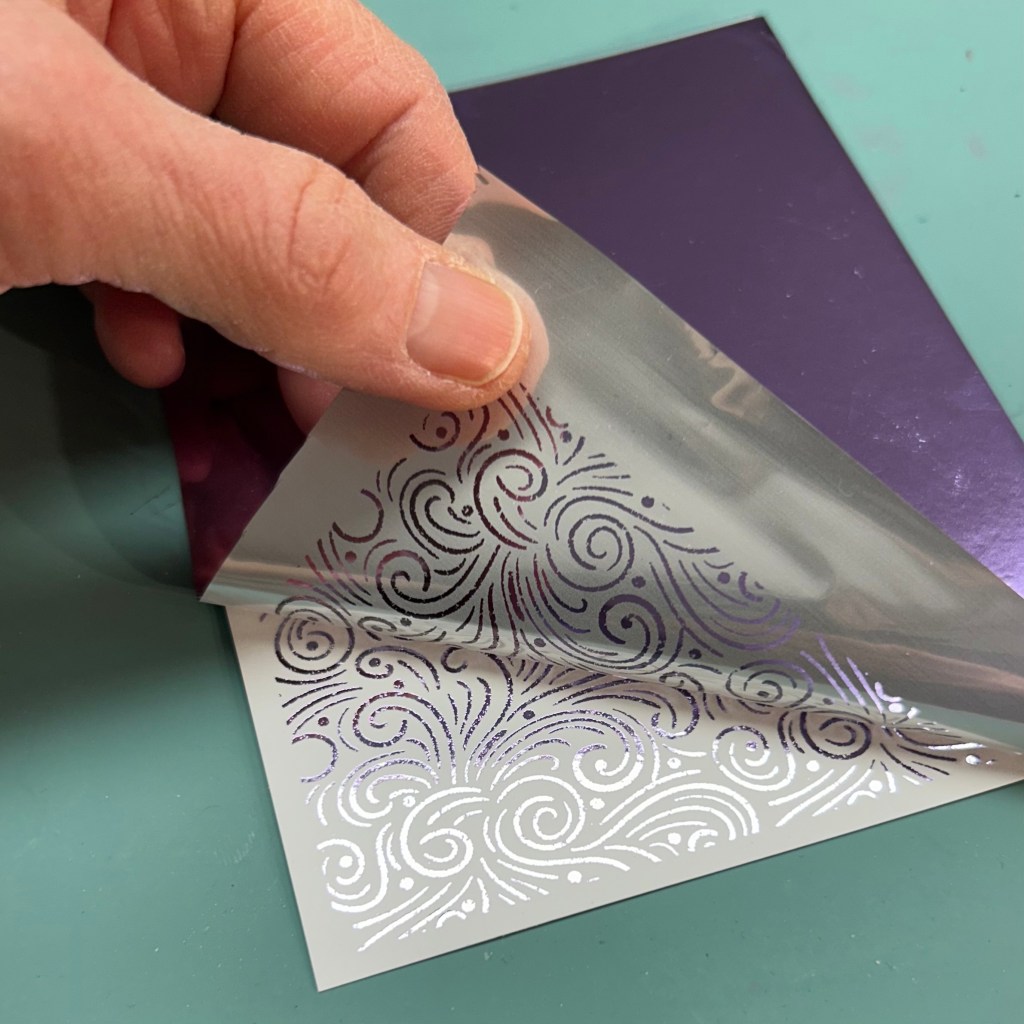
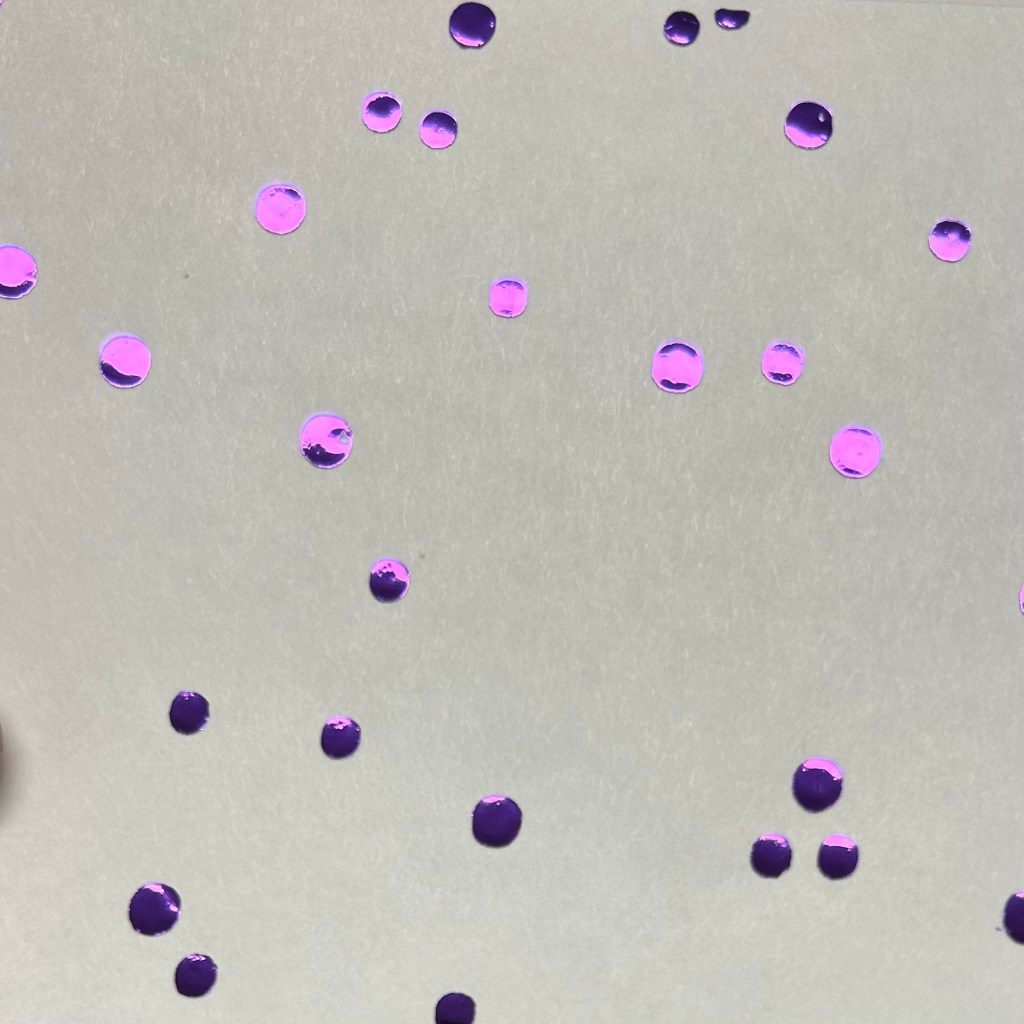
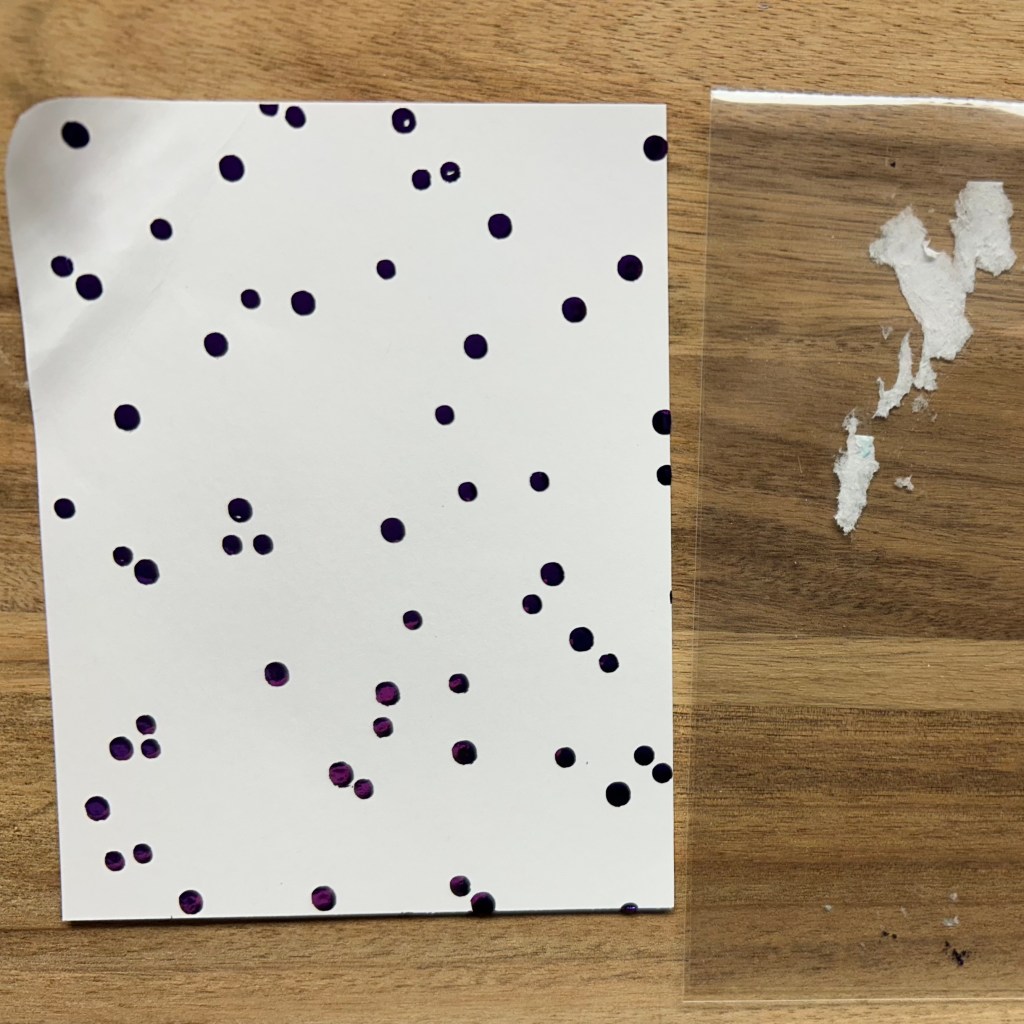
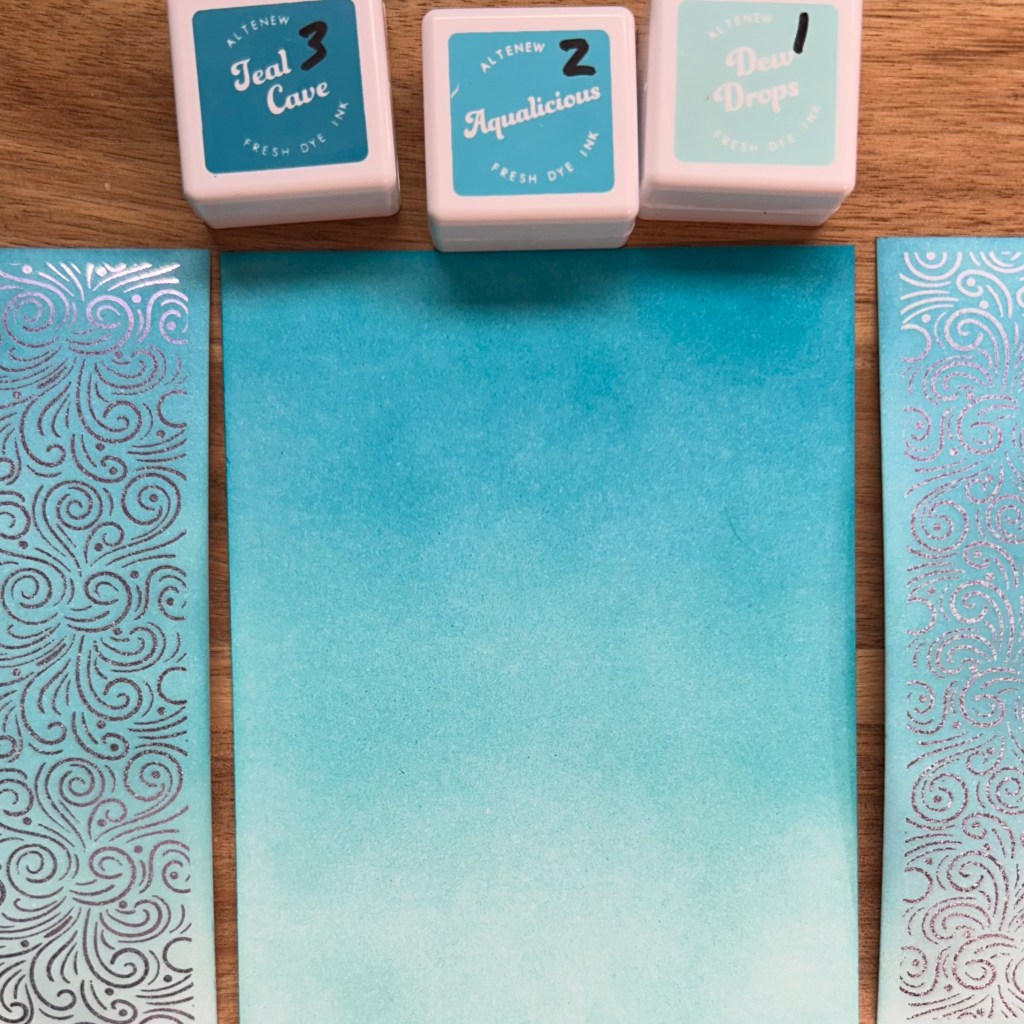
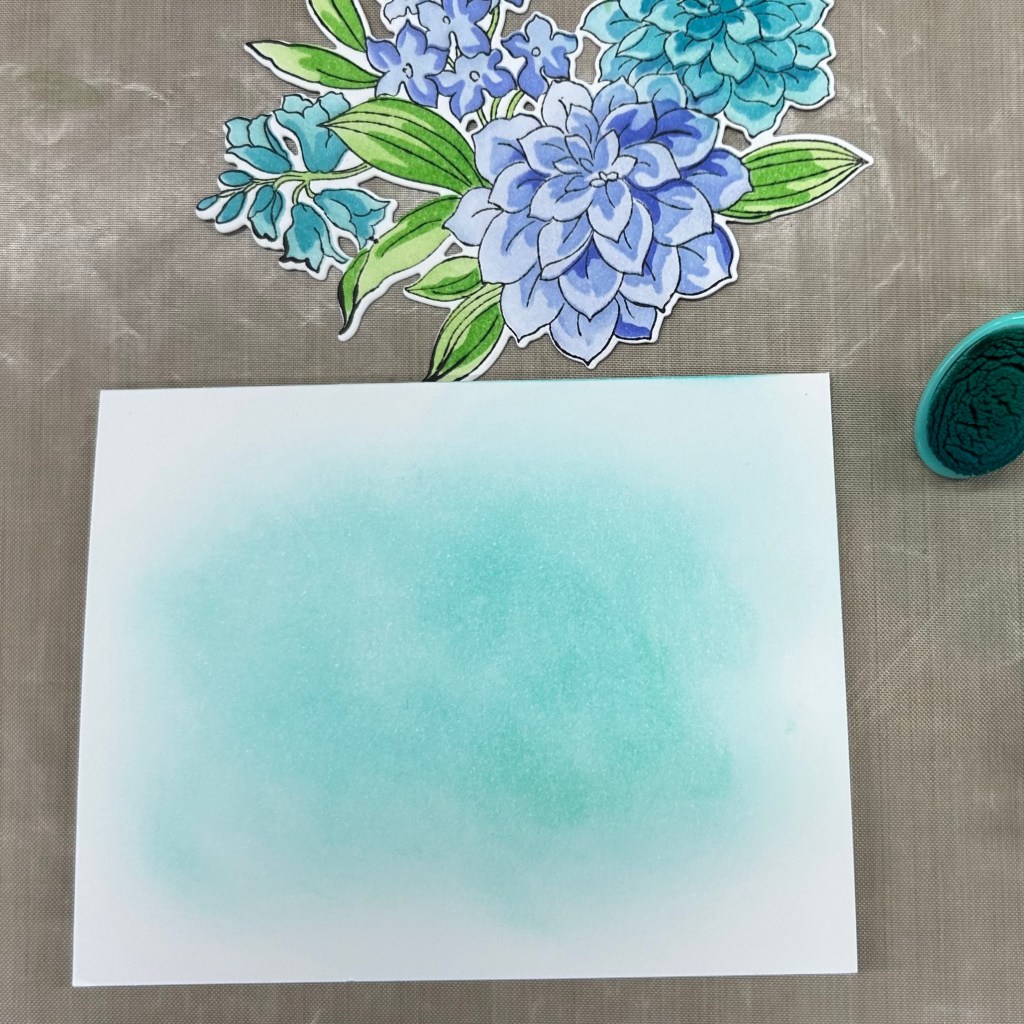
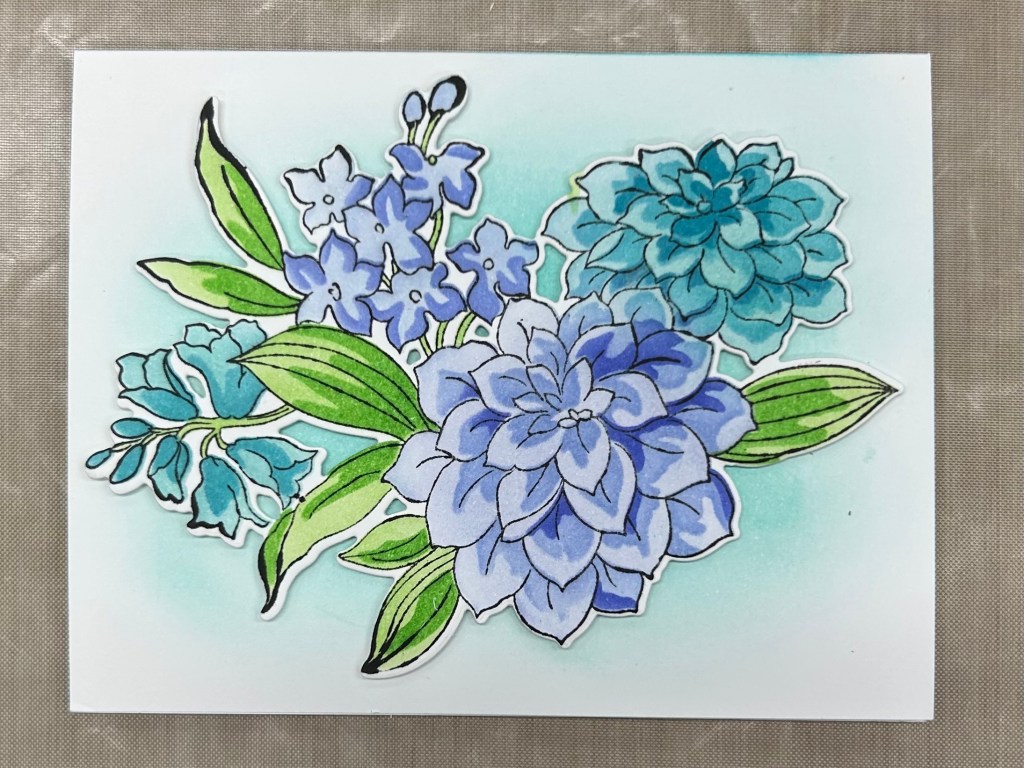
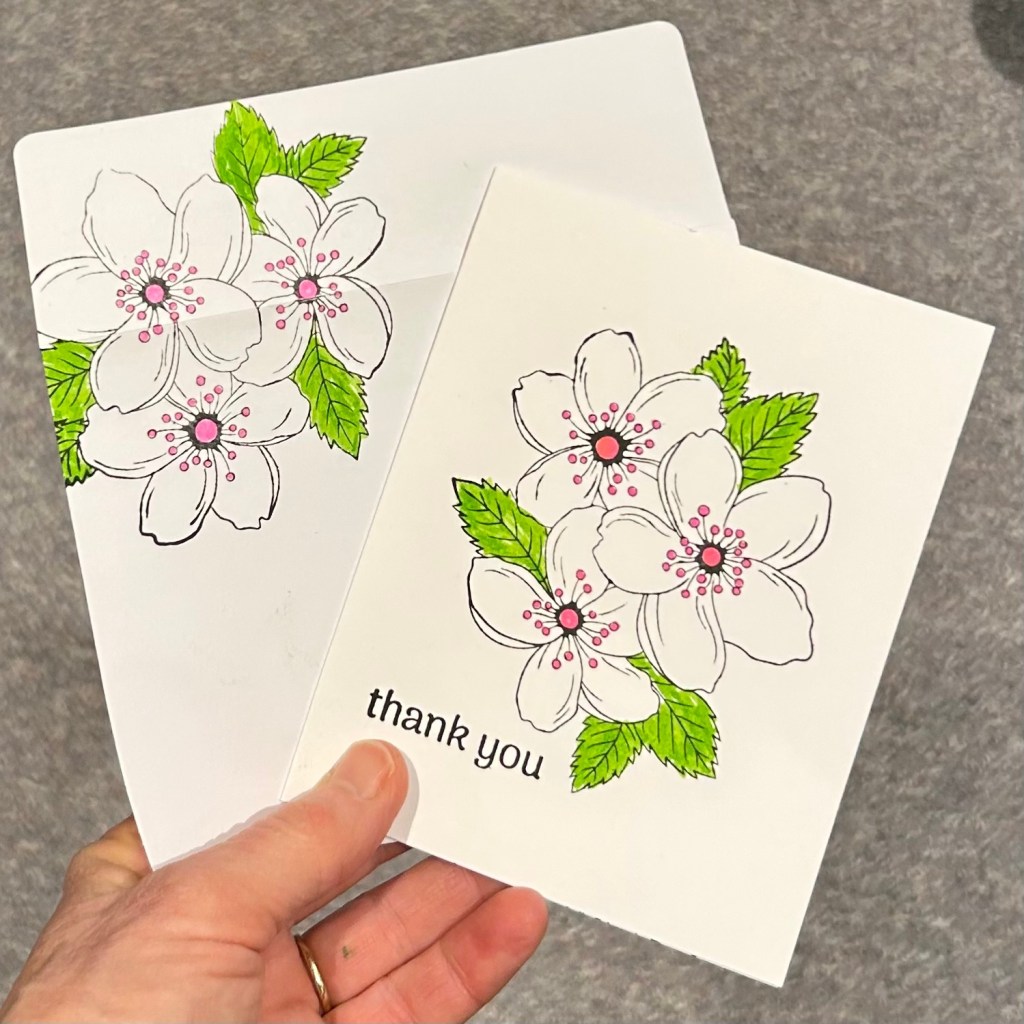
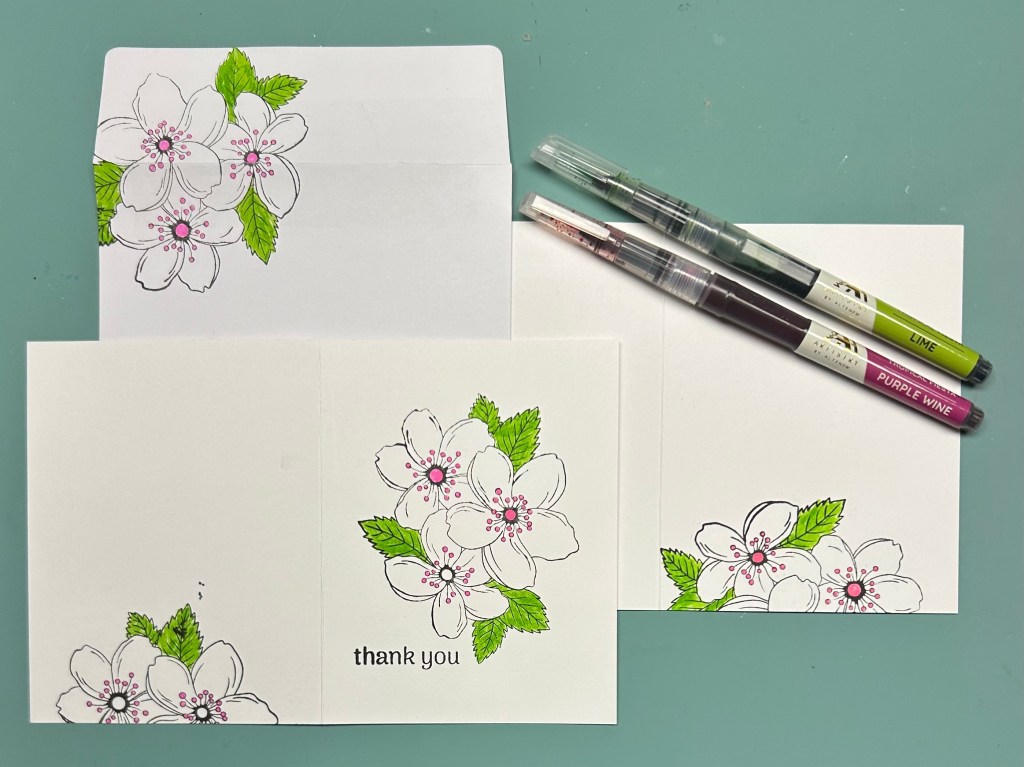
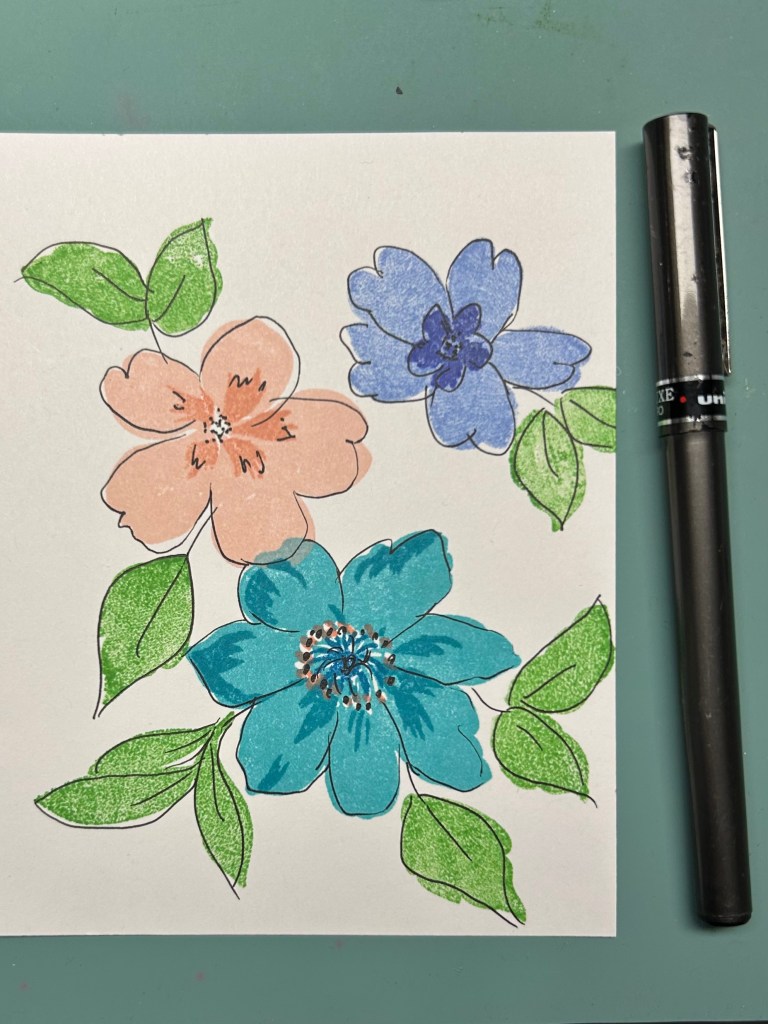
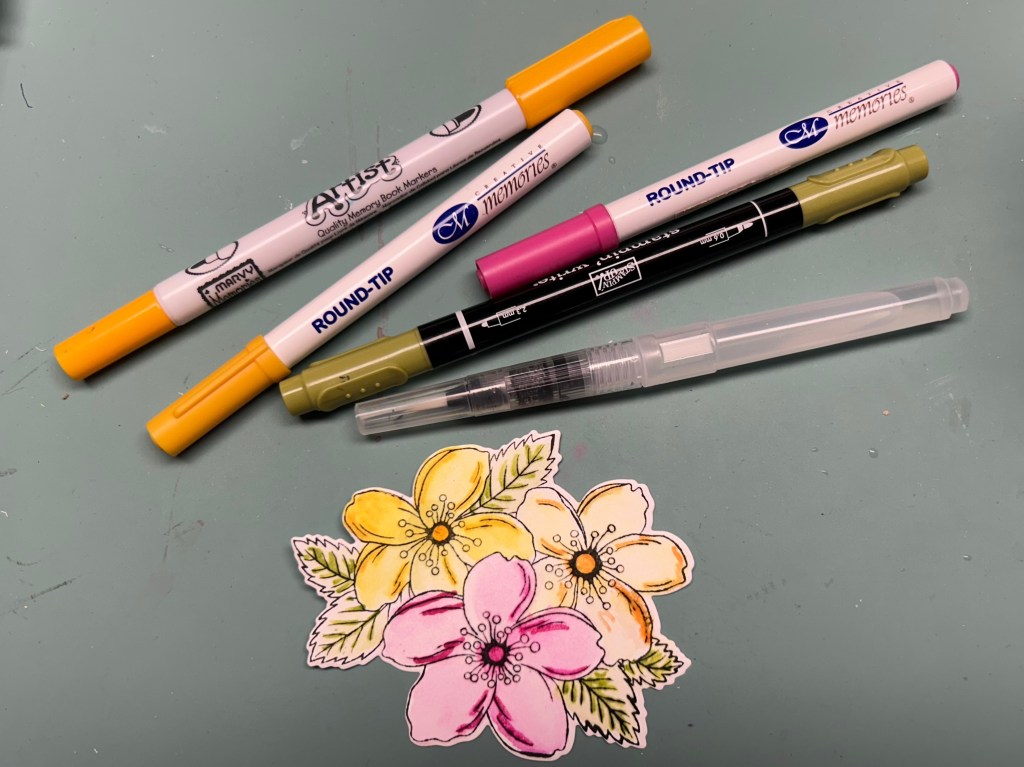
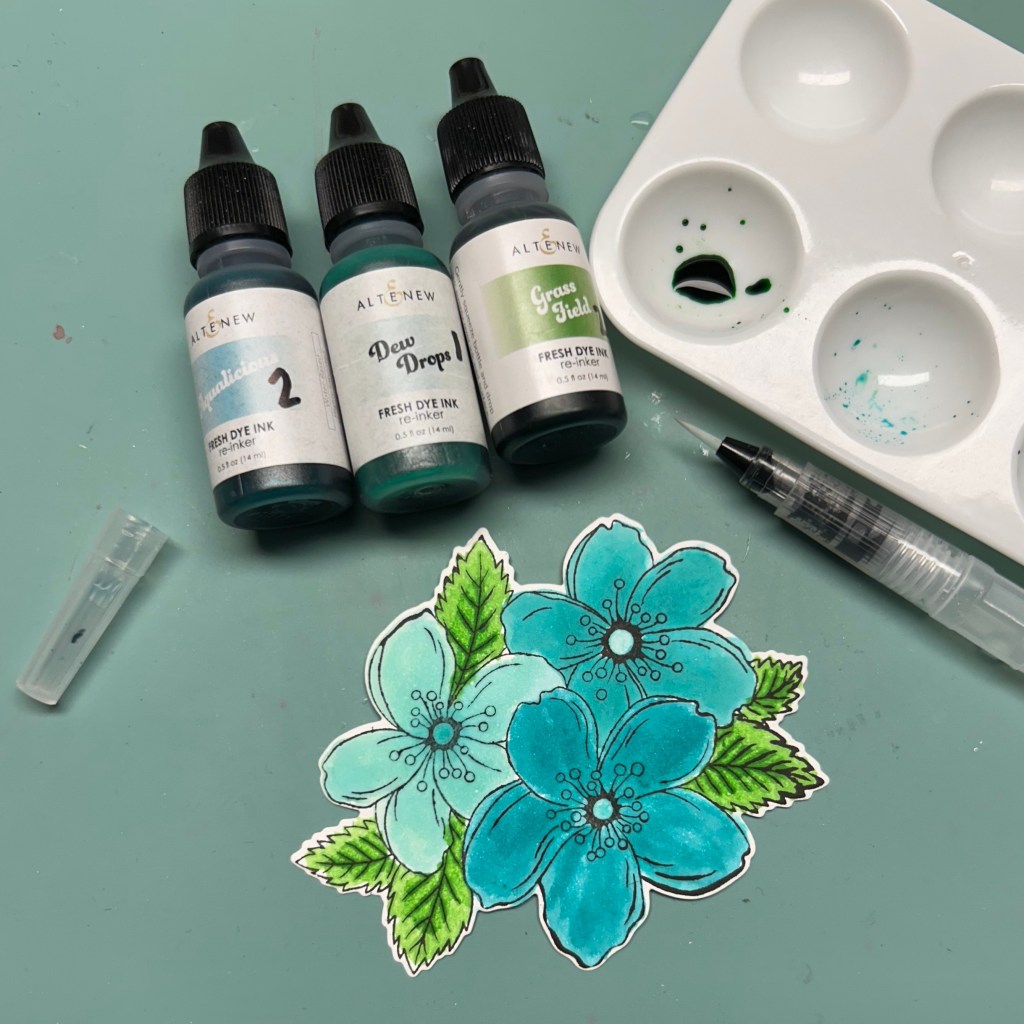
My idea for tips on Tuesday is to give some cardmaking tips for techniques and design but I don’t have many to pass along today. The class I gave did enjoy colouring with watercolour markers. One of the class participants mentioned that you can also use a regular marker along with a wet brush to blend out the ink from a regular marker. I will give that a try with some of my regular markers soon. Actually I couldn’t resist so I went down to try it out before posting this. I think it will work best with brush-tipped markers rather than fine tipped, but I guess it depends on how much colour you want to put down in a particular area. And the type of paper as well as the type of marker likely will make a big difference in the success of this technique. It definitely doesn’t work well if the markers are too dried out (I had to throw out a few markers from my stash). I will eventually try a few other brands of markers but so far I am still very taken with watercolour brush markers. Or I like to use a few drops of ink with a bit of water. Which I couldn’t resist going to try. This is what happens when I have a nap in the afternoon because I’m so tired. And have chocolate tuxedo cake for dessert. Fortunately I’ve already decided to skip pickleball in the morning to focus on a few crafty projects. And to bring Luna for her 10:50 mani-pedi appointment.
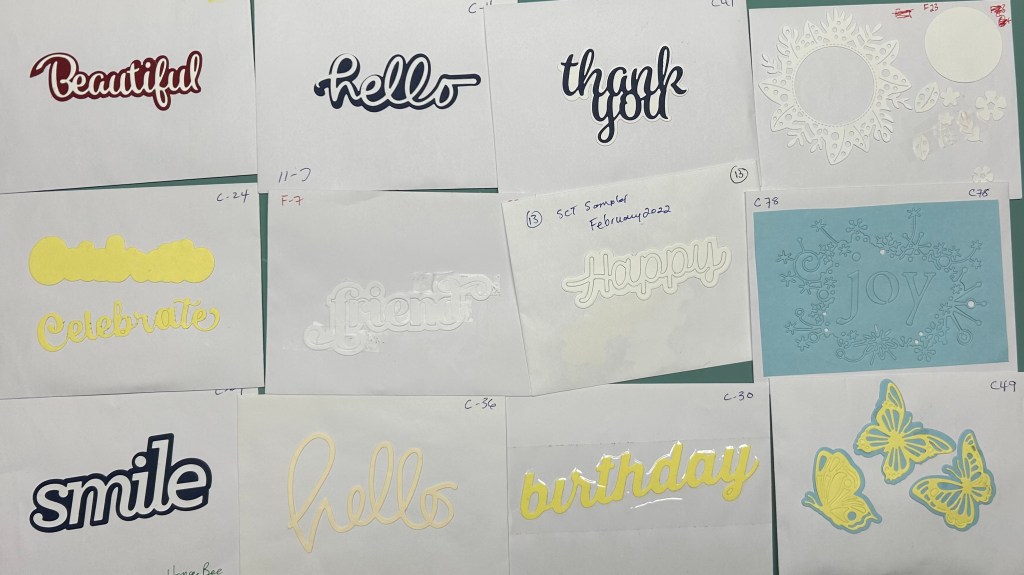
I forgot to take some photos of the cards that the participants made in my class this afternoon or I would have shared some of their finished projects.
Tips on Tuesday

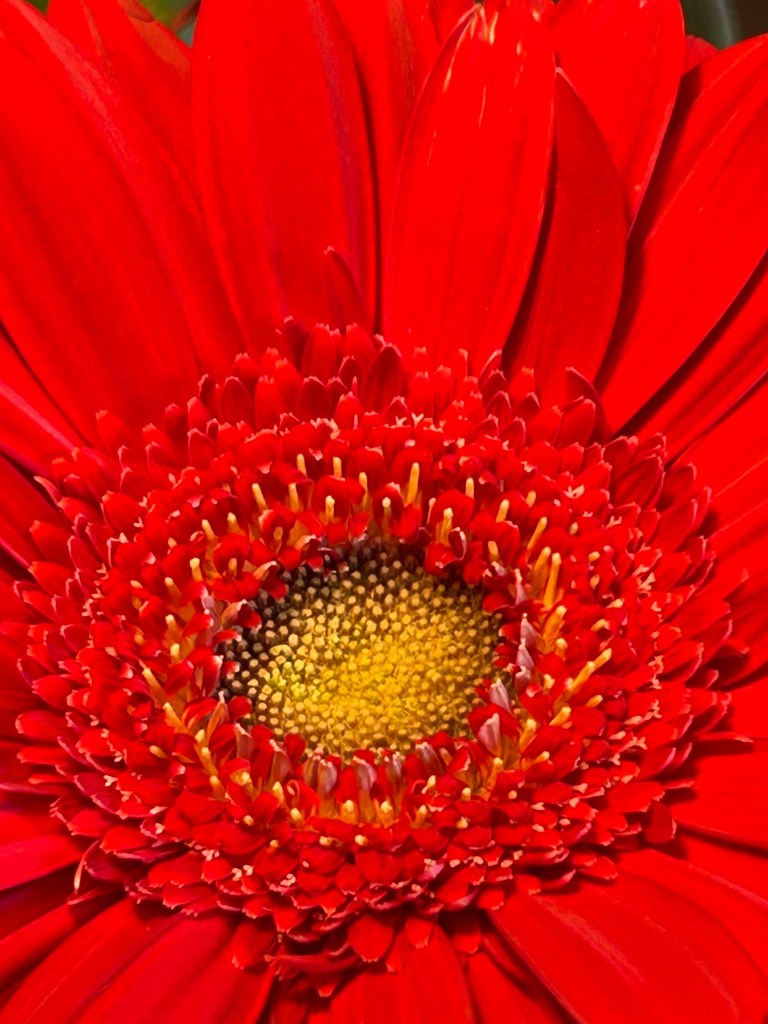
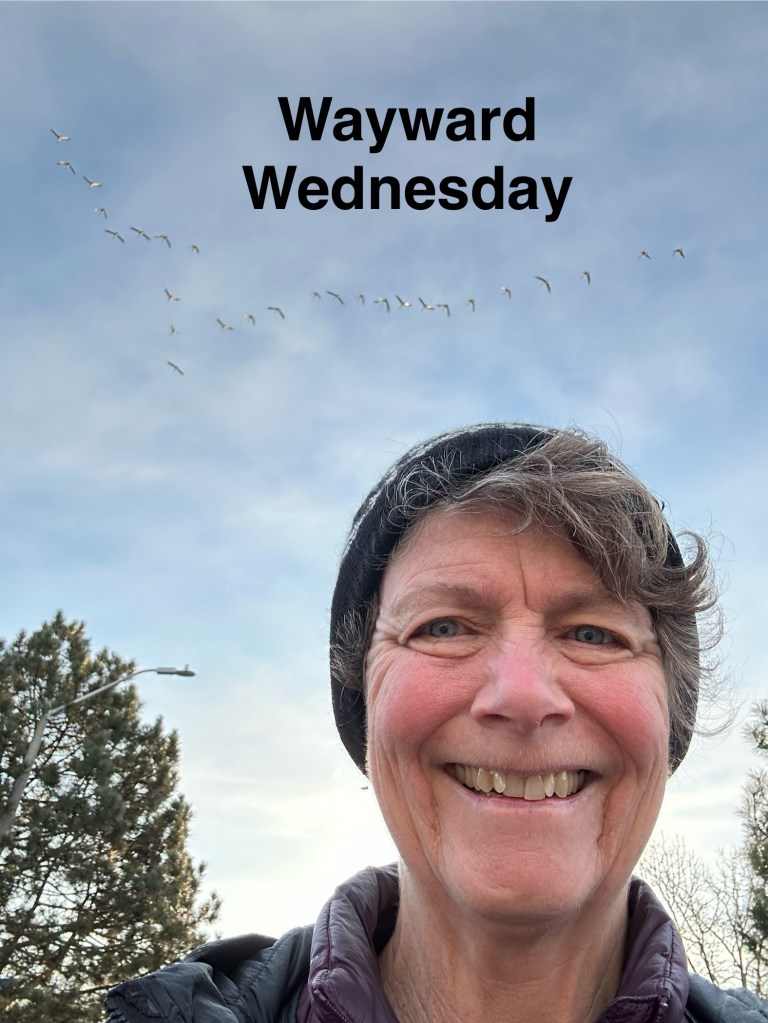
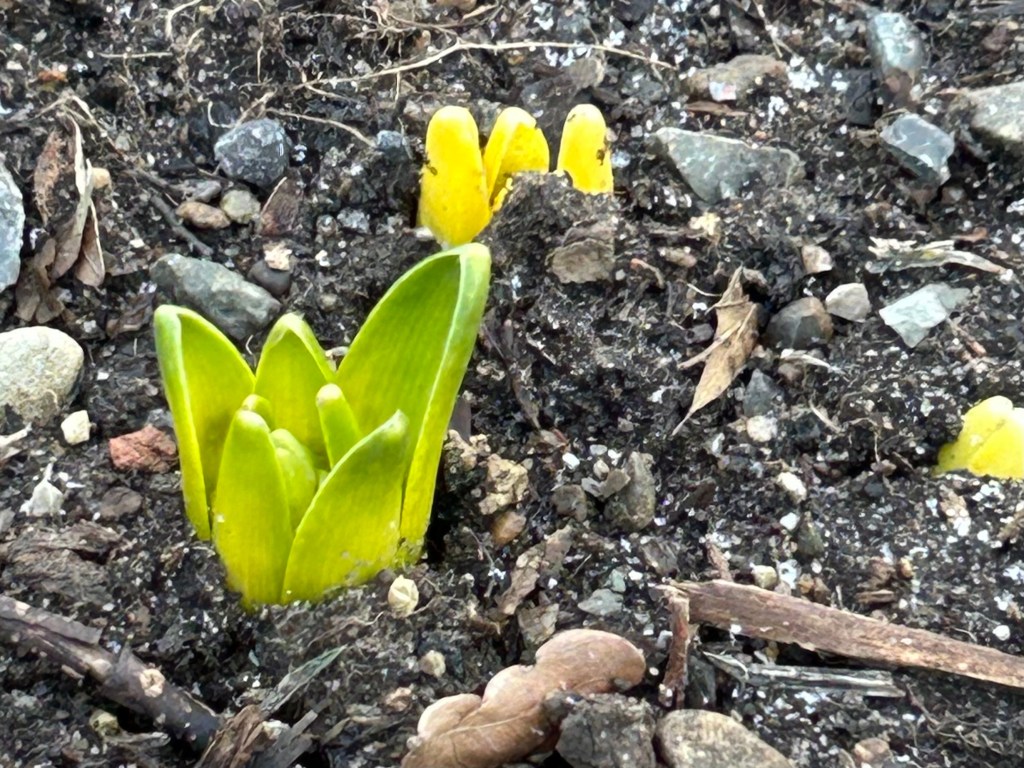
I was on the search for some evidence of spring bulbs starting to peek out from the frozen earth on my walk with Luna this morning. And a garden on the street behind our house didn’t disappoint. Sure enough, there were some leaves starting to poke their brave tips out. I expect it won’t be long before there are a few blooms popping up in gardens around the neighbourhood. My spring bulbs of choice are daffodils but every spring when I see the crocuses and other tiny flowers I think that I should try to add some of them into my garden as well.
I got in my morning swim with Flora this morning. Soon I’ll be heading out to Canadian Mental Health Association to lead a card making workshop in their 11:45 Arts for All program. A bit of further prep work is still required for that which I’m off to do now.