A fairly busy day. A quick walk with Luna before 8:00-10:00 Pickleball. It’s a good thing I deferred an originally planned walk with a friend I used to work with because I just had time to get myself organized for my afternoon Card Crew class at the Dementia Society. I arrive there for 1:00 although the program officially runs from 1:30-3:30 I like to there for when there are some early arrivals. There were 3 participants today and a good number of volunteers. Now that we are getting more regular volunteers the program coordinators may promote the program a bit more. I’ll include a few photos of the participants cards. One of the volunteers stayed after the program until 4:30 to help me prepare kits for the class that I’m doing at the Canadian Mental Health Association tomorrow; I thought that the design we did today worked quite well so we’ll be making more cards like that tomorrow.
I had a quick stop at Michael’s to pick up some more watercolour paper then just had time to each some of the soup I made yesterday for supper and walk over to the curling club for our 6:00 6-end game which finished just after 7:30 then drinks and here I am now at almost 9:00 with about 200 words written.
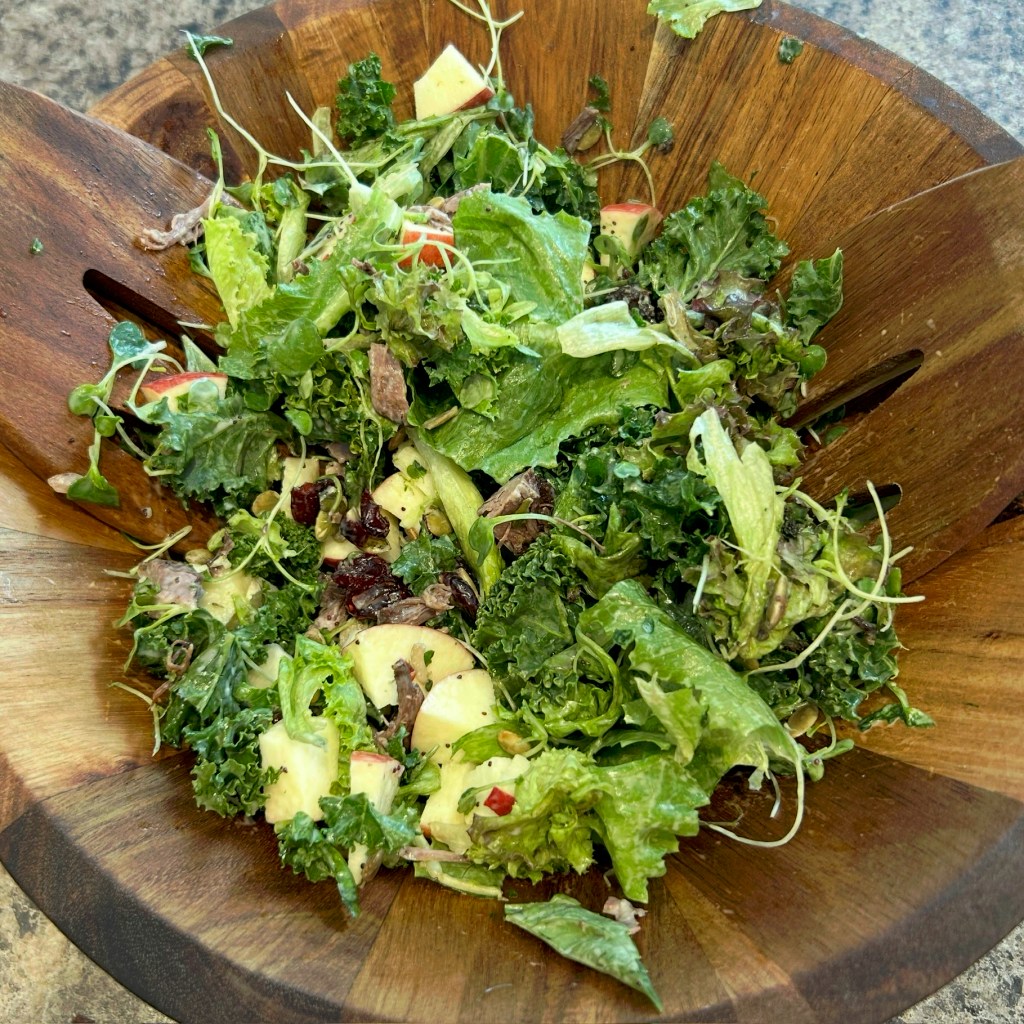
A yummy salad for lunch.
No theme for the day yet, but maybe it will come to me as I create a blog post by copying my daily writing from the 750words website into a post and add a few photos. I rarely get to 750 words but it’s nice to have it as a target. Update at 10:00 as I finalize this post: Mail it Monday is (and always should be) my theme for Mondays. I dug out 4 cards from my stash, addressed them and wrote a note in each one. They’ll get into the mail on Tuesday, but I’m counting them for this week’s Mail it Monday since I did get them all ready to go in the mail today. I hope you’re considering taking up the Mail it Monday challenge – and it doesn’t have to be a card that you mail – you could simply send an email or text message. The point is to reach out to someone. I’m sure that they will appreciate it.
Card Crew
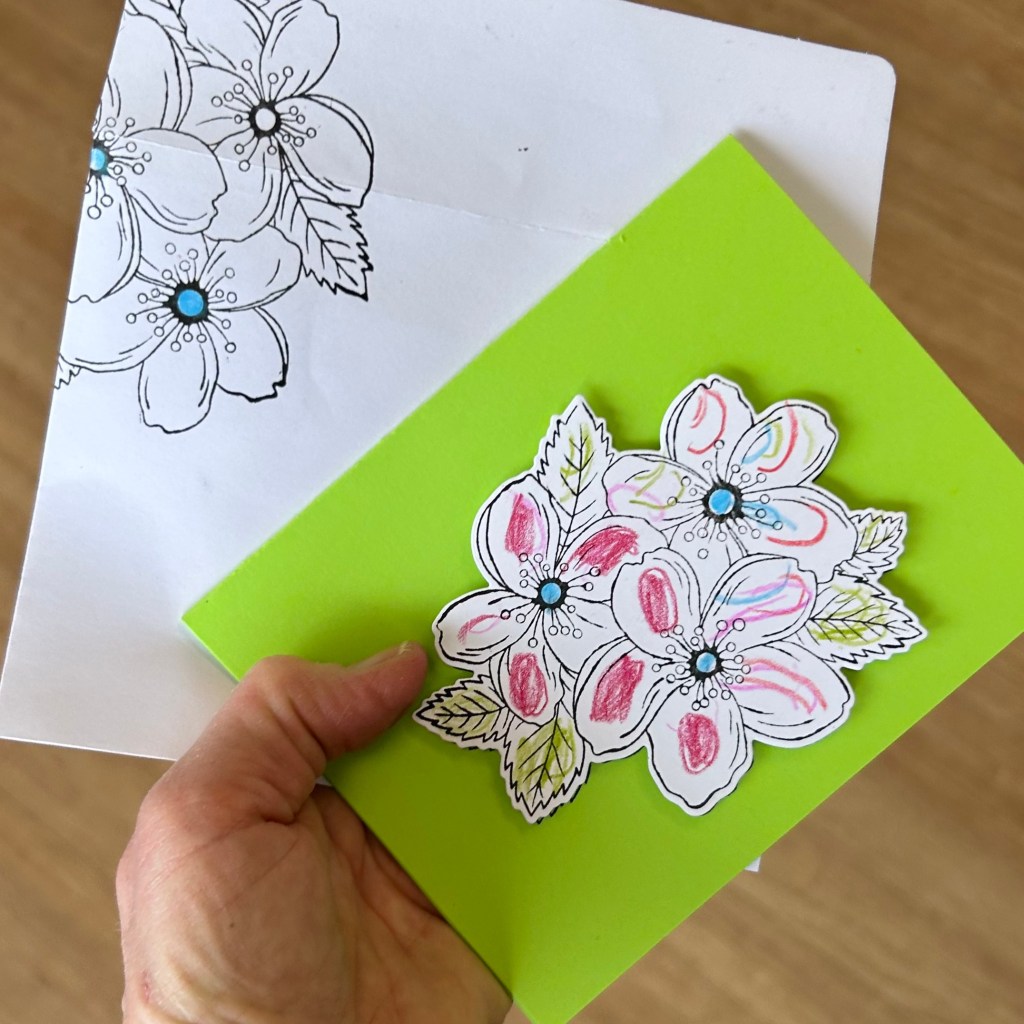
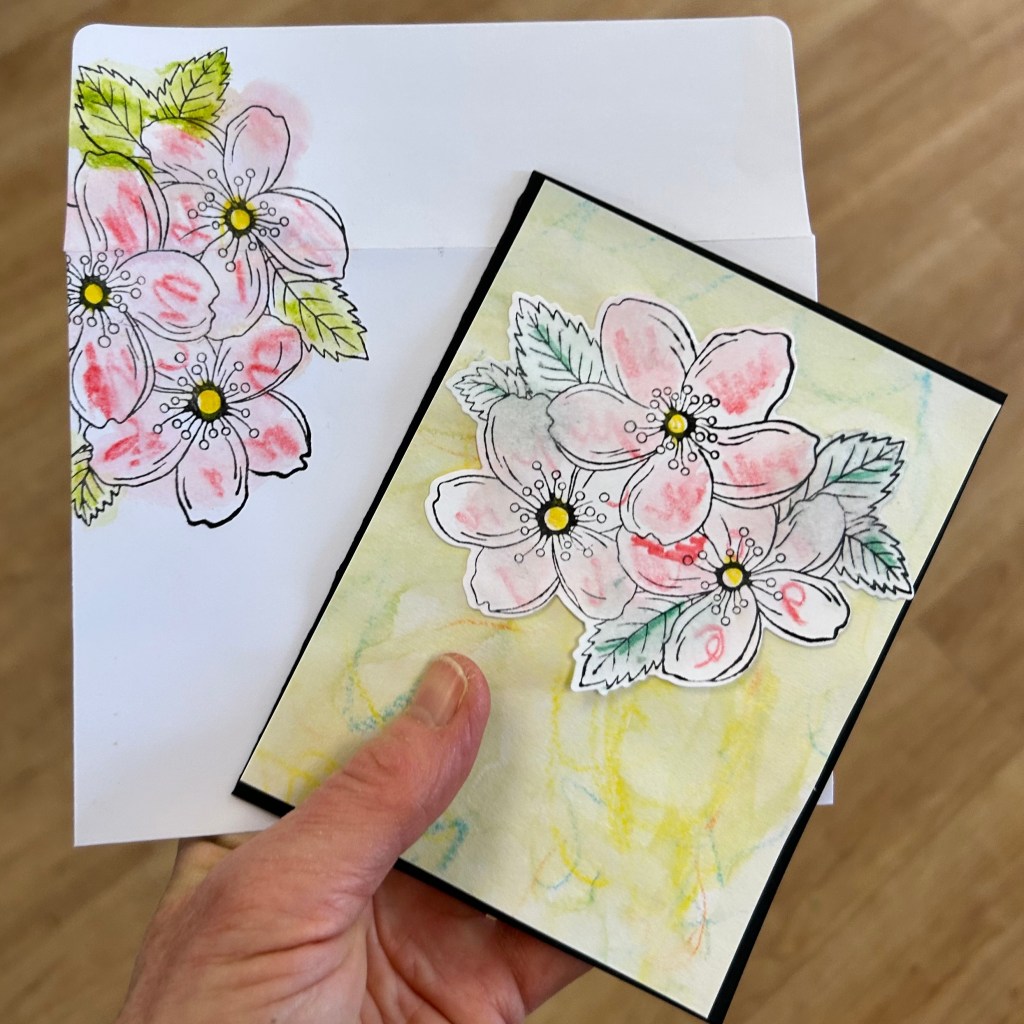
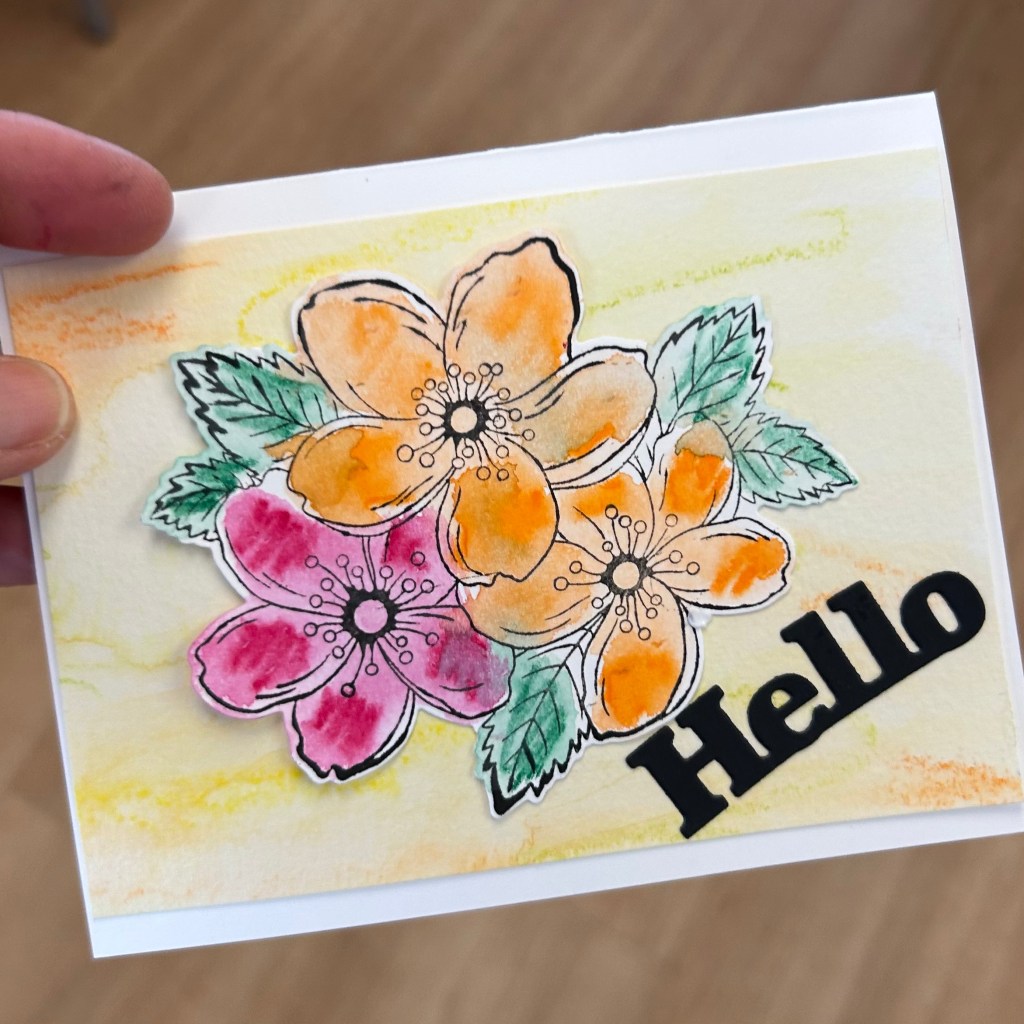
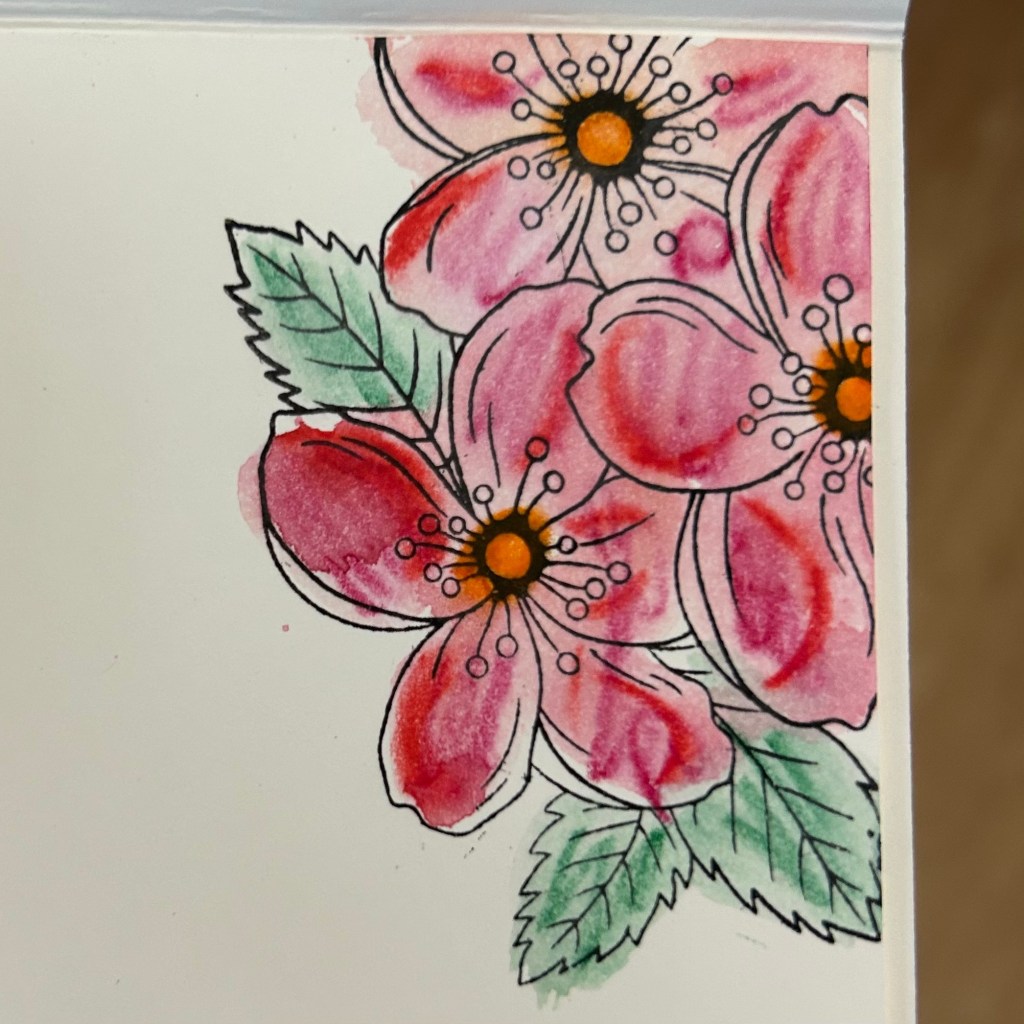
Here are some of the cards that were made at the Dementia Society today during our Card Crew session.
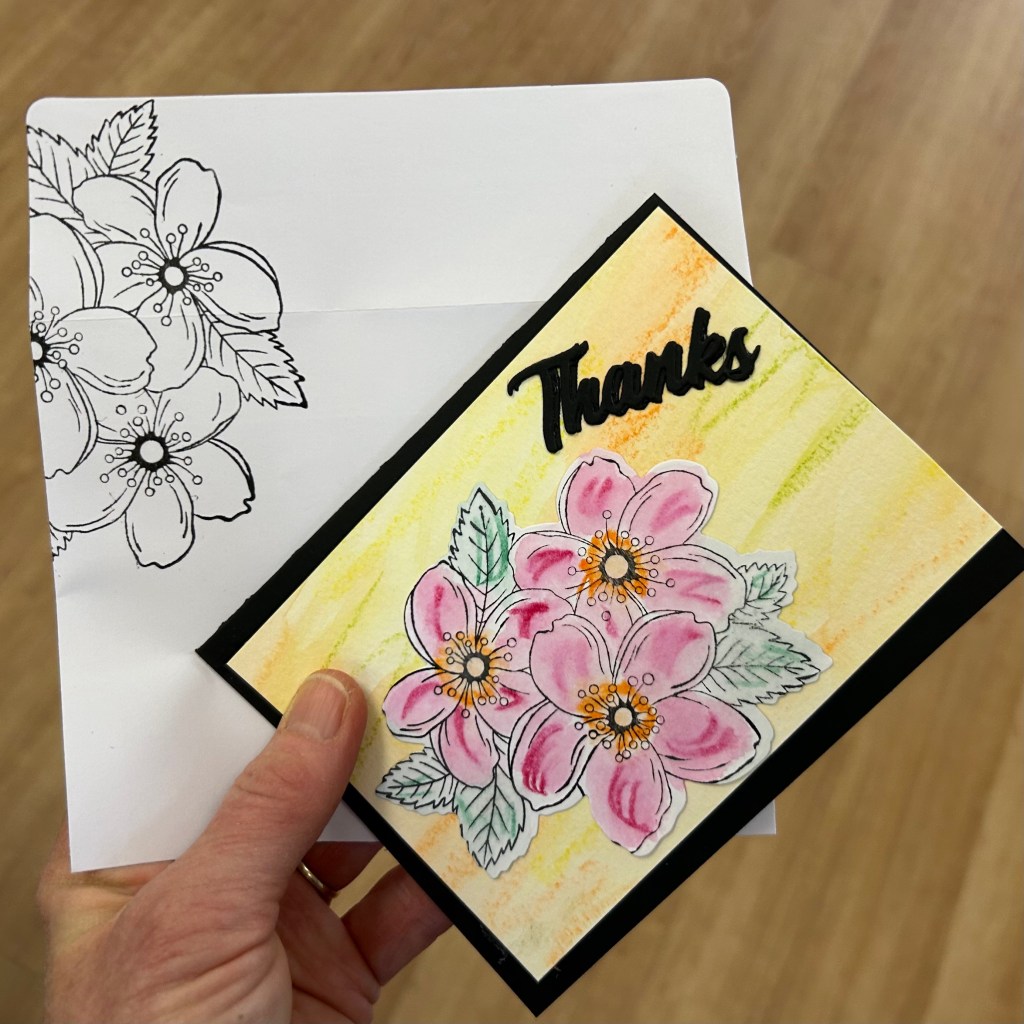
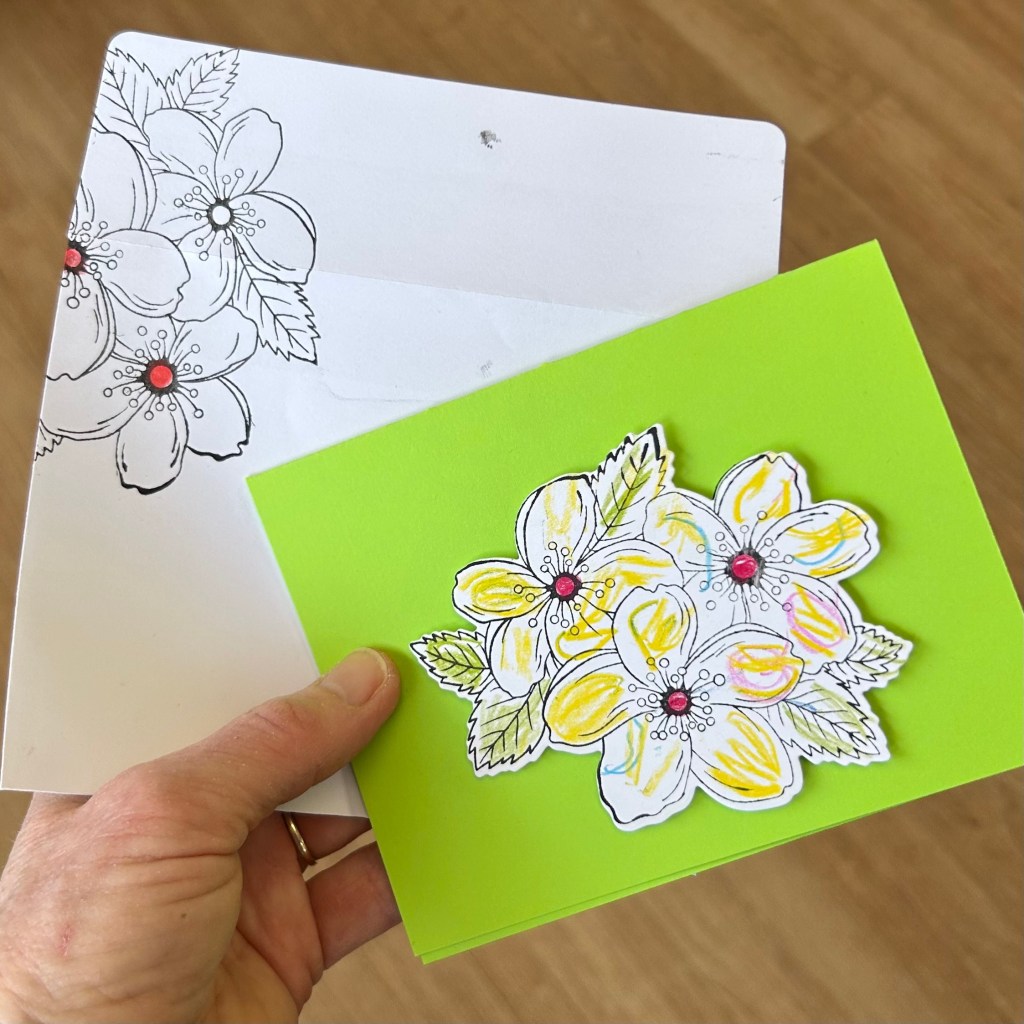
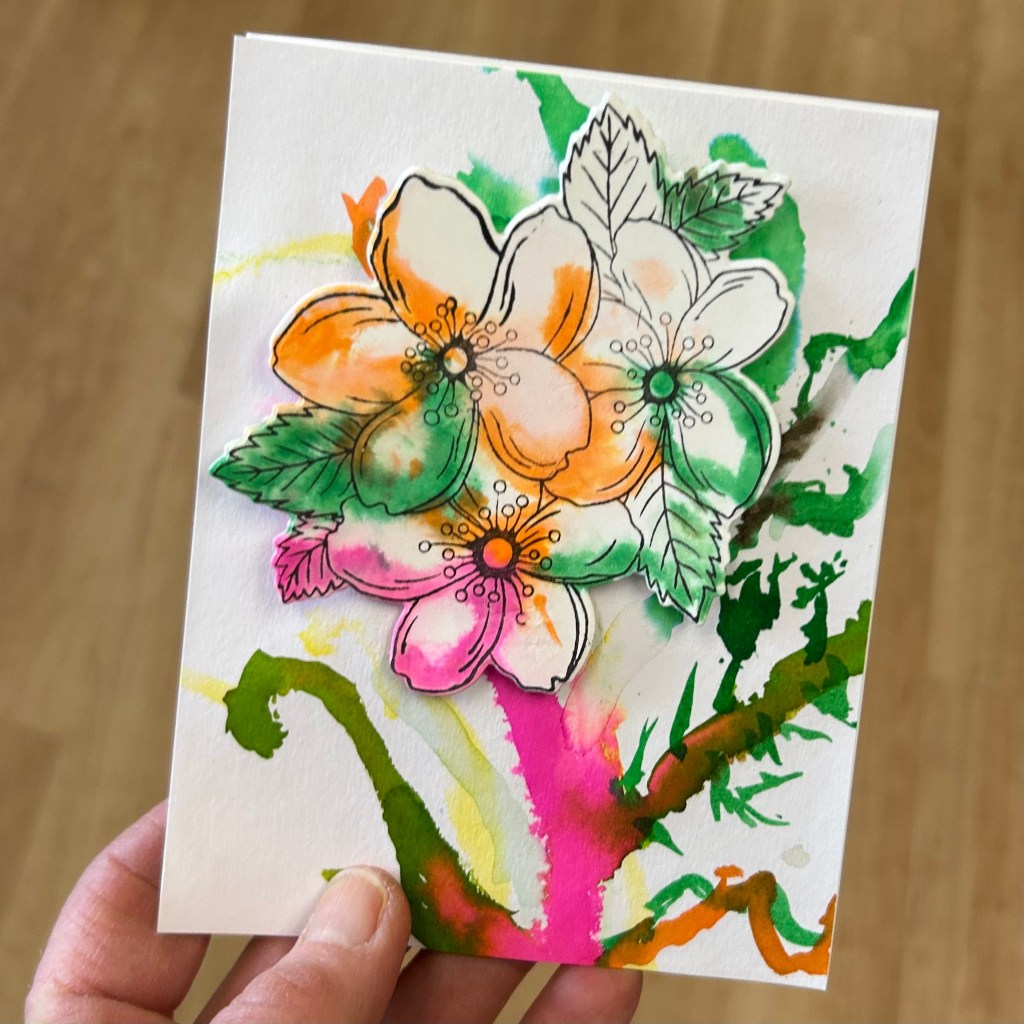
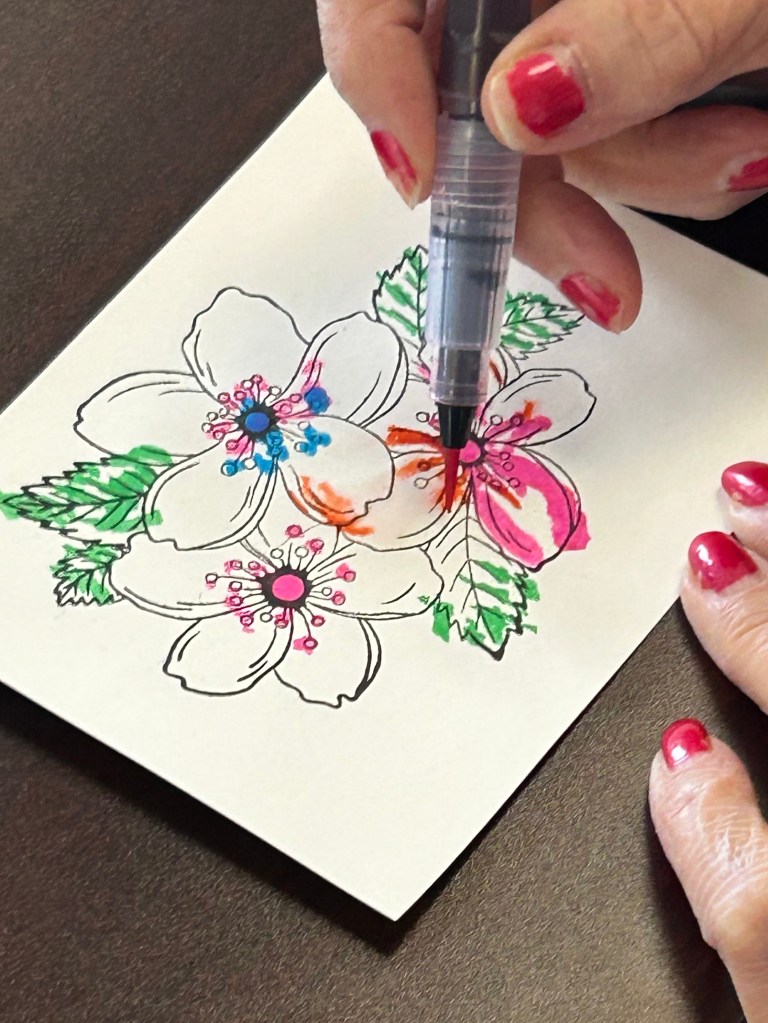
This one was coloured with water colour crayons which were then blended with a wet brush.The volunteers help guide participants in where they should add some colour and likely prompted this participant to match the centres colours on the card front and on the envelope.The bright green card base looked very cheerful and coordinated well with the green leaves.It’s nice when the envelope coordinates with the card.This one was coloured with watercolour crayons which were then wet to spread around the colour. The same technique was used to create the background layer.The inner layer adds a nice pop of colour to the inside of the card when the participants colour in the image.I love how this participant made a water colour drawing for her card front background rather than just making a random blended style of background. The watercolour markers give such fun, vibrant colours.The watercolour markers seem to work very well for some of the program participants.
Arts for All Program Preparation
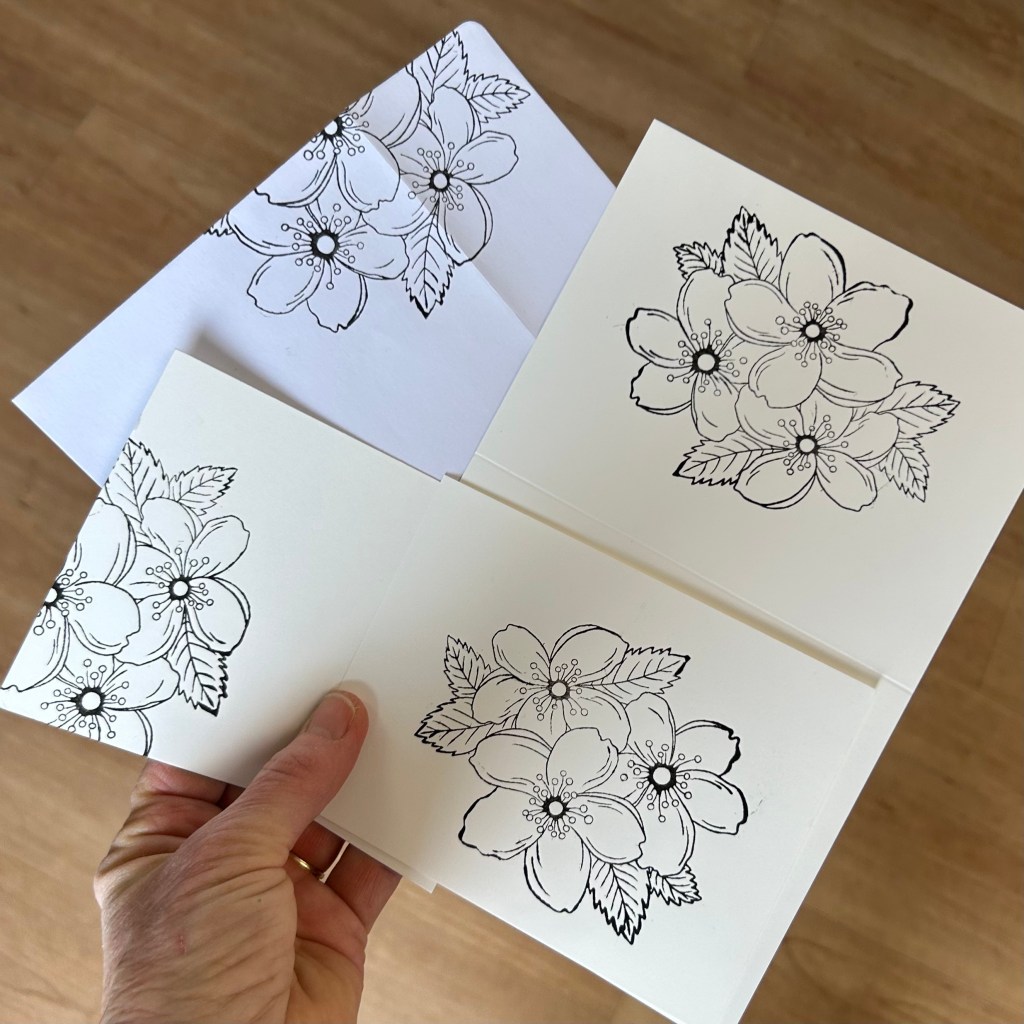
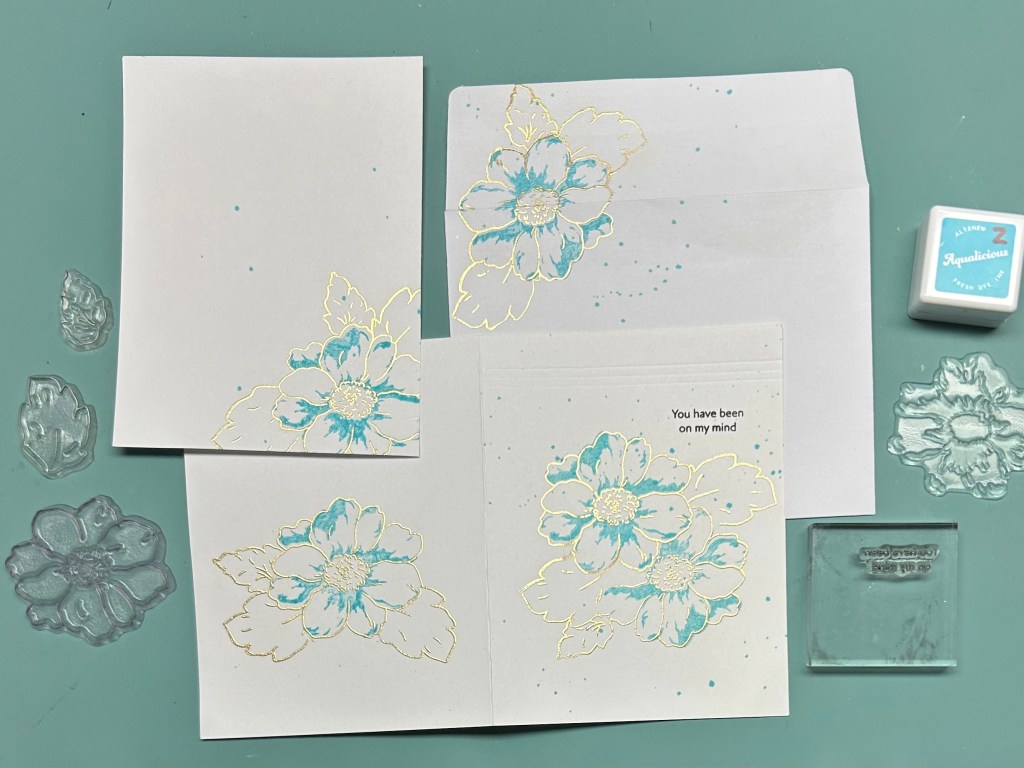
This is part of the kits that I’m putting together for the monthly cardmaking class that I do at the Canadian Mental Health Association during their weekly Arts for All program.
These are the pieces that are in each kit that I’m putting together for tomorrow’s class: the cardbase with the image on the back. The image stamped for the front of the card which still needs to be die cut, the image on an inner layer and the image on the envelope. We also stamped sentiments as well as die cut some single word sentiments from black cardstock.
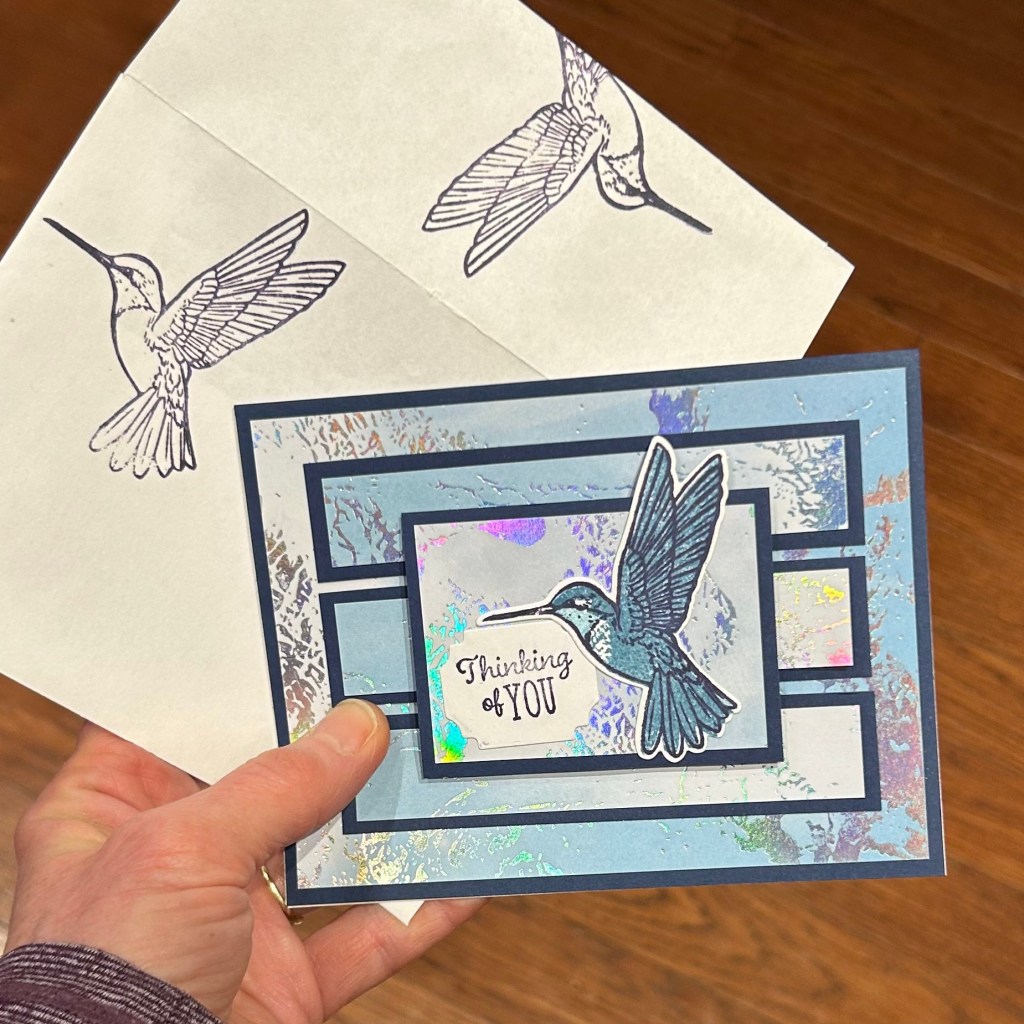
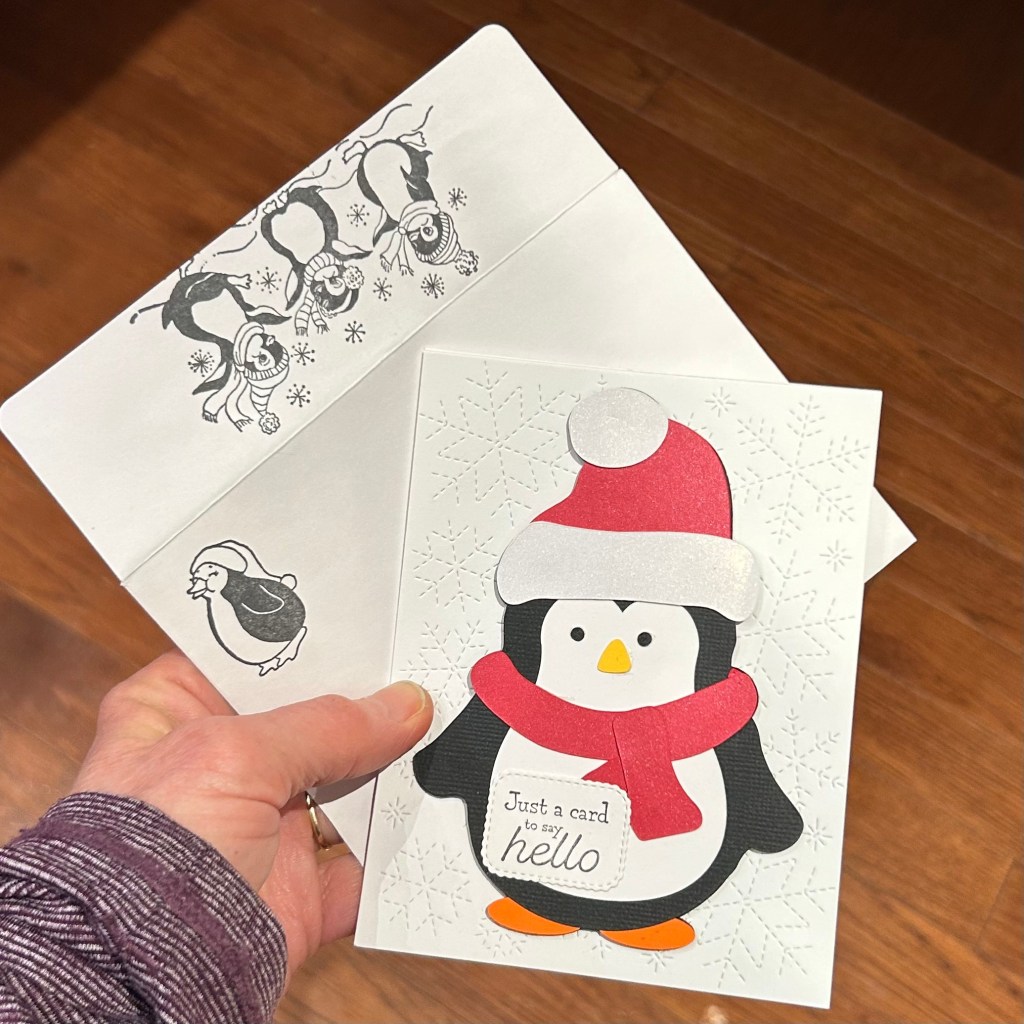
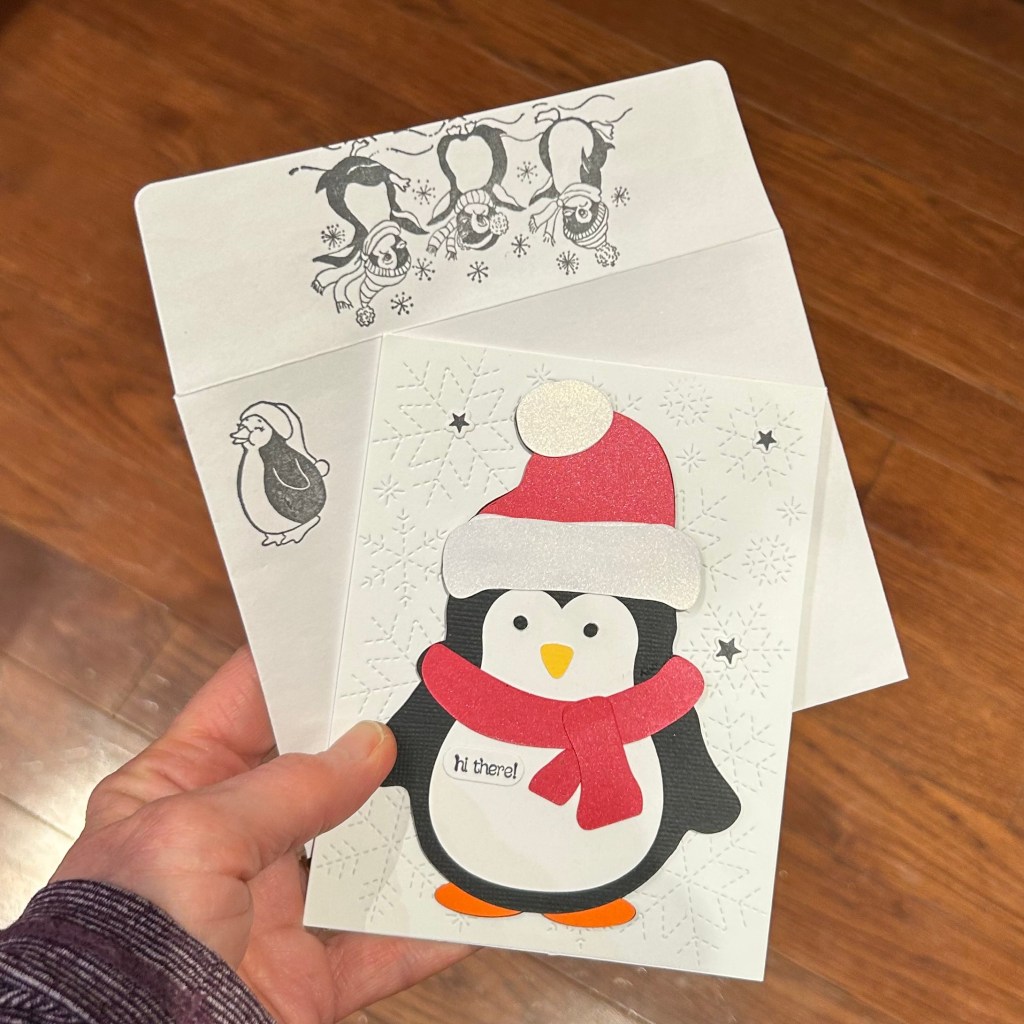
Mail it Monday
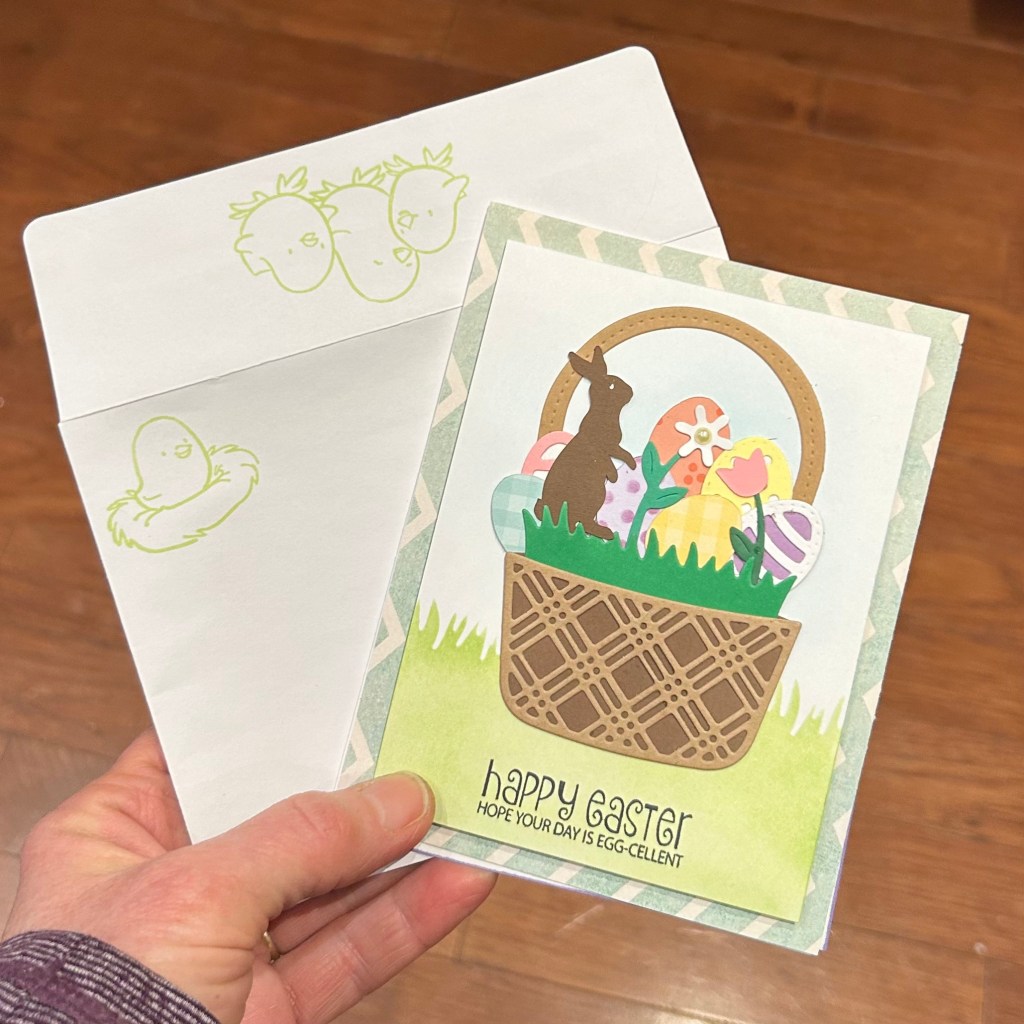
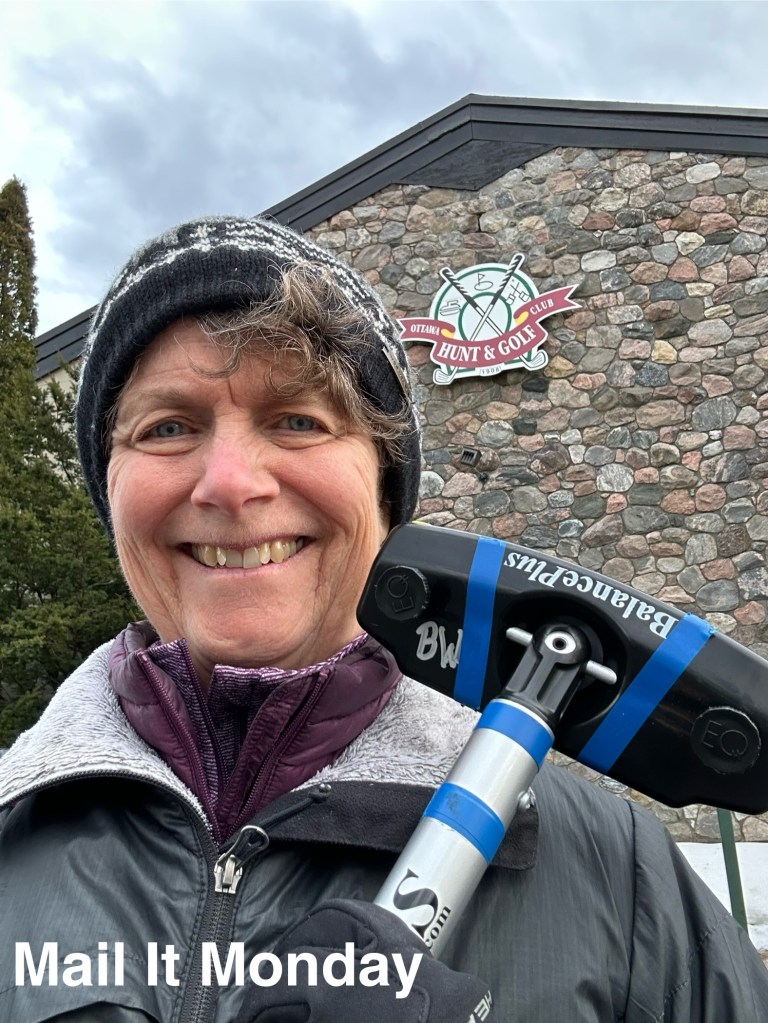
This was from a card kit that Vicki put together for my Dementia Society online Creative Cards and Crafts program last year. I have a pretty good stash of cards accumulated. This was a great design that I think would be worth creating again another year.Another card from a past Creative Cards and Crafts class with a kit that I put together using the beautiful hummingbird stamp that I got in a Scrapbook and Cards Today Crop and Create Cardmaking workshop class. I think it was a Hero Arts set.The pieces for this cute fellow were made using my Cricut. The Creative Cards and Crafts program also make larger versions of these penguins as a winter home decor item. I thought they were so cute (and can’t resist penguins – one of my favourite animals) so I decided to shrink down the size and make a card it using the images as well.This card is going out to a past Creative Card and Craft program participant. She’s pretty busy taking care of her husband so can no longer participate in class. We really miss having her and her husband in class with us on Tuesday mornings.I forgot to take a photo earlier today so I took this one on my way into curling tonight.
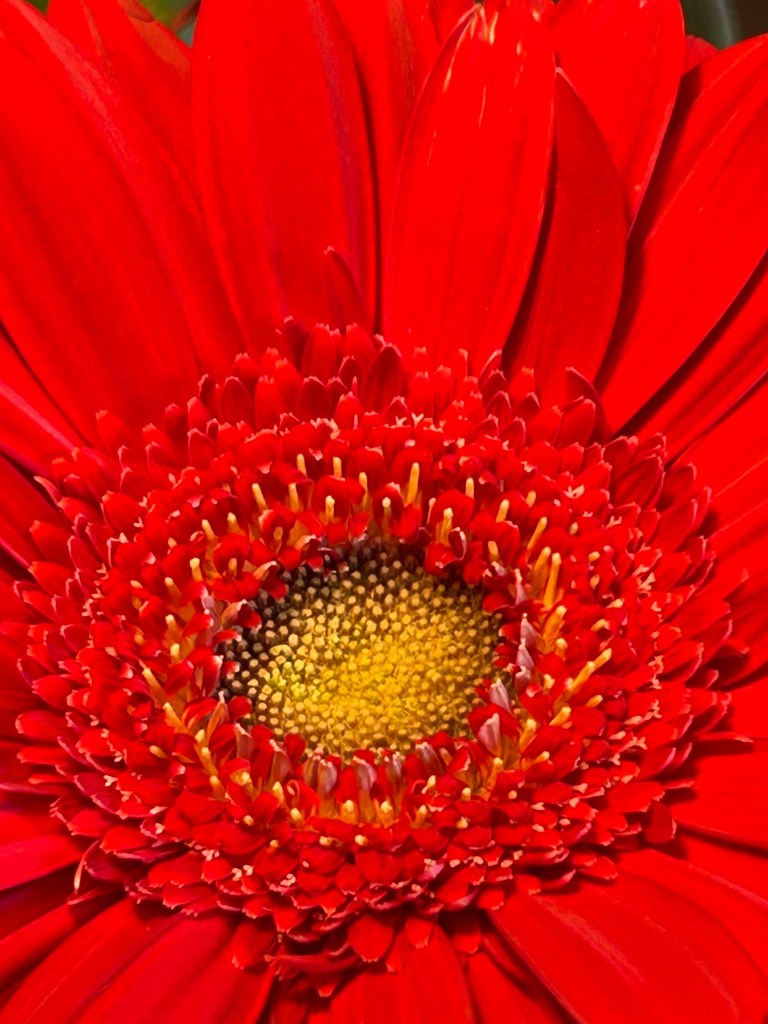
Back to taking photos of the beautiful bright red gerbia daisies.
100DayProject Day 29
I have mostly been working on a few other crafty projects today instead of either my 100DayProject or any kit assembly for my upcoming Dementia Society and Canadian Mental Health Association classes.
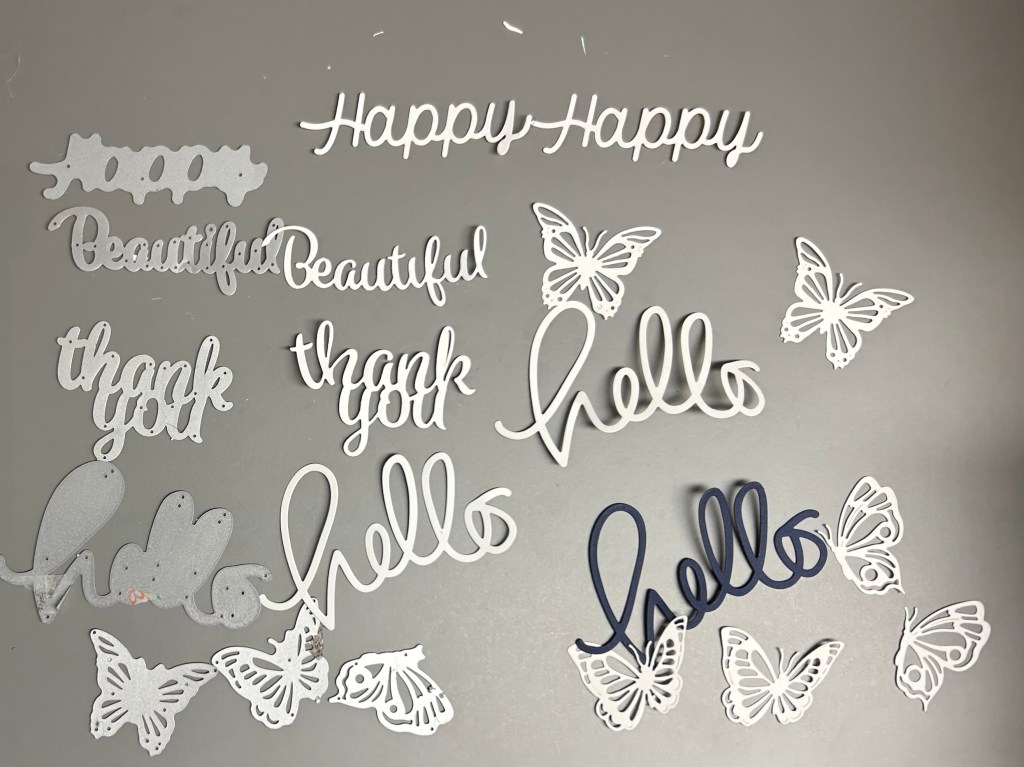
Part of my crafty project. I’ll share more about it in a few days.
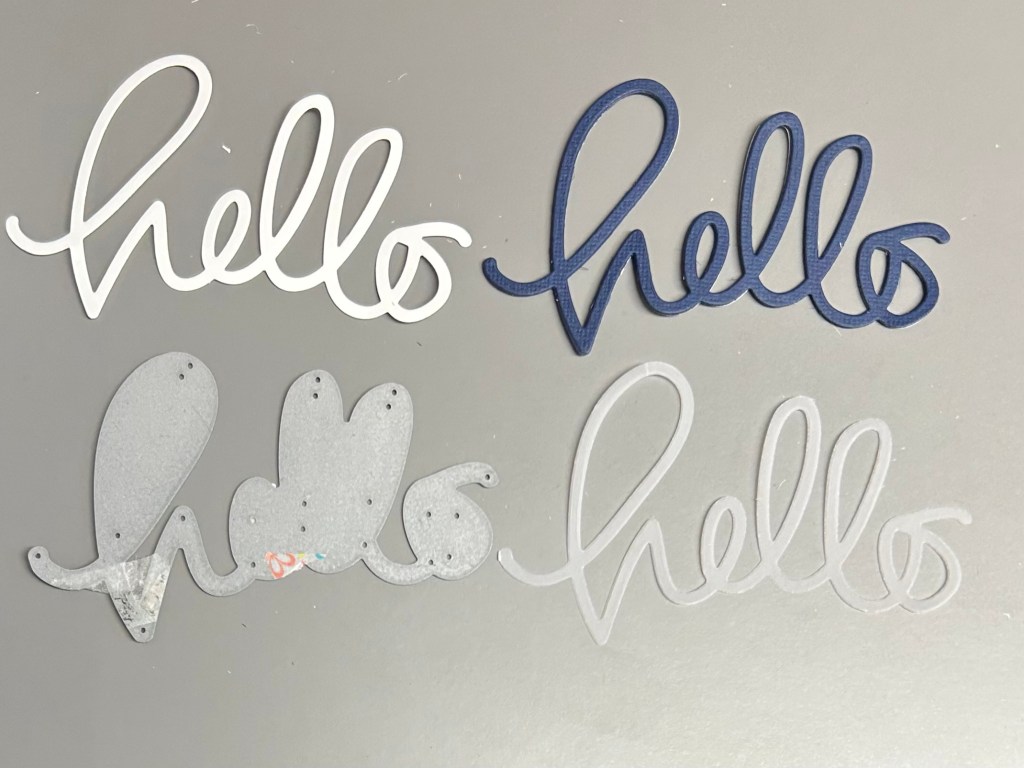
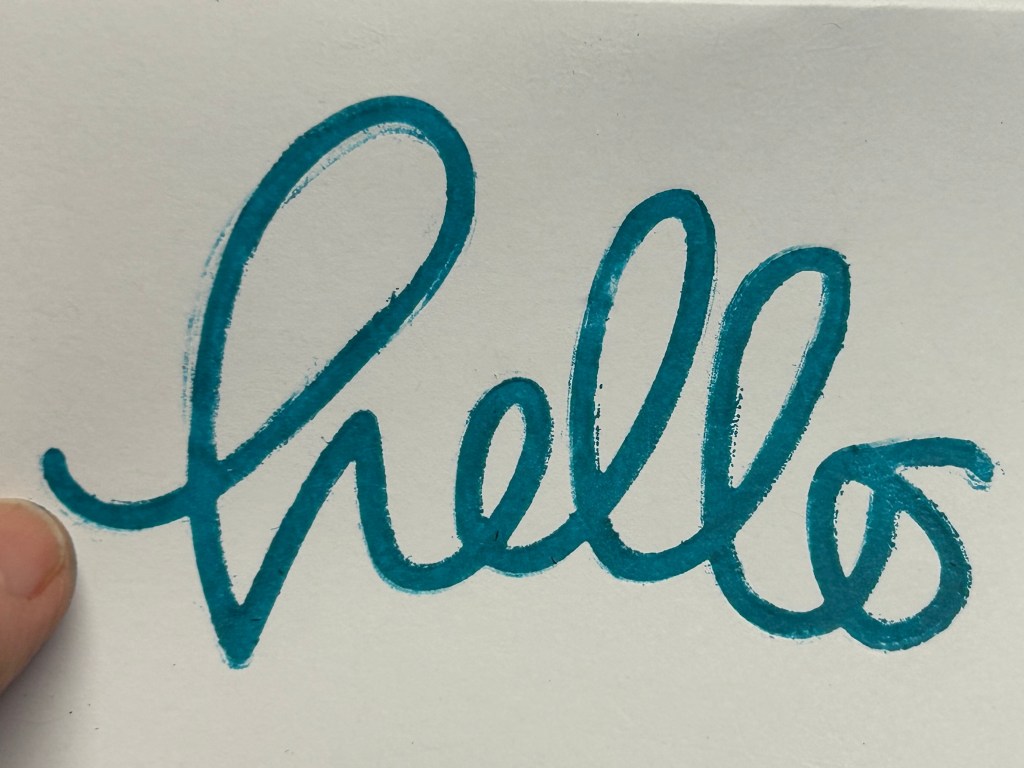
I did select a ‘hello’ die and created several layers of it which I glued together. Some I cut with adhesive-backed cardstock and the others I cut from 80 lb. cardstock. I glued the layers together and ran them through my die-cutter.
I started to cut out a few different die cuts, but finally got more realistic, put away the extras and focused on the hello die!
I tried a few different settings. I did a few trial runs through without inking the bottom vellum layer with ink. There was quite a bit of pressure required to make a good indentation. I eventually ran a few through after inking the bottom. I noticed that the layers shifted a bit from the pressure. I will have to investigate to see if they shifted under the adhesive-backed cardstock or under the glued layers; somehow I think it was the adhesive-backed layers that shifted.
Some of the layers that I cut out to build up a thick die cut image. I tried some from 80 lb white cardstock which I adhered together with glue. I also cut some from adhesive-backed cardstock. And the bottom layer is vellum which I adhered together with glue. I think the glue layers adhered better under the pressure of running them through the die cut machine for the faux letterpress effect.
Definitely some more experimentation required. I think it may work better onto thicker cardstock for a few reasons – the first being that it would be easier to make an indentation – and second being that the ink likely wouldn’t show through. However, I’m going to go ahead and finish the card that I started with 80 lb paper in which the ink shows through; perhaps I’ll add two inner layers – one on each side of the cardbase.
My first trial using ink on a scrap piece of paper. I may turn it into a card front. You can’t see the impression effect very well in the photo.
I think a few late nights combined with way too much recent experimentation with the foiling have left me with little energy or inclination to further experiment with the faux letterpress technique at this time. So I’ll move on and come back to it eventually.
I think I moved the stacked hello die cut a bit before or as I ran it through my diecutting machine. I don’t think this second impression came out as well as my first impression, although I do think I got better ink coverage on the vellum bottom layer.
There is special letterpress paper and apparently it works better with pigment than dye based inks so there is certainly a lot of things for me to try out. Maybe I’ll even find someone who has a for home use letterpress machine that will let me try it out. I will eventually research the real and faux techniques because the look is so nice.
I used too thin (80 lb) cardstock for this technique. You can see the impression from the inside of the card. i will add an inner layer on to cover it up. You can see how the layers of the stacked hello die cuts started to shift under the pressure of being run through my die cut machine. Further experimentation with the glue / adhesive as well as the number of layers of cardstock, and the weight and type of cardstock for the faux letterpress technique will happen sometime in the future. Hopefully tomorrow I’ll get the card finished and move onto the next lesson. This one is the fourth lesson in the Altenew Clean & Simple Boutique Cards class.
Soup on Sunday
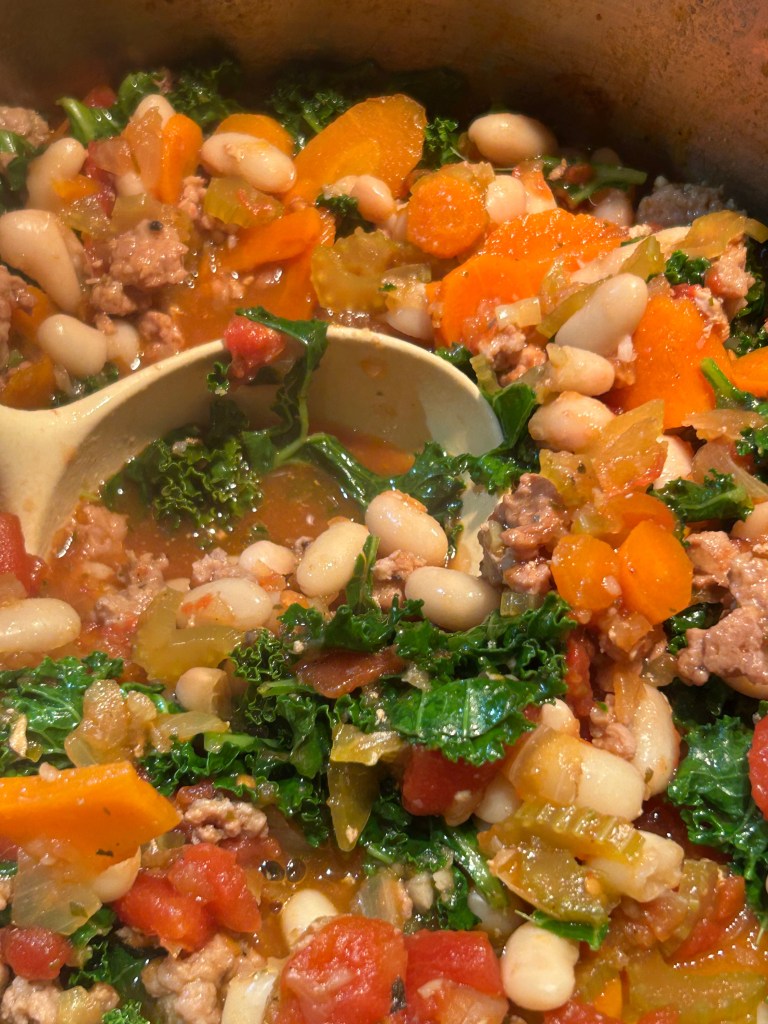
The soup I made on Sunday. But we’ll be eating soup for supper tomorrow instead of today.
I made a potroast for dinner. I recently found some horseradish in the fridge that I had bought quite a long time ago and developed a craving for roast beef. Wow, is it ever crazy expensive these days. So we bought a less expensive cut and made a pot roast with dumplings. It turned out reasonably well. It’s nice to have some leftovers. I also went grocery shopping for Heidi and made some soup. She’s trying to eat quite healthy this week in anticipation of ringette Nationals which start on Monday 31 March.
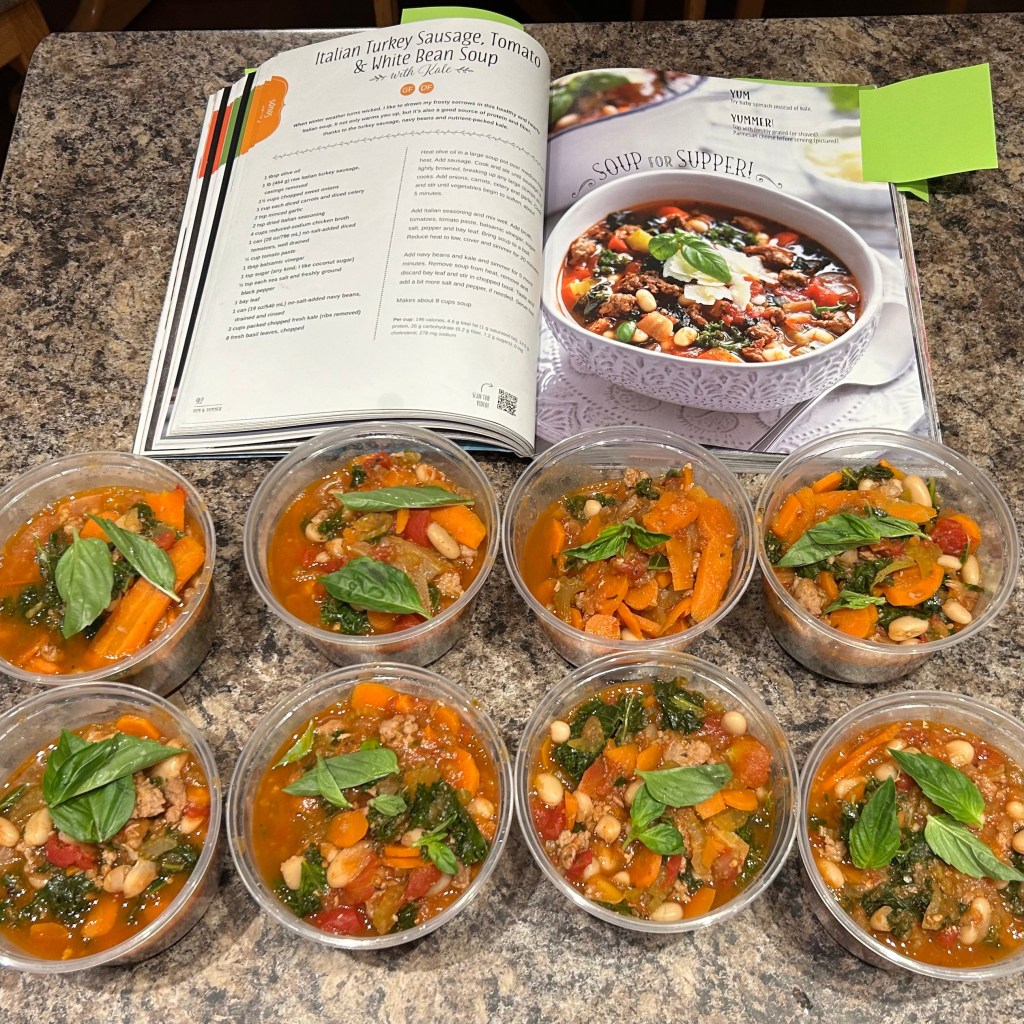
I used pork instead of turkey sausages but pretty much followed the rest of the recipe from the Yum and Yummer cookbook. I really like a lot of the recipes in the book and even bought an extra copy for the cottage. This is the first time trying this soup. It is easier to see what is in the clear containers that using sour cream and cottage cheese containers, but it’s still helpful to write a label on each.
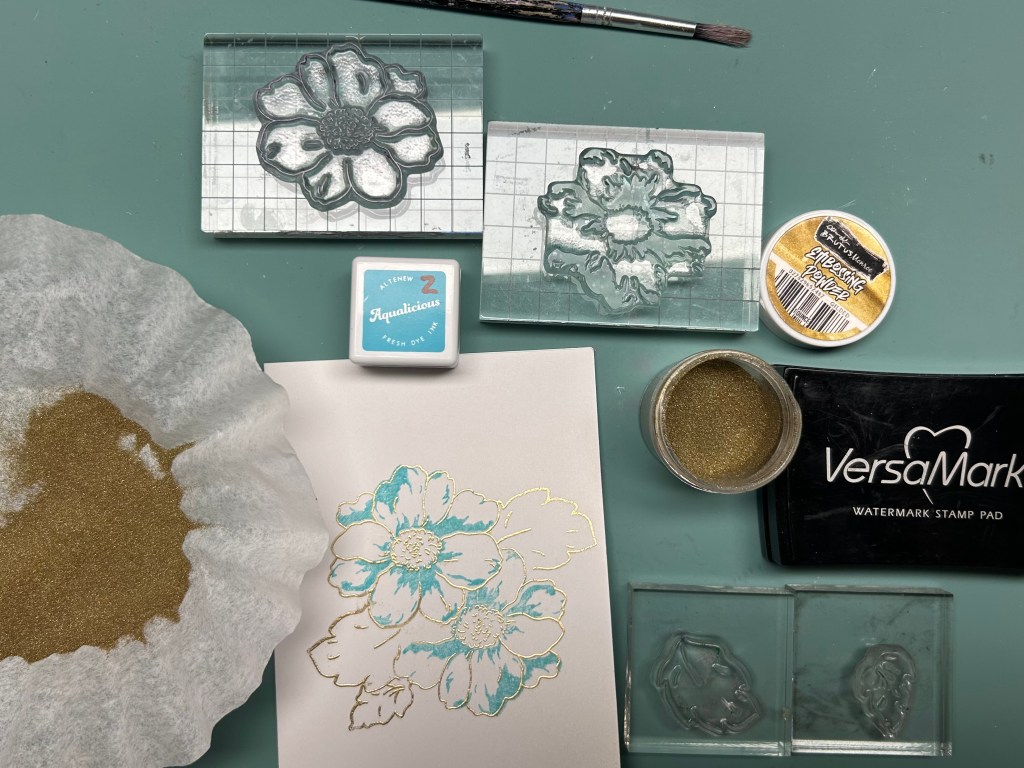
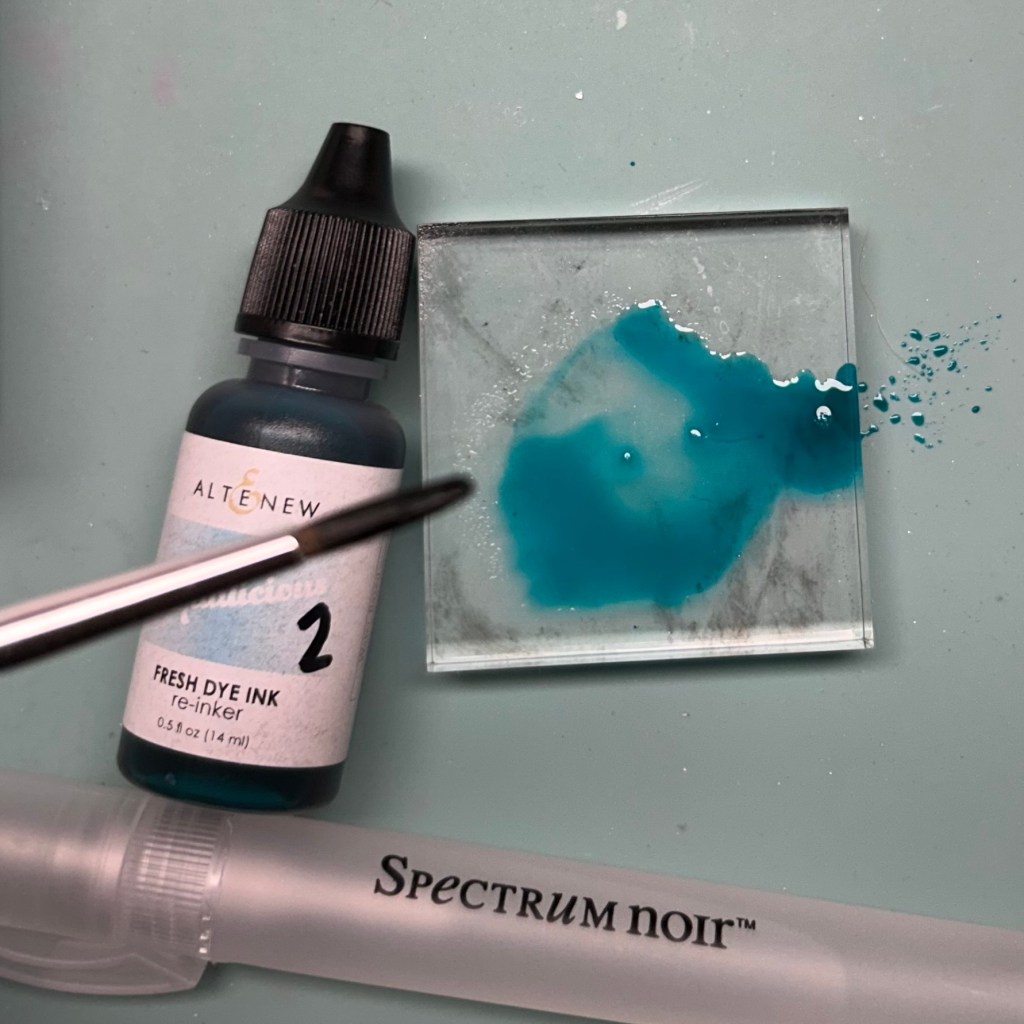
I’m quite pleased with how my card front as well as the coordinating envelope, back of card and card inside turned out using the techniques from class. I actually ended up using gold embossing powder rather than gold foil but believe that it would have turned out quite similarly had I used foil. There were a few simple techniques that added a bit extra to the card as well. First the scoring of a few lines with the scoreboard to add a bit of texture to the card front. And then adding a wee bit of water to some ink and using a paint brush to splatter a bit of ink on the card front. I also did some spattering on my coordinating areas. I didn’t take a photo of the stamping portion, but I did have to use masks when creating the images since the flowers and leaves overlapped. Even though I didn’t end up using foiling on this card I did a lot of experimentation and will definitely be finishing a lot of cards using the backgrounds that I made using that technique.
After stamping the outline images with versamark ink I used gold embossing powder. I really like the simplicity, ease and look of this technique. I watered down a bit of ink with a bit of water from a mini spritzer and used a paint brush to splatter it. This seems to work a lot better than the white and black sprays that I have tried recently, so I can foresee a lot more splatters happening on some upcoming cards now that I have a technique to do it that I find easier to use.The coordinating envelope, back of card and insert for the inside of the card turned out well. I do like how the small black inked sentiment adds a pop of contrast on the card front.You can see how nice the gold embossing looks coupled with one layer of colour that just highlights a bit of the flower.
100DayProject Day 28
I haven’t done any actually cardmaking today, but I did spend over an hour talking with Shelli about making cards. And I did get the card I made yesterday posted today. Maybe I’ll pick the die that I’m going to use tomorrow to try a faux letterpress technique before heading up to bed.
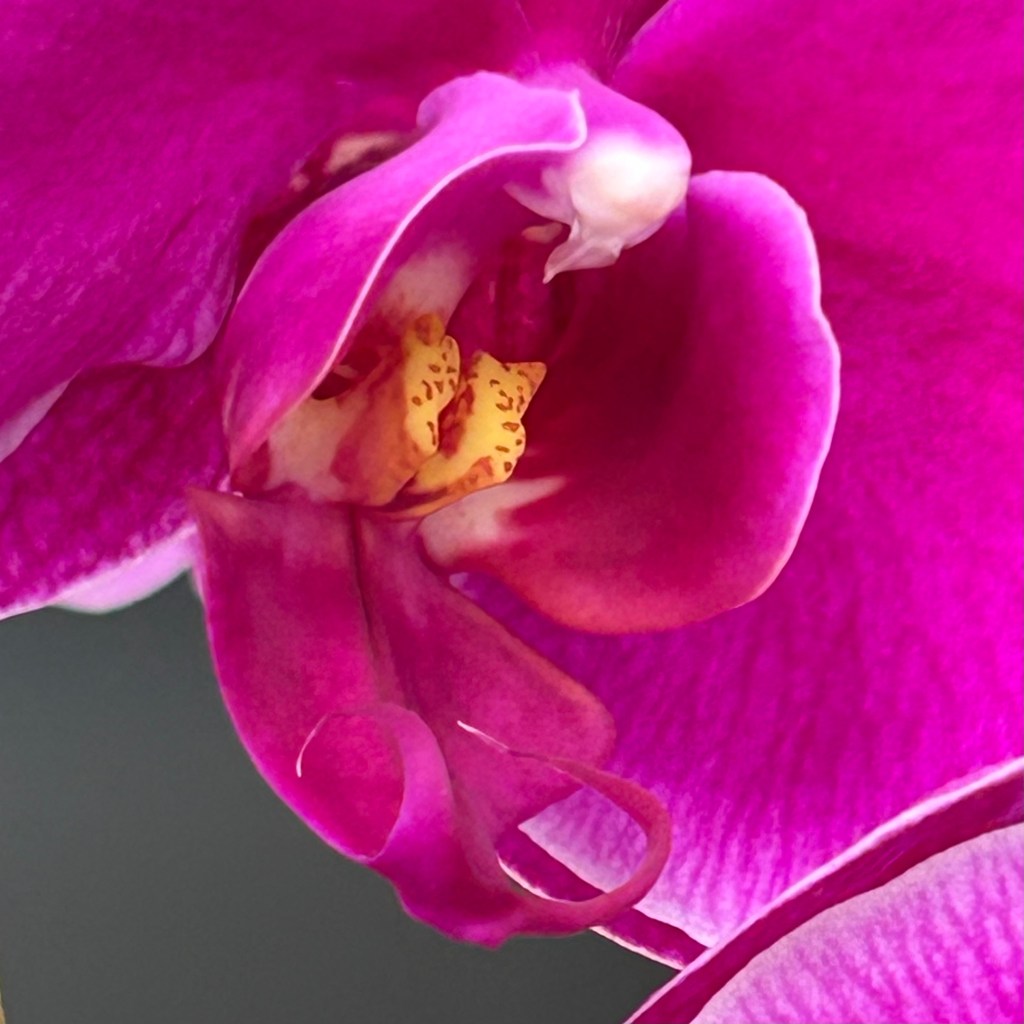
So many options to choose from to try out a new-to-me technique for Lesson 4 (Faux Letterpress / Embossing) of Altenew Clean & Simple Boutique Cards course. The class card uses a beautiful ‘Happy’ die cut to make a Happy Everything card. My Happy die is nice but perhaps not as nice as some of the other dies I pulled from my stash as potentIials. I may end up experimenting with a few.It’s kind of crazy the photos we can take with our phones these days. I love this close up of the centre of one of the orchid blossoms on the plant that Louise game me about 6 weeks ago on the day of my mom’s Celebration of Life. It’s also kind of crazy how long orchid blossoms last. I am glad that I have a few friends that will take my orchid plants once they eventually lose their blossoms. While I love flowers and plants I don’t actually love tending to them that much (or as much as I like some other things so my poor plants get neglected).
Sweeping Saturday
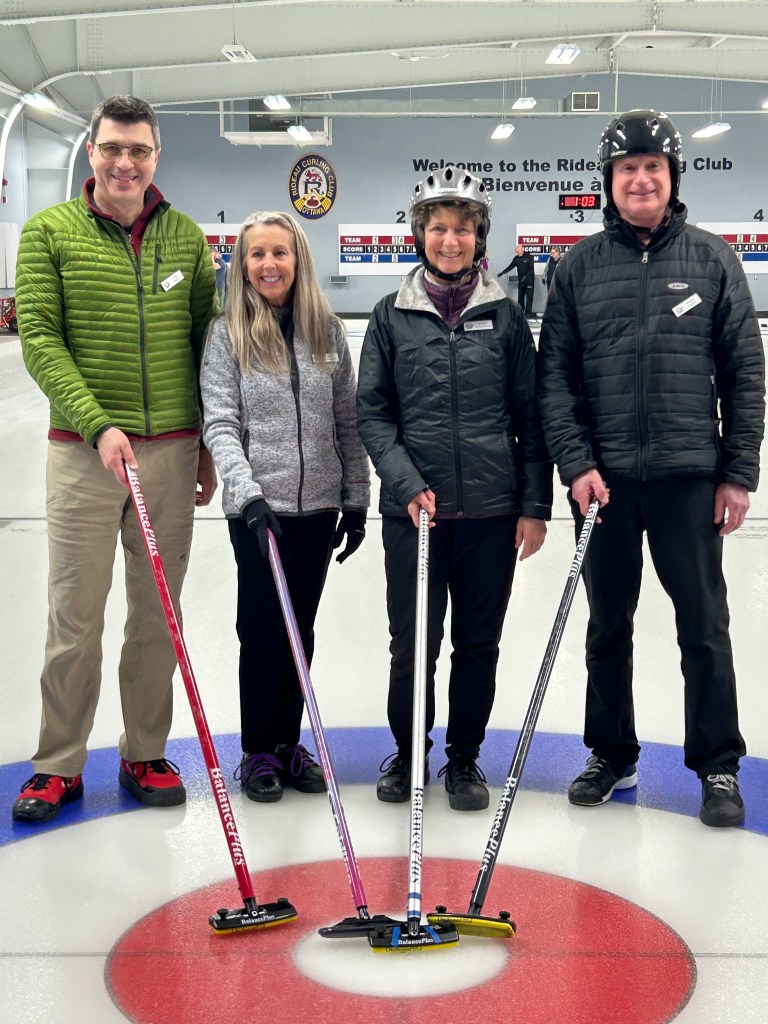
We left home about 7:40 for the Rideau Curling club for our three 5-end game Bonspiel. No early morning walk with Luna today. The first game was at 8:30 then 11:45 then 2:00. We stayed for quite a while after the final game since the prizes were awarded after the 2nd draw finished. We placed 8th of the 20 teams with a win, a loss and a tie. We zipped out between our first 2 games to pick my car up from the garage where it had regular scheduled maintenance yesterday but we didn’t have time to actually pick it up yesterday. I called Shelli on the phone on my way home about 7:20 and just finished the call about 8:40. Lots of fun crafty talk. She’s busy working on some SCT C&C cards. It’s going to be a while before I can work my way through those classes. We spoke about a fun colour scheme system called Color Cube which Vicki recently bought. I think we’ll start doing the weekly Color Throwdown Challenge together. I’m going to quickly finish this post and head to bed, hopefully before I get overtired.
I still don’t have a finished card 17 to report. But I did have a great lunch and crafternoon with Ivana, Vicki and Josee. We did fit in a bit more experimenting with foiling, stamping with metallic inks and embossing. Definitely more things learned and more things that I’d like to try.
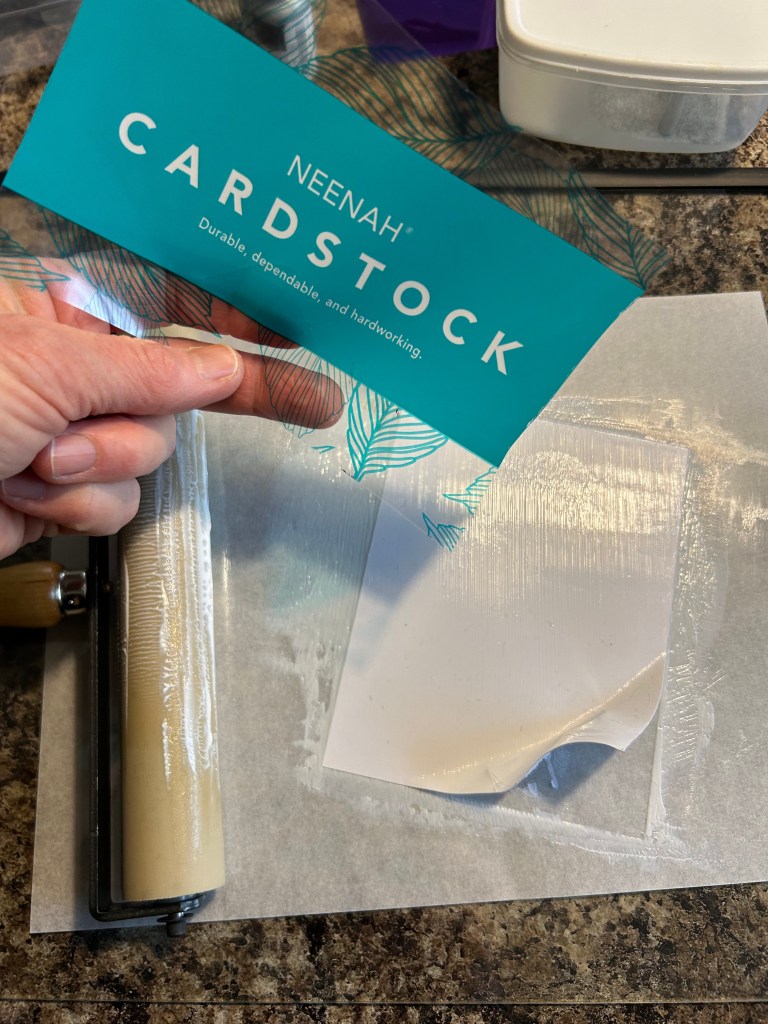
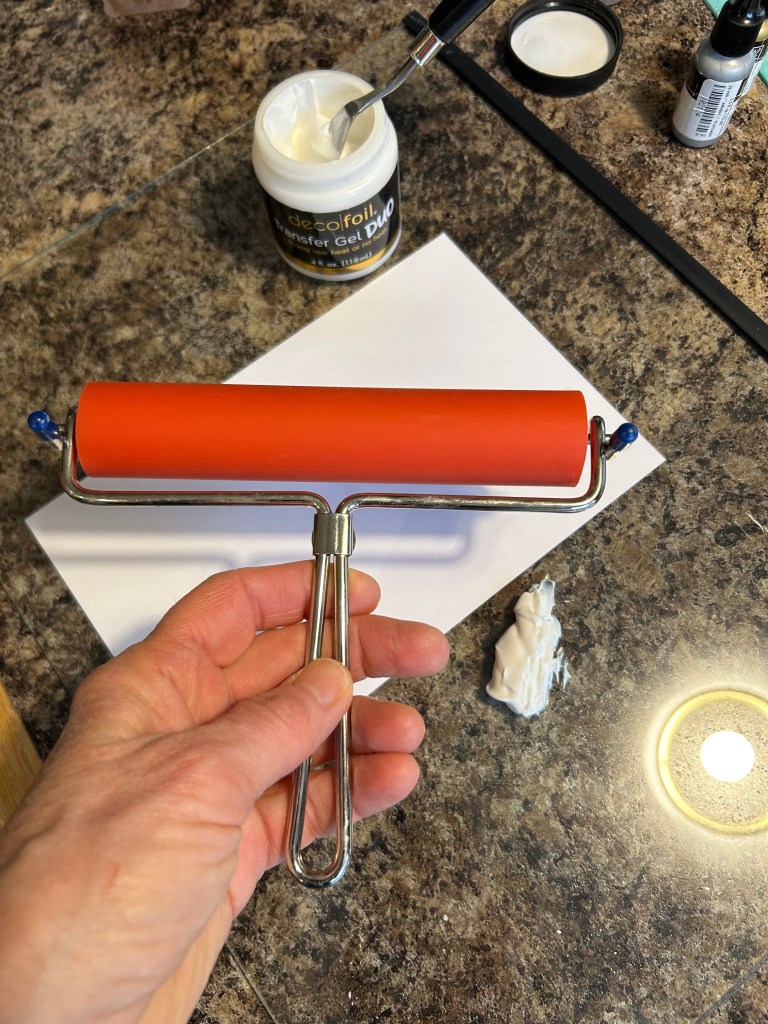
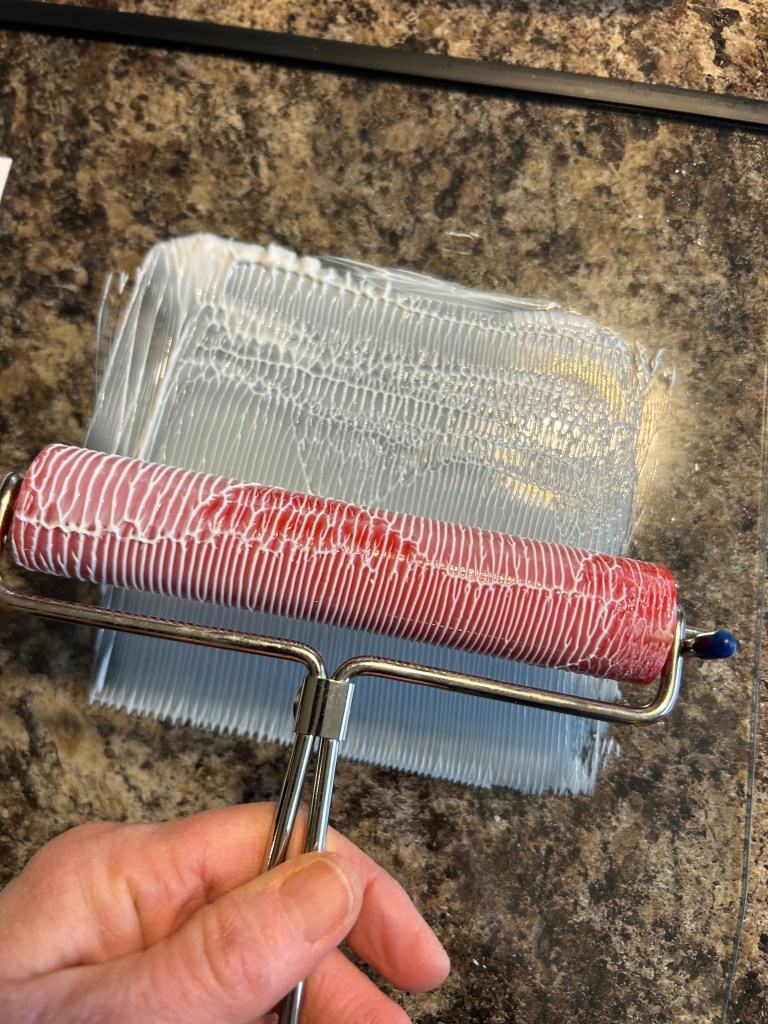
Cardstock seems to make a difference. I think the one that I used was too light.Or I left the transfer gel on too long or put on too much of it. I was trying to make cover a full cardfront so that I could use the ‘negative’ of a foil that I already ran through my foiling machine, but the paper was a soggy mess when I lifted it to pull off. I also think I made a mistake in trying to roll the gel on right on the paper. In my next attempt I rolled the gel onto the brayer then rolled it onto the paper.Here I am trying to roll the gel out first onto the brayer before rolling it onto the paper – it seemed to work better.But it did take a while to get the texture that you see on the brayer (which also transferred to the paper at first) smoothed out on the cardstock. I forgot to take a picture of the texture showing in the early stages of braying on the cardstock and of the relatively smooth final surface on the cardstock. There was definitely not any ridges like I had from the palette knife yesterday.I tried to put some on a pre-ink blended piece of cardstock through a stencil using a palette knife. I think the thickness of the stencil makes a difference, as does the tool with which you’re applying the transfer gel. As you can see I had troubles getting it totally smooth using a palette knife. I don’t yet have a scraper which Vicki had seen used in some videos but we did try with the edge of a piece of cardstock but it wasn’t that effective. I wonder if using a sponge brayer might yield better results – smoother and less thick. It’s going to be interesting to see how this turns out when I run it through the heat foil machine. Maybe I’ll cut this paper and half and try half of it using pressure to try to transfer the foil and the other half with the heat transfer technique.In this example I tried to use a brayer to remove some of the thickness of the gel after I had applied it with a palette knife. There seems to be quite a lot of texture to the gel; it’s not nearly as thick as when I didn’t try to remove some of it with the brayer, but there still seems to be quite a bit of thickness in spots. This is a full 8.5 x 11 paper so I’ll cut it into 4 pieces to try a few different ways
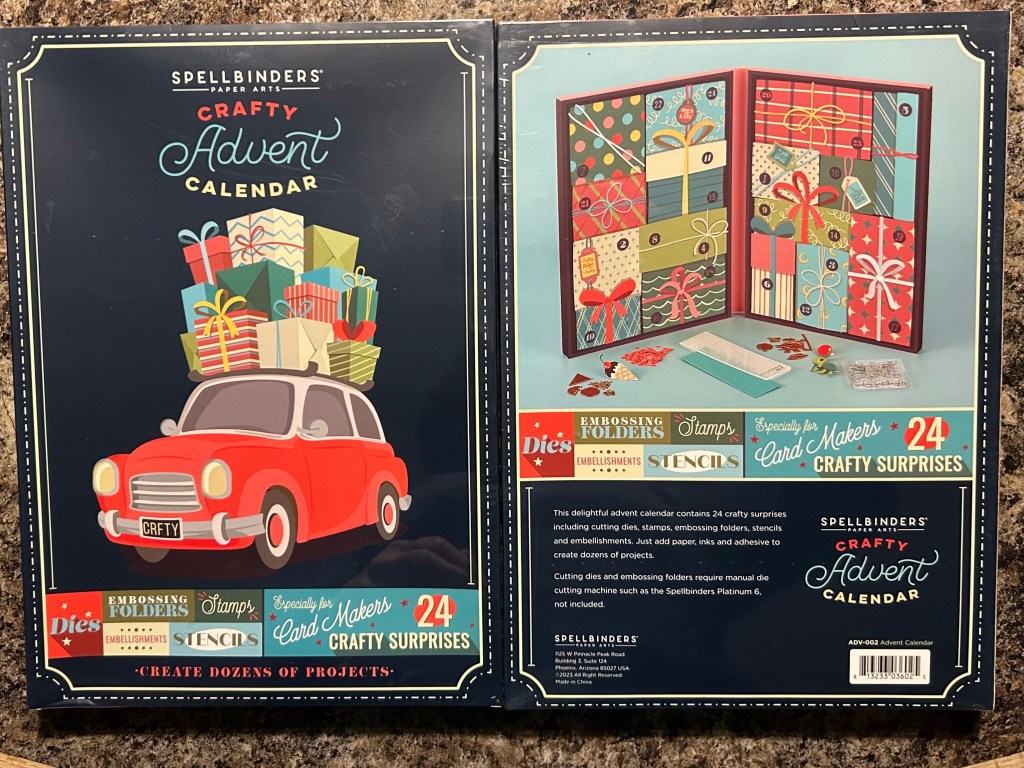
Vicki also delivered some 2023 Spellbinders Advent Calendars that she was able to get on sale; instead of just me and Shelli working our way through the 24 doors of products, 5 of us (Vicki, Ivana, Shelli, Nancy and I) will gradually work our way through. The plan is to open 1 door each week starting in June after I finish my 100DayProject. I’m not sure if I’ll continue with my blog posts after that project but if I do you’ll see some more cards using Spellbinders products.
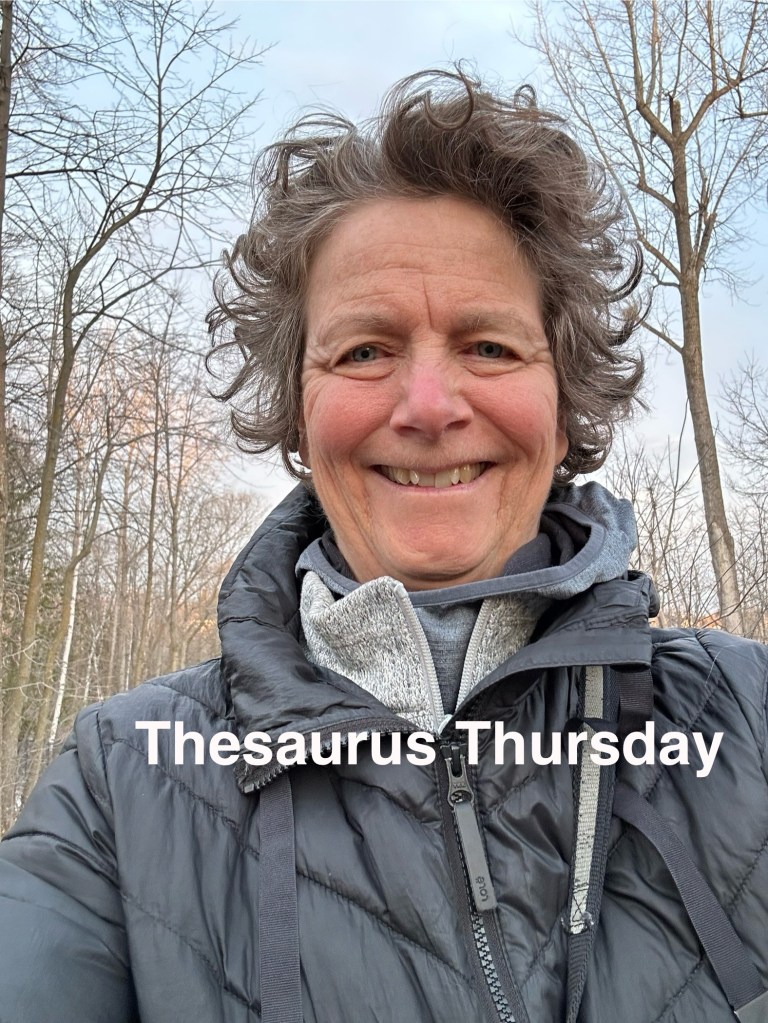
Thesaurus Thursday
This morning as I stepped out of the house, I was greeted by a symphony of bird song. So many different ones singing at the same time and it sounded lovely. I wondered if there might the a word that I could use as my theme for today. The closest I came was troupe, it’s not a ‘th’ sound at the beginning so doesn’t go quite as well as I like for my theme for today. But I did use the thesaurus to find a word similar to symphony. As I am trying to write more, I find myself using my phone to look up words, so thesaurus seems like a very good theme for today.
I similarly wondered if there might be another word for the V formation that the Canada Geese utilize when they are flying. So I looked it up. Apparently it is referred to as a skein. I don’t quite understand how it looks like a skein of yarn. But it was interesting to know that that V formation is not just about the shape of the V but also about the timing of the flapping. When you take some time to observe them flying it really is quite an orchestration of the flapping and flow of their flight paths. Beautiful and amazing really. As I struggled a bit to pass someone in my swim lane this morning, I realized that it is amazing how they keep up their formation for such long periods of time. Apparently they use their honking to maintain flock cohesion, coordinate shifting of positions and encourage each others during long flights. It’s also interesting to learn that a group of geese isn’t called a gaggle when they are flying but rather a skein, a team, a flock or a wedge and when they are flying close together they’re referred to as a plump. It seems high time that I’ve learned a bit more about Canadian Geese. So glad they were part of the symphony that greeted me as I set out for my walk this morning.
Don’t forget that it’s also a Thankful Thursday and a Thinking of You Thursday so you can always take a few minutes (at 3:00?) to jot down a few things for which you’re thankful, or send a thank you card or send a thinking of you message to someone. Happy Mail and messages are always nice surprises for the recipient.
Throwback Thursday:
I have 2 sorts of Throwback Thursdays today. First a copy of my blog post from 20 March 2010 (15 years ago – yikes) and then some photos that Roland has been scanning in from old negatives.
2010 03 20 – Provincials: Day 3
Saturday: Lots of uncertainty about whether our 2-2 record so far combined with our upcoming 2 games today would lead us to mini-game tie-breakers for the final spot in the semi-finals tomorrow. Things become more clear after our 2-6 loss in our 9:00 game against Burlington. We’d need to win our 6th game plus two other teams would need to lose their 6th games for us to advance. Luckily (?) we opted to check out between games since we ended up losing 3-6 to Forest in our 2:00 game. It was a well-played game, but things just weren’t going that well for us. Turns out those 2 other teams won their games, so even a 3-3 rather than 4-2 record wouldn’t have had us advancing. We had a quick stop at the McEwan’s gas station about 15 minutes out of North Bay to fill up on gas and stock up on junk food; unfortunately the ice cream cone that I’d been looking forward to all weekend wasn’t to be: turns out the store only has ice cream cones in the summer (which we always get on our way to Castle Oma (Roland’s parents’ cottage on the Pickerel River)). The drive home was uneventful; we got home about 7:00. Roland and the children watched some hockey and other sports on TV while I caught up on my blog. While it’s too bad the girls didn’t advance, we were thrilled with their 2 (unexpected) wins (pretty good for team ranked 9th among the 10 teams). And, now that we’re home, it will be great to have a full day here tomorrow before heading back to school and work. Sadly, except for a year-end party (and hopefully having the girls over to scrapbook), that’s it for ringette for this year. Heidi’s lucky, her ringette season was a month longer than Stefan’s hockey season which ended on February 19th, the night before we left for Mexico. Now we’re all looking forward to spring and summer – soccer, paddling, cottaging and that ice cream cone on our way to Castle Oma!
Some things are the same and some are different since 2010: Heidi is still playing ringette. She plays in the National Ringette League now so her team will be going to Nationals (rather than Provincials) the first week of April which will be held here in Ottawa this year. Her team isn’t ranked particularly high this year either so (not to jinx them) I don’t expect they’ll be advancing to the finals in the year end tournament this year either. Stef isn’t playing much hockey anymore; just a few fundraiser games on a TD team against some other financial instituation teams. We still look forward to icecream on our way to and from the Pickerel River just at a different ice cream store. I still refer to Roland’s parents’ cottage as Castle Oma. I haven’t been doing much scrapbooking for years because I’ve been focused on cardmaking, but I do hope to get back into it. There are so many other ways to keep memories these days such as our social media feeds and blogs. That was our one and only trip to Mexico, definitely no family traditions of trips south.
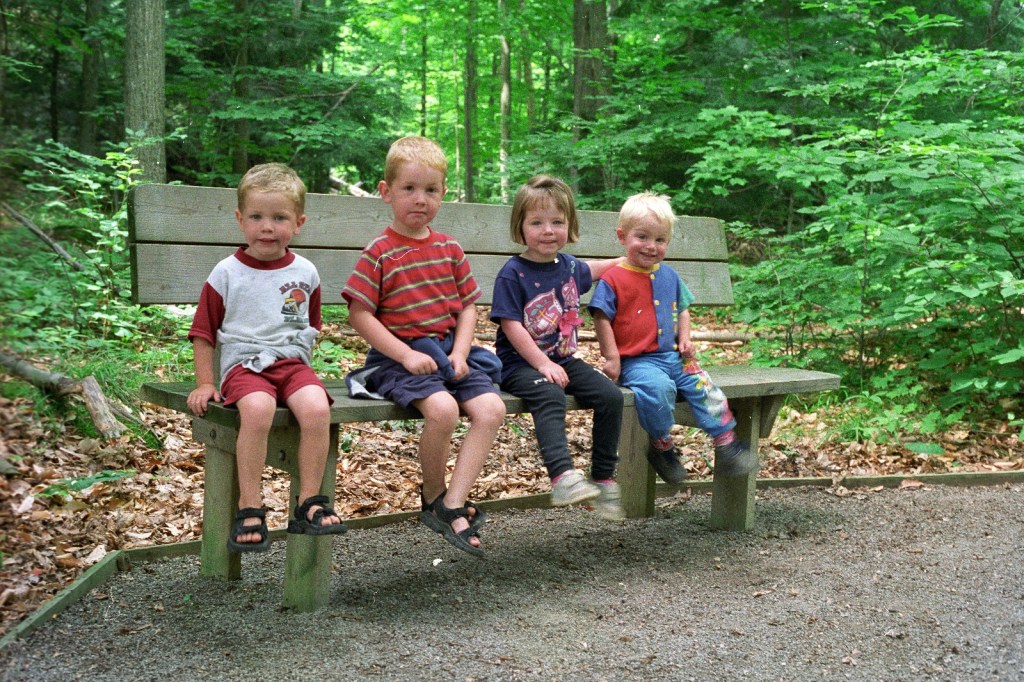
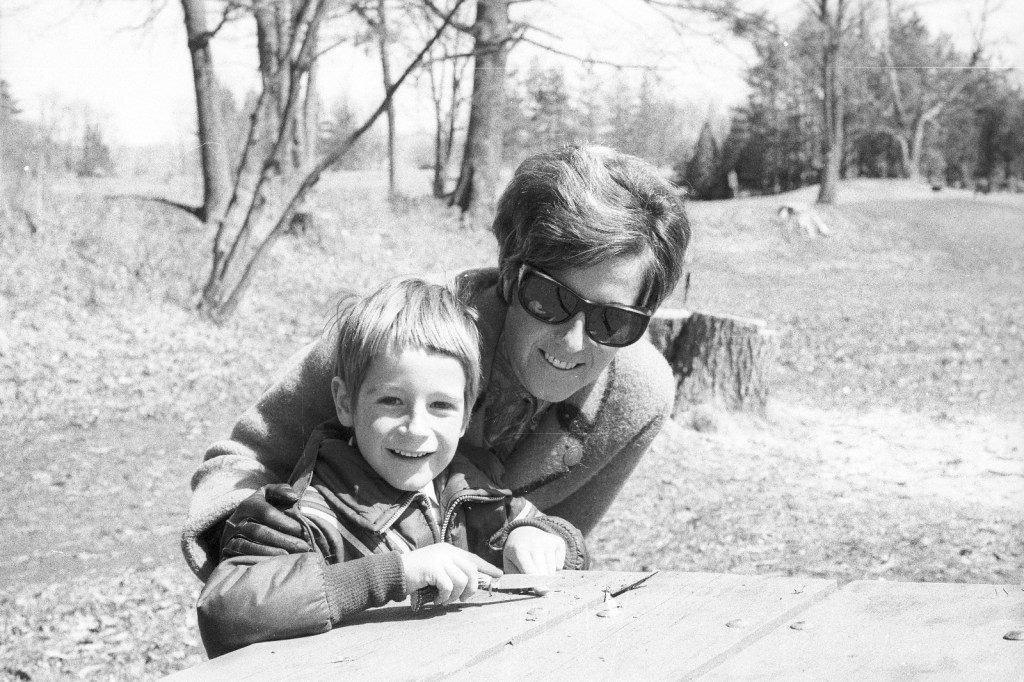
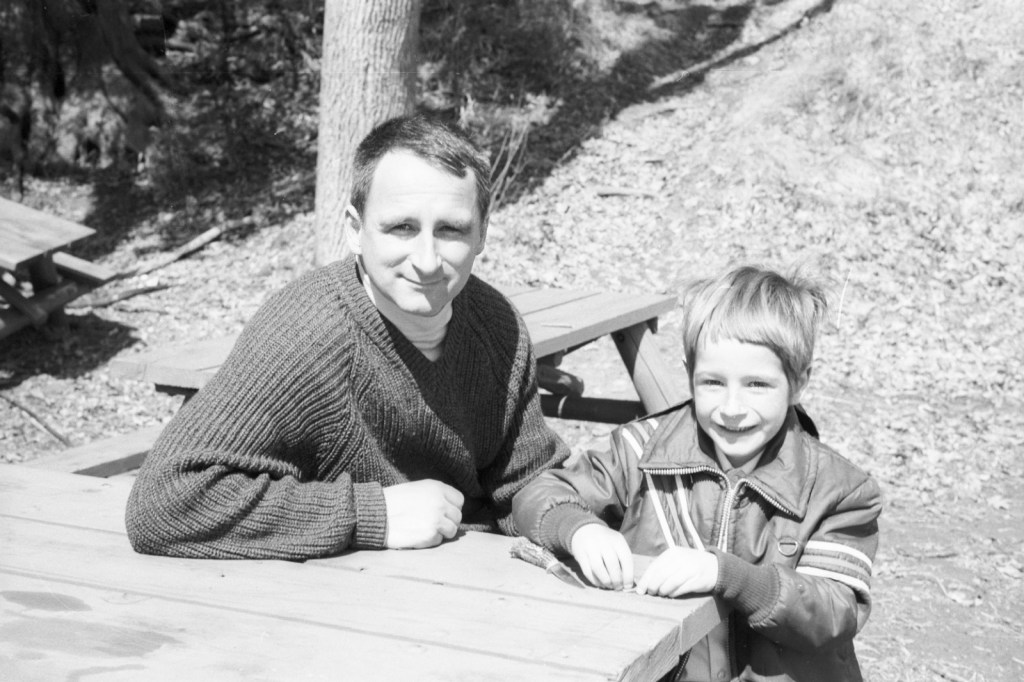
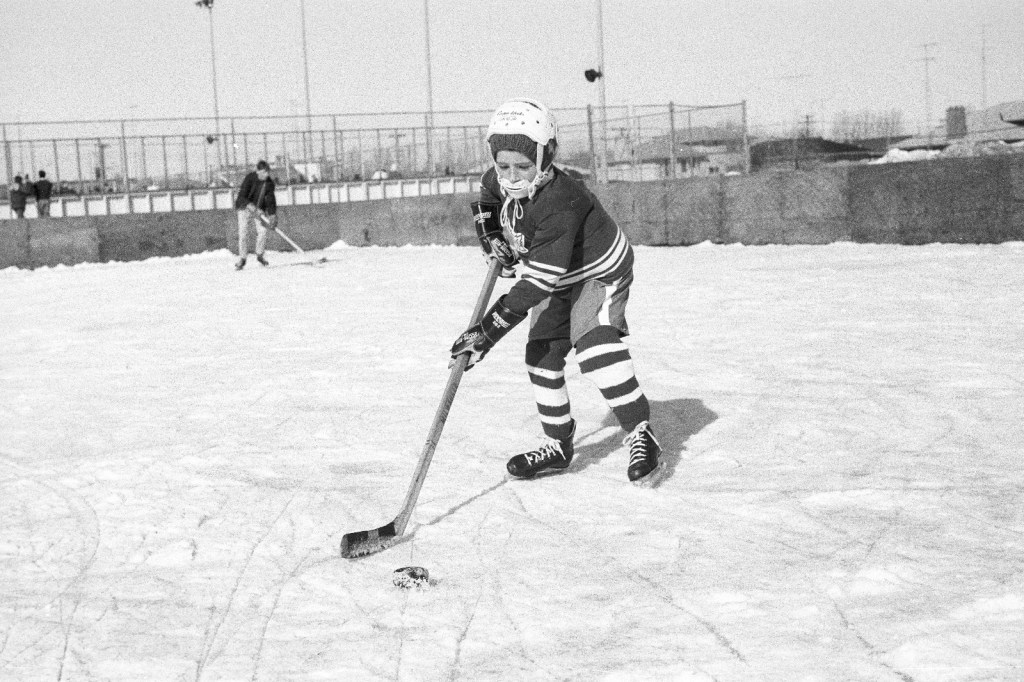
And now for a few of the photos from the negatives that Roland’s been scanning:
Camping with cousins Peter and Blair likely at Bon Echo.Roland’s dad was a great photographer. This is Roland and his mom.And Roland with his dad.And Roland on the ice. It’s been a long time since I’ve seen one of those mouth guards!
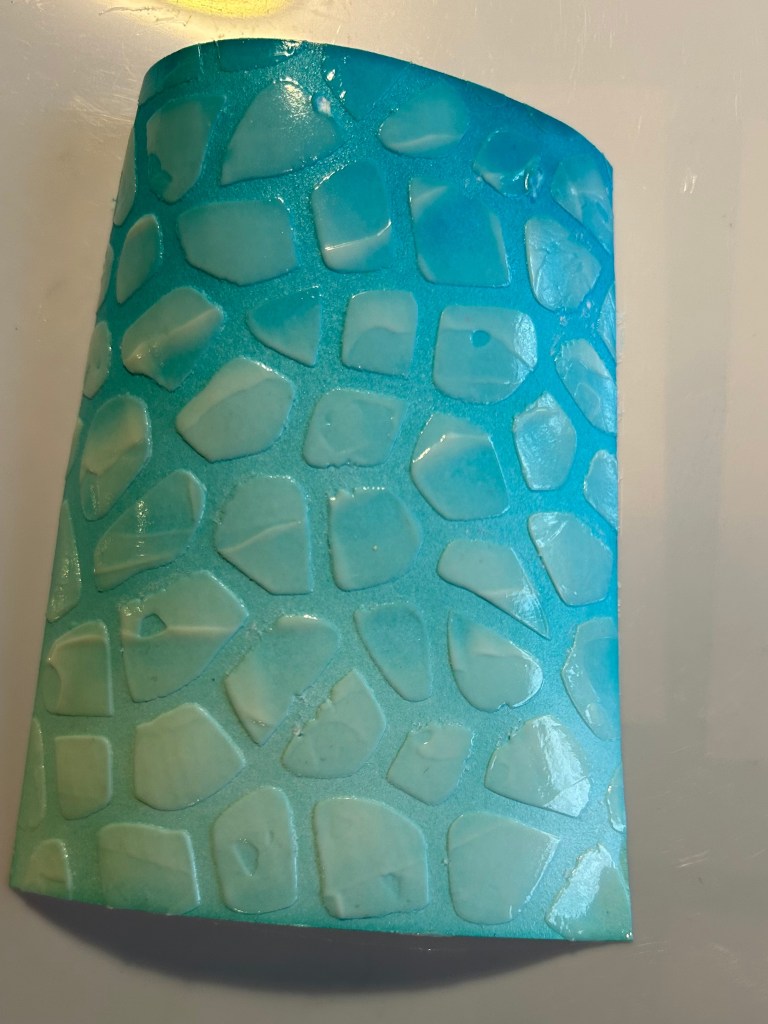
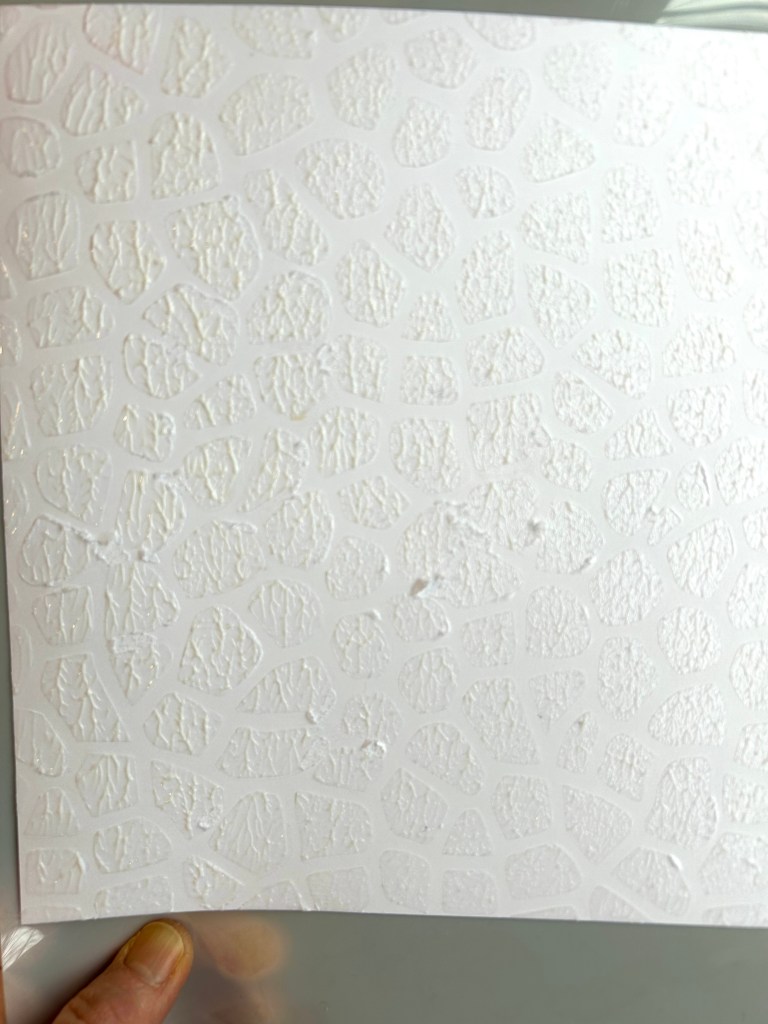
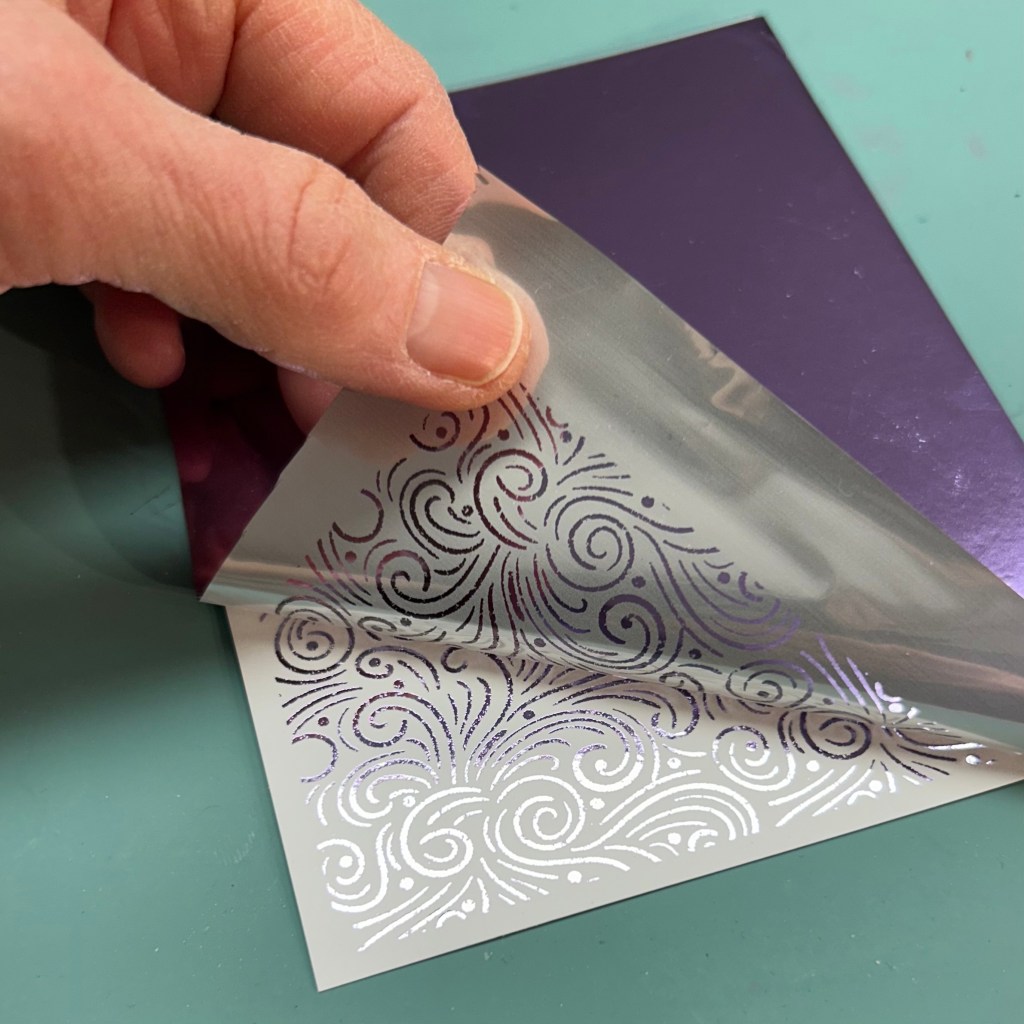
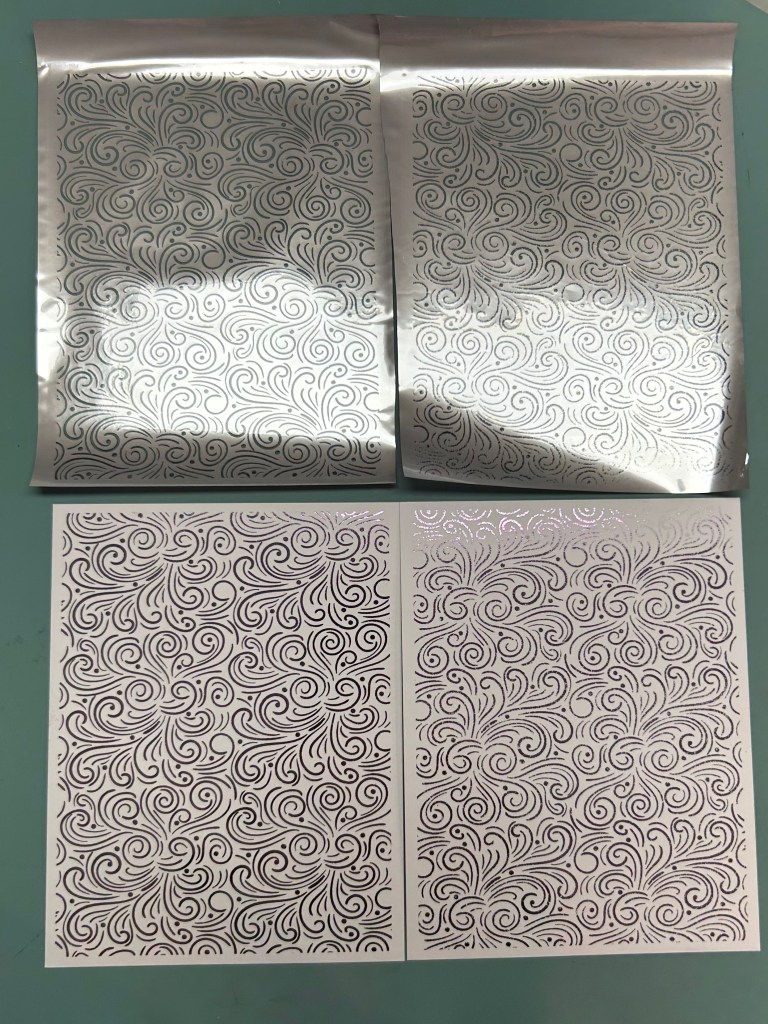
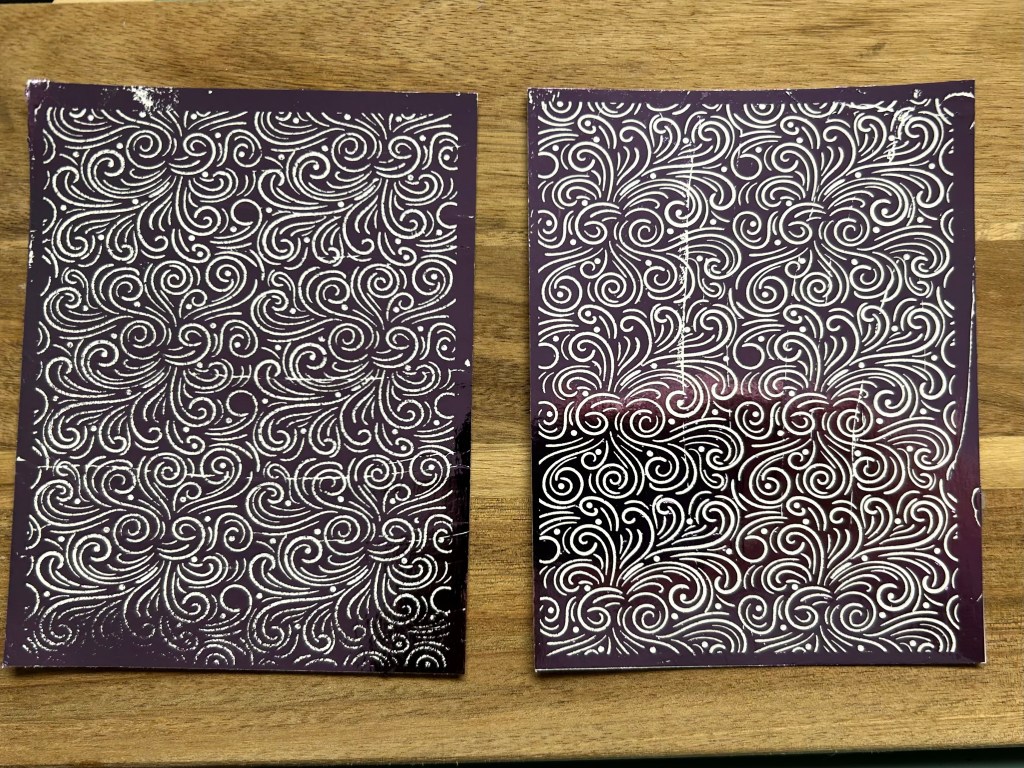
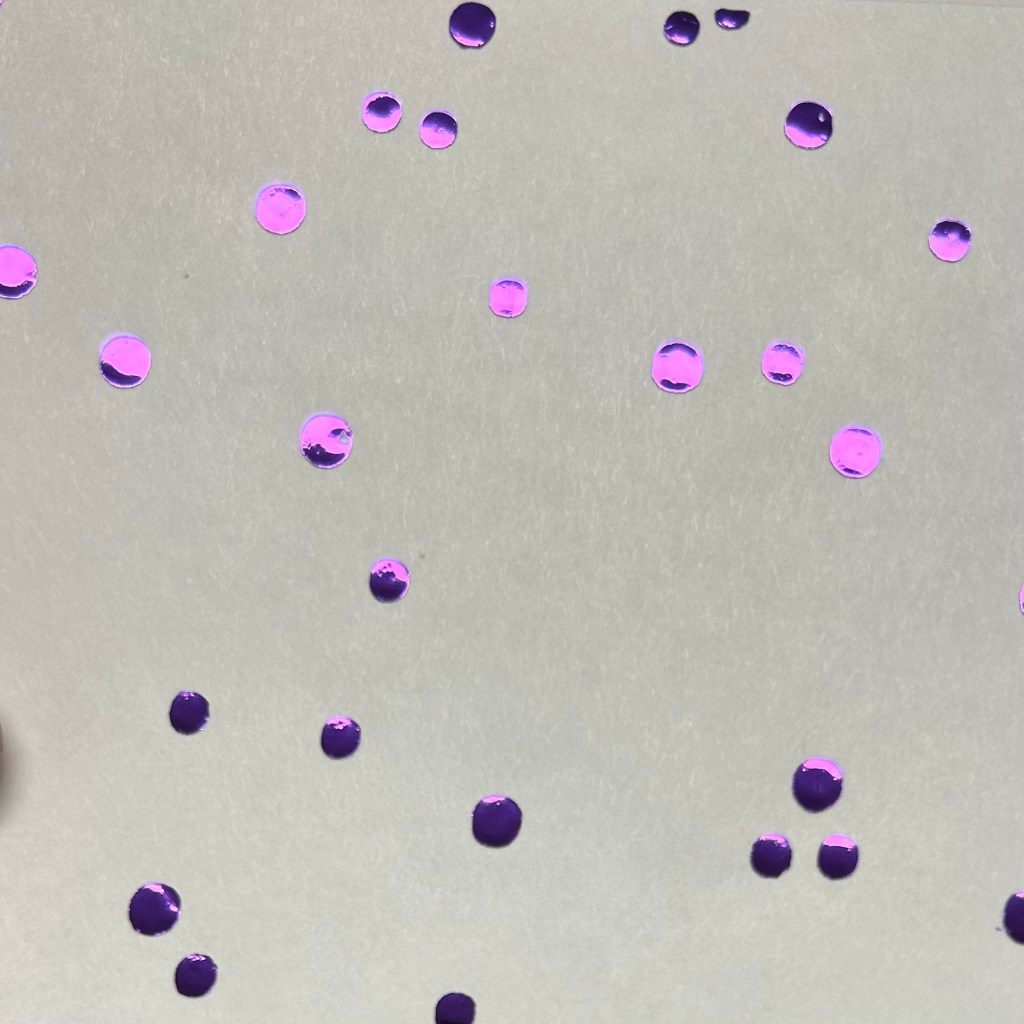
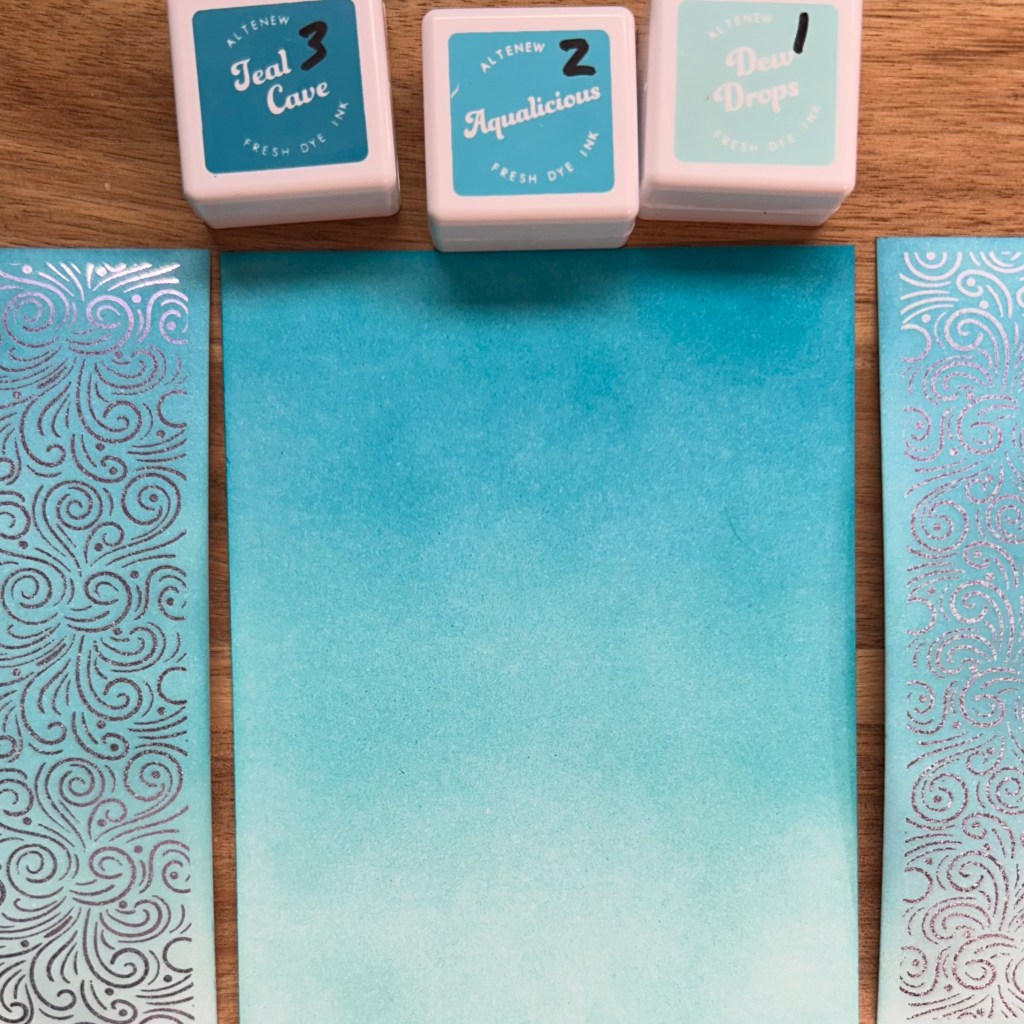
I finally used my foiling machine. I started with the easiest way: using a polyglaze sheet that already had a pattern on it. I ran two of those through and they worked out well, particularly the one that I used heat setting 4 rather than 3 for. I then tried to create some full cardfront panels covered with DecoFoil Due transfer gel. Once it dried I ran it through with the remaining foil to create the opposite pattern. I also created a few card fronts with polka dots stenciled with the transfer gel. Those came out very well. I’m going to create some more card front panels fully covered with the transfer gel tomorrow – ideally once I find my brayers – because I found that it was difficult to get a smooth layer of transfer gel when using a palette knife to spread the transfer gel. The resulting ridges show up because the foil didn’t always transfer quite correctly along the ridges, and even where it did, you can notice the ridges when you angle the card front in a certain way. I did some ink blending on the 2 swirled card fronts which turned out well. I meant to try to ink blend on a full card front before applying the transfer gel but forgot until after I had already cleaned off my tools and worksurface so I’ll try that tomorrow when a few friends are coming over for lunch and a crafternoon. I will also try ink blending on the dotted cardfronts. And will also try to run the opposite patterned ones through with another colour of foil – because that looked like an interesting technique when I watched a foiling video several months ago.
Heat setting 4 worked better than heat setting 3
I also tried using a few different types of embossing powder (Ranger clear as well as two types of sticky embossing powder – one Stampin’ Up! and the other Ranger) with a few different types of sentiments. I’m not thrilled with the results so far but will do some more experimenting tomorrow. My first attempt with the clear embossing powder didn’t work, perhaps because I double stamped the versamark which perhaps resulted in too much adhesive so too much foil stuck. Maybe I used too hot of a heat setting? The sticky embossing powder didn’t seem to get adequate coverage and too little foil transferred. I can’t remember if I used put down 2 layers of versamark first or not. Maybe the heat wasn’t hot enough? I do want to try stamping with the transfer gel as well – I think having an even coat of transfer gel using a brayer will lead to a better impression of the stamped image. So hopefully I can find those wayward brayers.
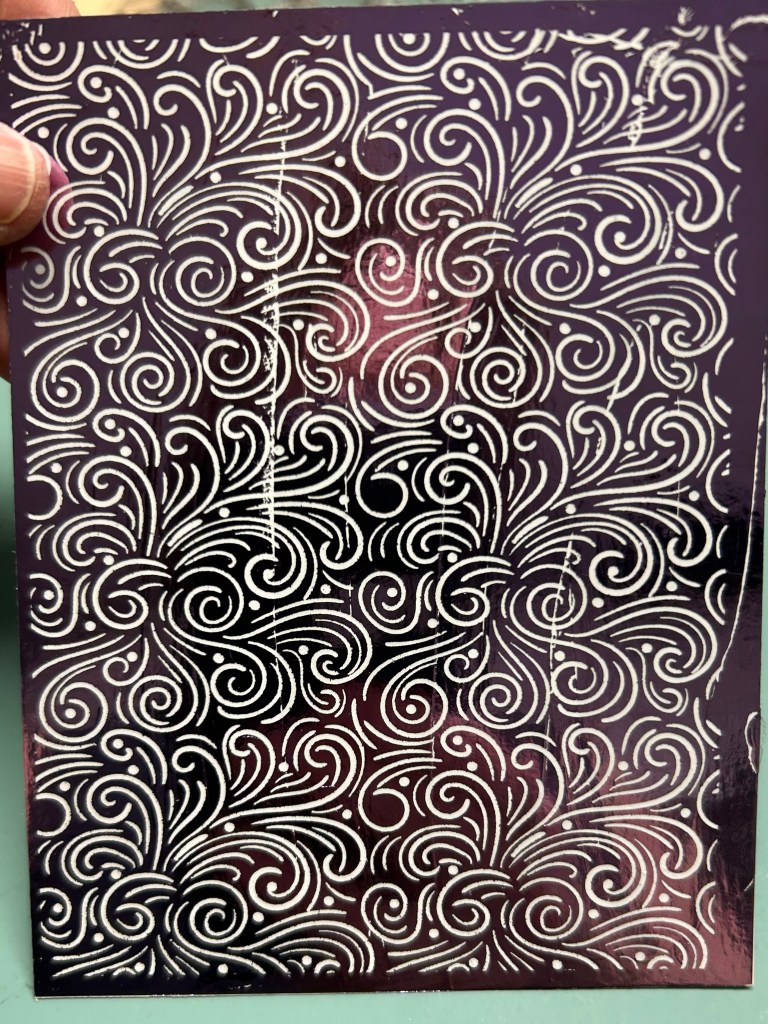
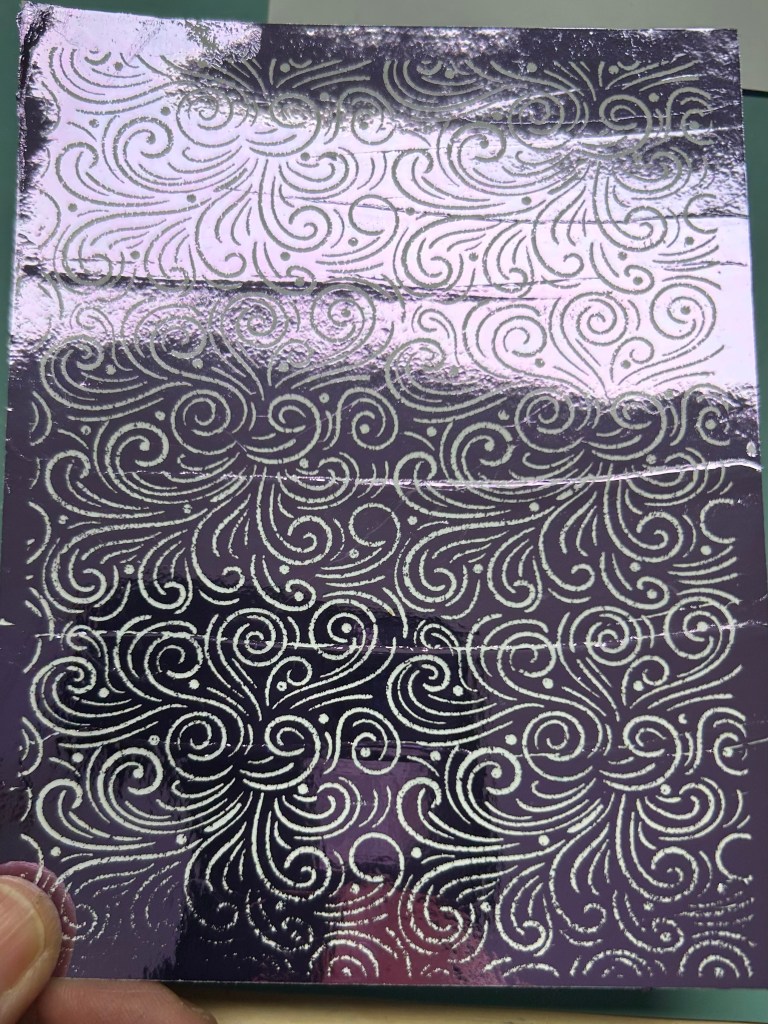
I got some transfer gel onto the back of my card fronts which ended up sticking onto my carrier sheet.You can see the how the foil didn’t transfer as well where the ridges in the transfer gel formed when I tried to spread it over the full surface of the card front using a palette knife. I think using a brayer may give more even coverage.In this photo you can see how the ridges show up when the light hits the foil in a certain way.The two cardfront will definitely be usable even if there are a few spots where the foil didn’t transfer. Some ridges it still transferred fine (but you can see the ridges at certain angles of light) and some others the foil didn’t transfer.The polka dots transferred the foil very well. I’m looking foward to seeing how it looks once I’ve ink blended.
Clearly I need to do some more experimenting. And recording what works so that I will remember it when I come back to these techniques in the future.
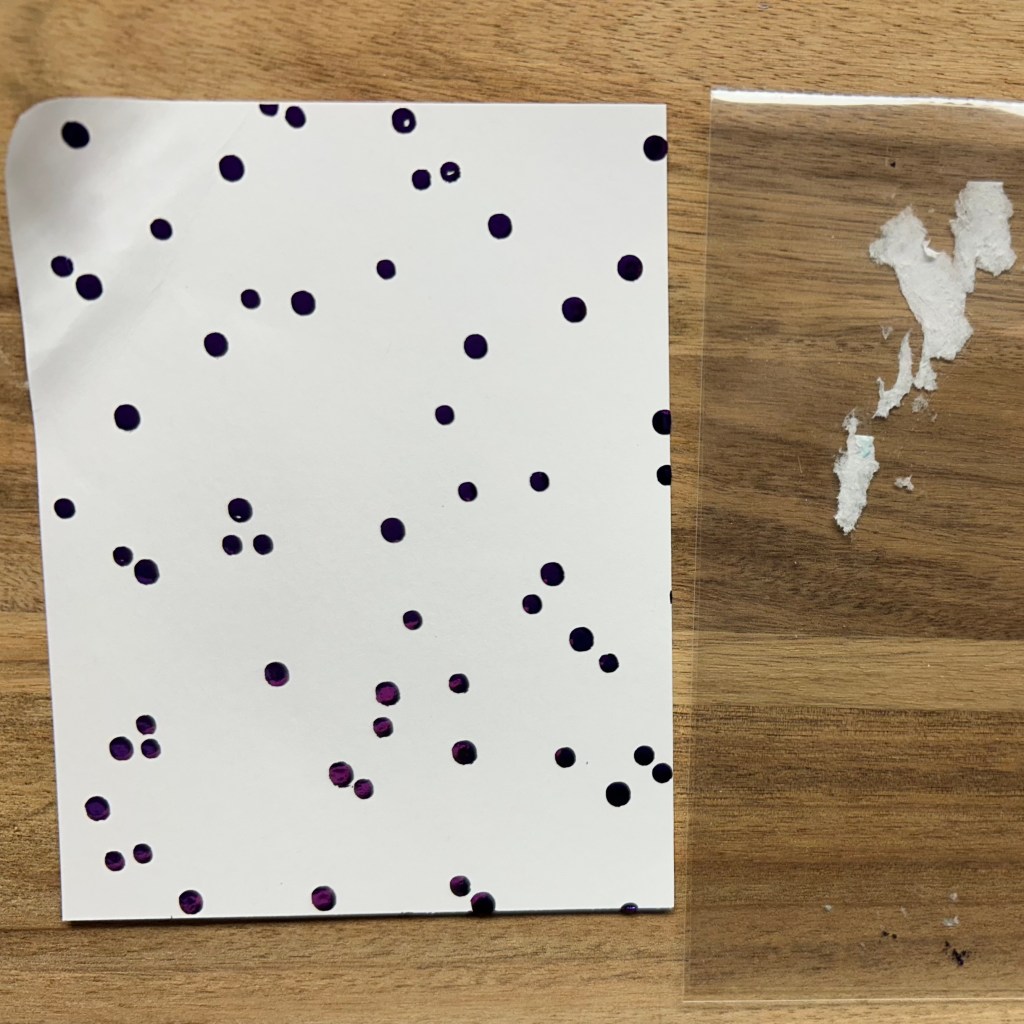
You can see how some of the cardstock stuck to my carrier sheet because I got some of the transfer gel onto the back of the card stock when I was stenciling the gel onto the card front. Perhaps I should have put a bit of parchment paper behind. I’ll try to see if I can clean off the carrier sheet with some soap and water. I’ll definitely have to buy some extra carrier sheets to have on hand when I wreck some other carrier sheets with wayward transfer gel.
There was definitely some wayward foil in my foiling experimentation today. And some wayward transfer gel. And I expect there will be some more in my continued experimentation tomorrow.
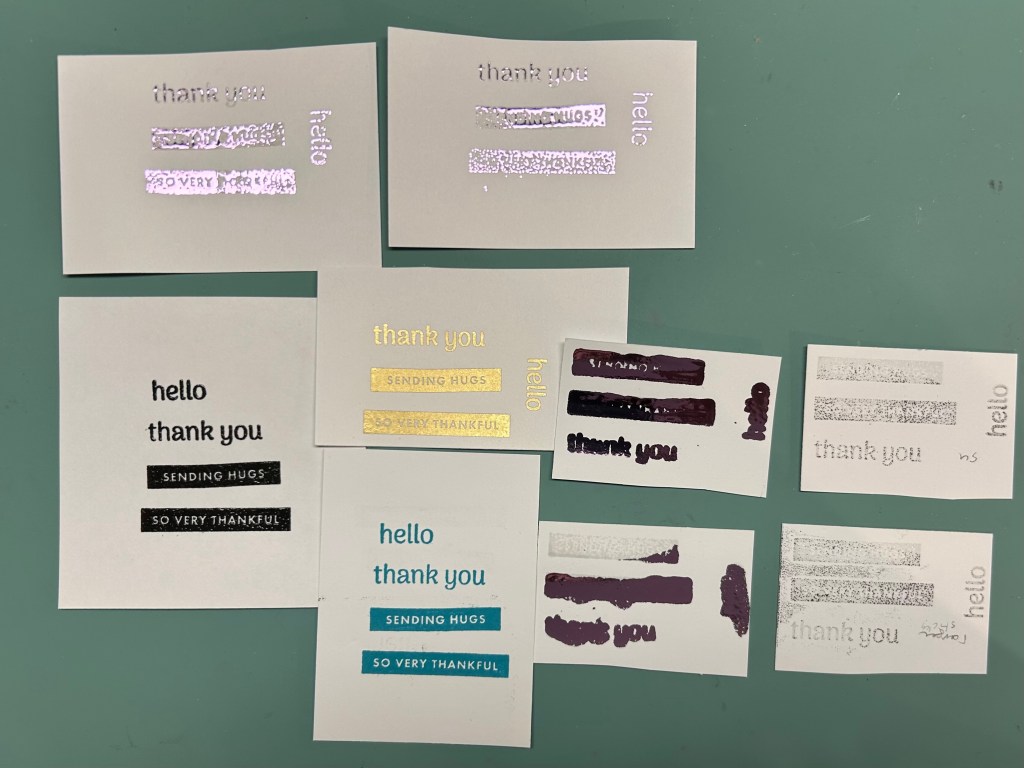
Card 17 (partial)
I ink blended onto the cardfronts after foiling the swirls. I also created a ink blended card front which I haven’t yet put transfer gel onto but I will try that tomorrow. And I will try to turn at least one of these foiled card fronts into an actual card!
But I won’t experiment too much because I want to move onto getting at least one card finished tomorrow for my Card 17 for The Foiling Metallic Details class which is lesson 3 of the Clean and Simple Boutique Cards course.
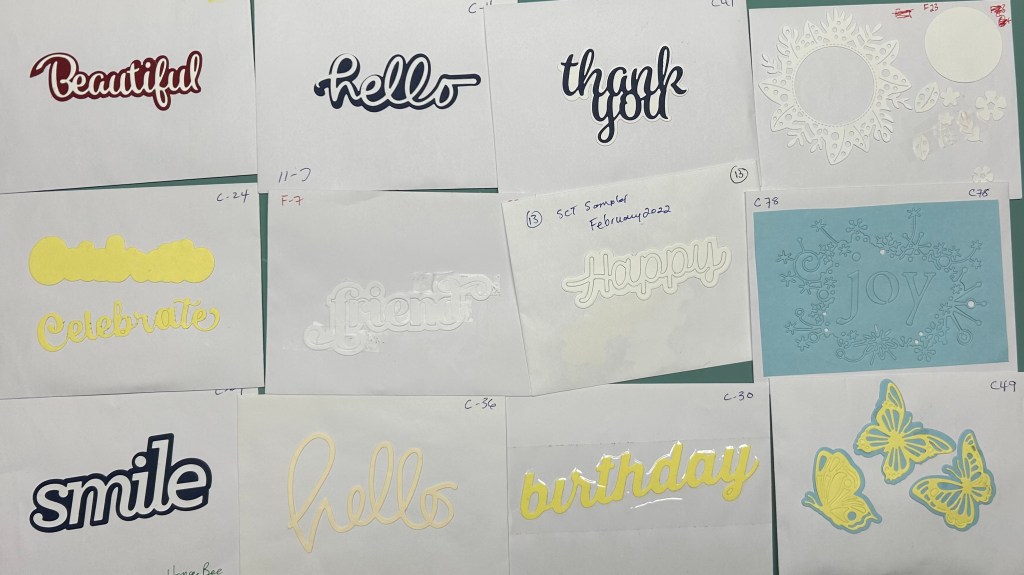
Some of my samples of trying foiling using clear embossing powder as well as some sticky embossing powder. Tomorrow I will label them and make some notes about what worked and what didn’t to keep for future reference and future experimentation. I also made a few samples which turned out fine just using clear and gold embossing powder (not foiling on top of it) so that you can see the sentiments more clearly for comparison purposes.
Wayward Wednesday
Just when we were almost back home my theme for today came to me: wayward. This was because the Canada Geese overhead (a sure sign of spring) seemed to be heading more east than north so not exactly the direction that I was expecting. But I was happy to hear their honking regardless of their somewhat sloppy formation and wayward direction.
I skipped Pickleball today. Roland wasn’t going since his Achilles has been bothering him. I opted to stay home and tackle the huge mess that is on my desk in the family room. That desk seems to be the spot that so many of my wayward items accumulate. Which makes the desk completely unusable and means that my wayward items spread onto the kitchen table and counter and dining room table. So spending some time to try to reign in my wayward items and redirect them to more appropriate places in the house seemed like a better use of my time this morning than playing Pickleball. Here’s to hoping the desk stays clear and usuable for a long time. I shall endevour to keep it clear of wayward items so I can use it to work on my laptop, to send out cards (a habit which will be much easier to implement if I have a dedicated, clutter-free (okay, let’s be real, a tolerably-cluttered) space) and to pick back up some Spanish studying (which will also be much more likely to happen if I have a dedicated spot to work on it – although I do need to figure out how to have some time to dedicate to it as well – it might have to wait until after I’m finished my 100DayProject.
Kevin came over for lunch which was great. I also enjoyed an hour playing virtual golf at The Bunker with Louise. Definitely some wayward balls! A very fun evening out. We have another golf night with a larger group of ladies next Wednesday as well. Which reminds me that I need to send out a reminder email.