Inspiration
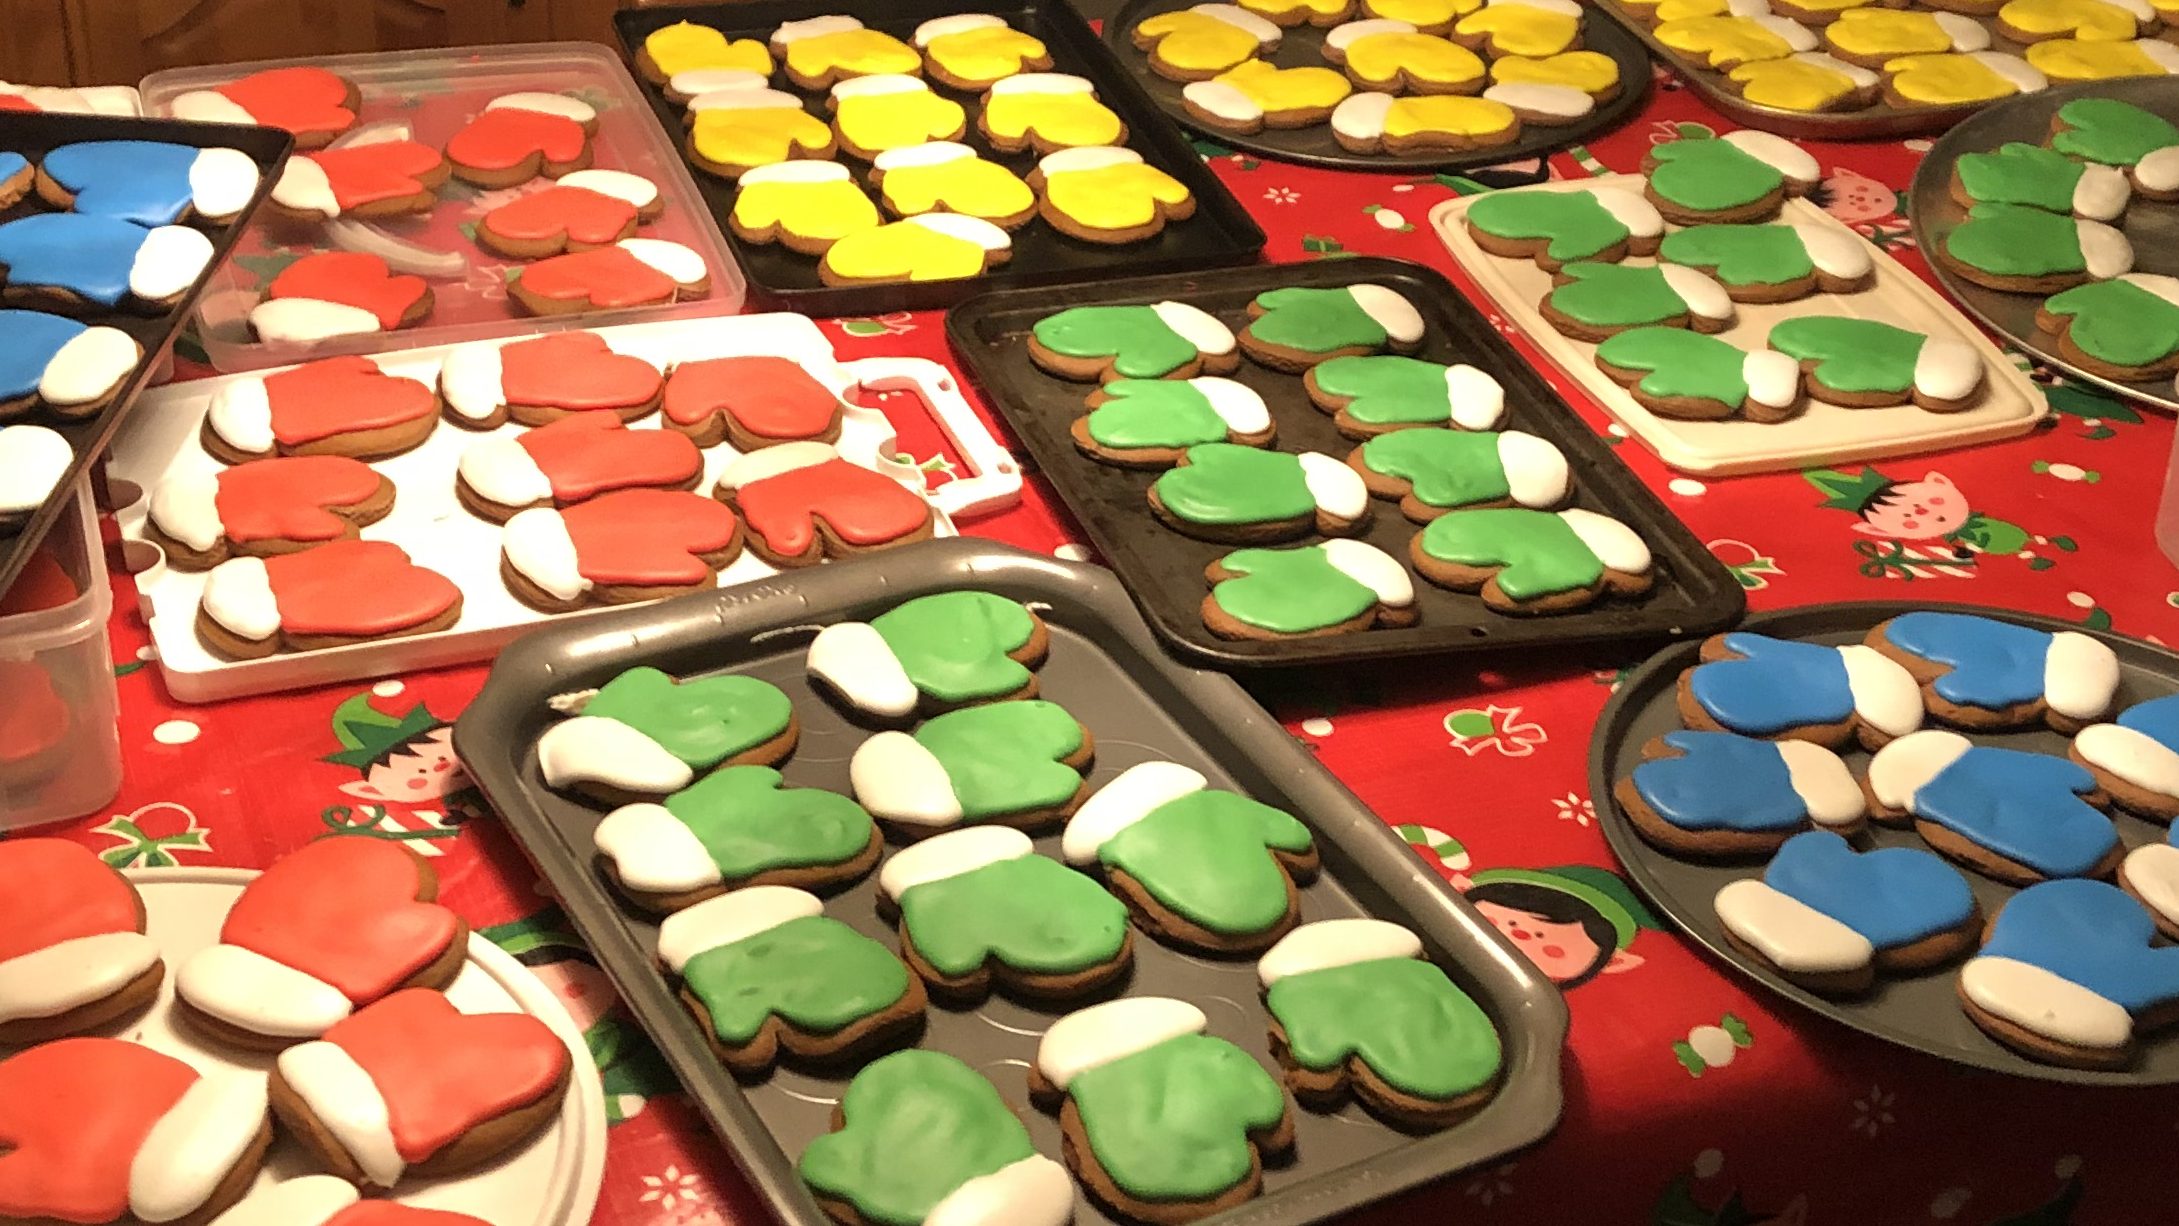
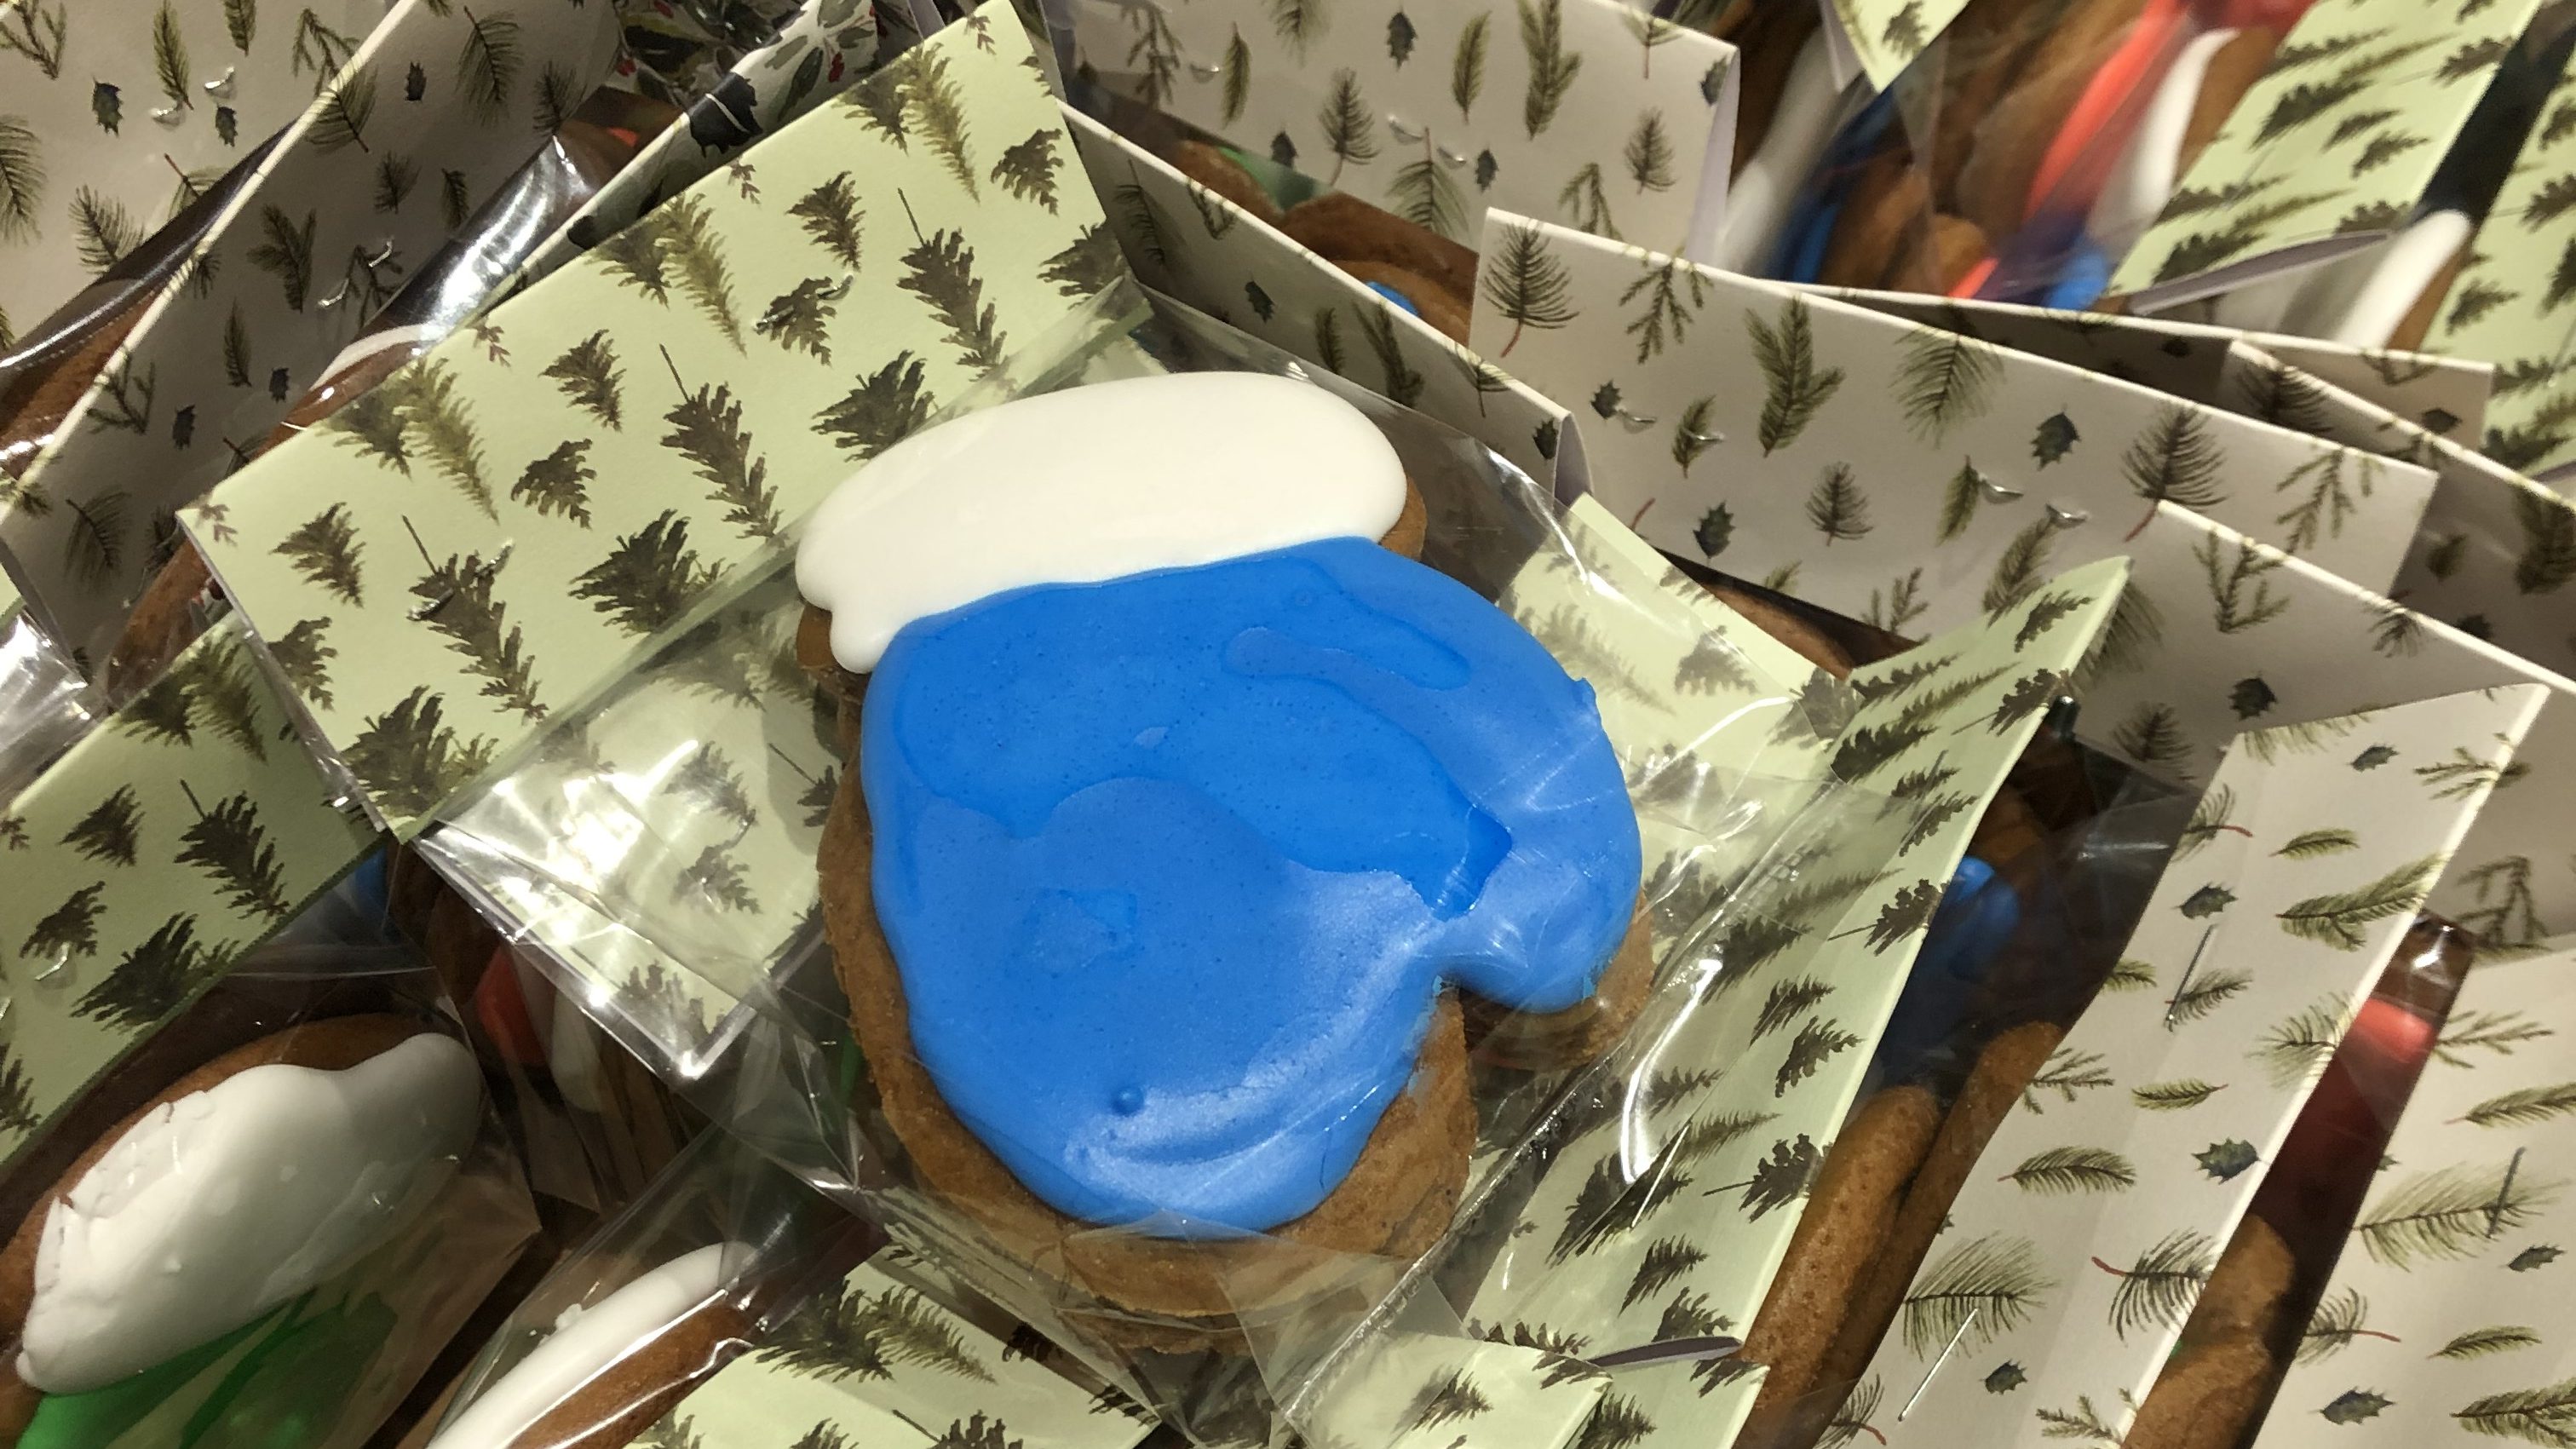
I have been making iced gingerbread cookies since I was in high school using the a Betty Crocker recipe. The same cook book (the first one I owned, which I received as a Christmas gift one year) is where our favourite Apple Crisp recipe originated, too. But back to the gingerbread. I love to package up gingerbread men and women as well as other holiday shapes to give away as gifts at Christmas. These prettily packaged treats have also made appearances at bake sales. I am still more than happy to make several batches of cookies and icing for our children, Heidi and Stefan, to have on hand when they host cookie decorating parties with their friends. This recipe is the one that we used to make our wedding favours: gingerbread kayakers and cyclists created using custom cookie cutters shaped by Roland. Some years I bake and decorate gingerbread cookies to donate to Debra Dynes Family House (DDFH). These sweet treats are enjoyed as part of care packages distributed within the community on occasions such as Mother’s Day (butterflies and flowers), Father’s Day (jerseys and various balls) as well as in their ‘Keep Warm and Safe’ bundles (mittens) in December.
Gingerbread Ingredients
- 1 cup packed brown sugar
- 1/3 cup shortening
- 1-1/2 cups molasses
- 2/3 cup cold water
- 6-1/2 – 7 cups all purpose flour
- 2 tsp baking soda
- 1 tsp salt
- 2 tsp ground ginger
- 1 tsp ground cinnamon
- 1 tsp ground allspice (or a bit less)
- 1 tsp ground cloves (or a bit less)
Gingerbread Method
- Cream together the shortening and brown sugar. Add in molasses, mixing well. Add in water, mixing well.
- Mix together dry ingredients then add to molasses mixture.
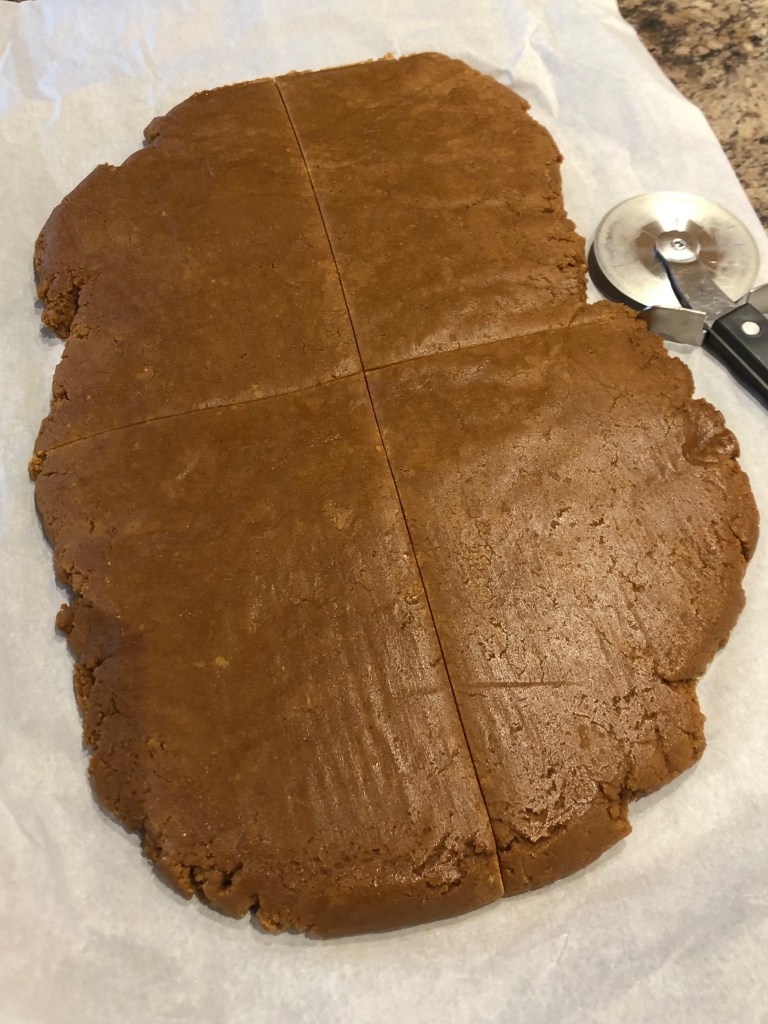
- The dough should hold together but should not be too moist. I usually start with 6-1/2 cups of flour and add some if the dough seems too moist.
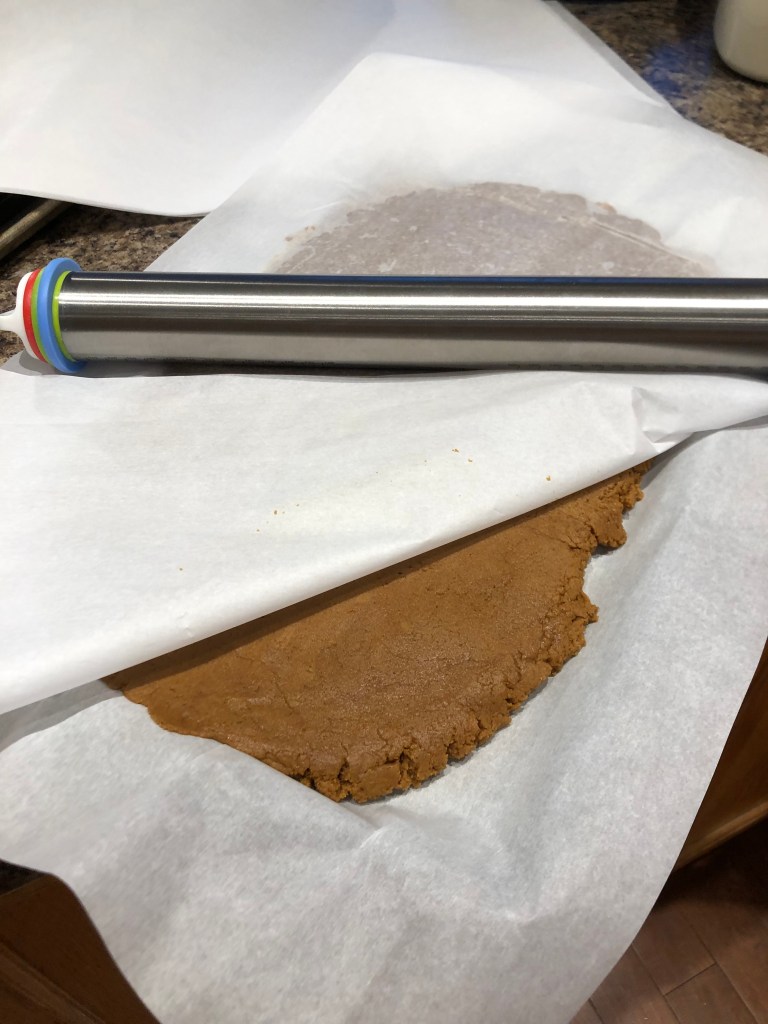
- Chill dough at least 2 hours. I have discovered that the easiest way to chill the dough is to flatten it between two pieces of parchment paper on a cookie sheet.
- Roll dough (1/4 batch at a time) approximately 1/4″-3/8″ thick.
- My favourite way to roll dough is between two sheets of parchment paper using a rolling pin with thickness rings. Very little or no flour is needed . I discovered those tricks in the past few years; a regular rolling pin and flour works very well too if you don’t want to use the parchment paper trick.
- Using thickness sticks are also a great tool if you don’t have a rolling pin with built in thickness rings.
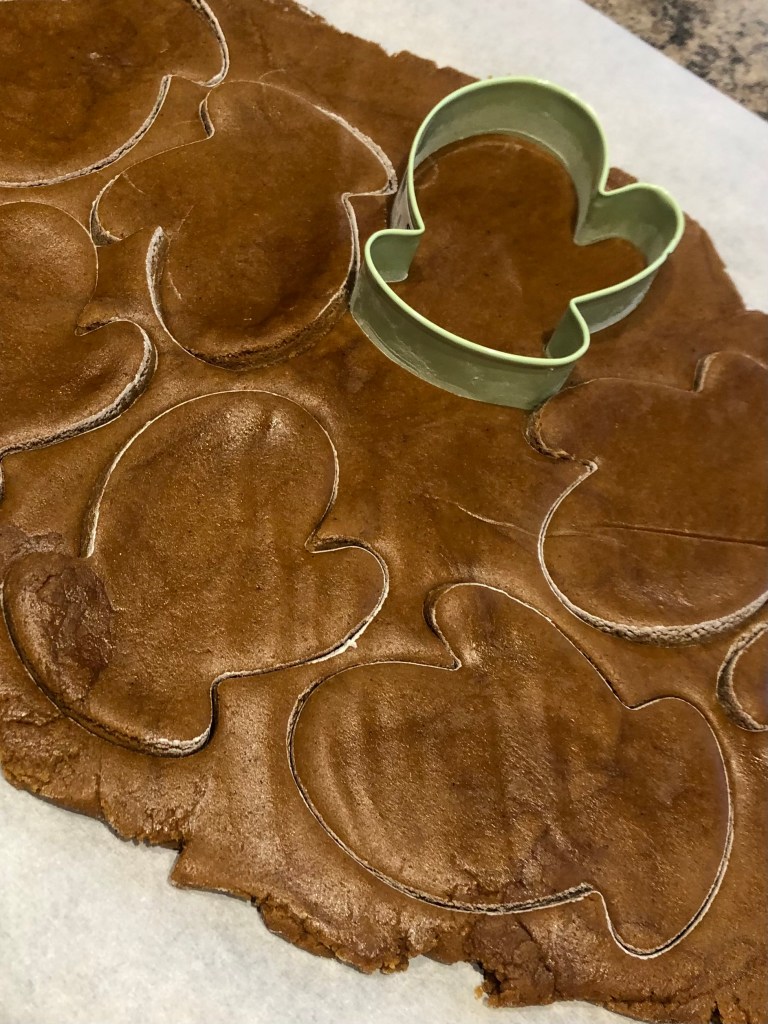
- Cut with your favourite cookie cutter shapes.
- It is best to combine scraps from each rolling together (e.g., roll out each quarter of a batch separately, then combine all those scraps together for a second rolling).
- Place cut cookies on parchment-lined baking sheets.
- Bake at 350’F-375’F for approximately 10-13 minutes. The baking time can vary significantly depending on the thickness of your dough, the size of the cookie cutter, the type of baking sheet you use, how accurate your oven temperature is and how well you like your cookies baked. They should be baked until no indentation is formed when you gently press your finger on a cookies. The cookies will be doughy if you undercook them and will be dry if you overcook them. This is a gingerbread, not a gingersnap recipe, so I prefer them to be a bit soft rather than crisp.
- Let cookies cool completely before icing. These keep well layered in parchment paper in a covered container.
Royal Icing Ingredients
- 1 kg icing sugar
- 1/2 cup meringue powder
- 3/4 cup cold water
Royal Icing Method
Gently stir together icing sugar and meringue powder. Add water. Beat on low until the ingredients are combined. Beat on medium for 7-10 minutes. Make sure to keep royal icing in a well sealed container so it doesn’t form a crust.
You can add food colouring (paste works best).
Decorating Cookies Method
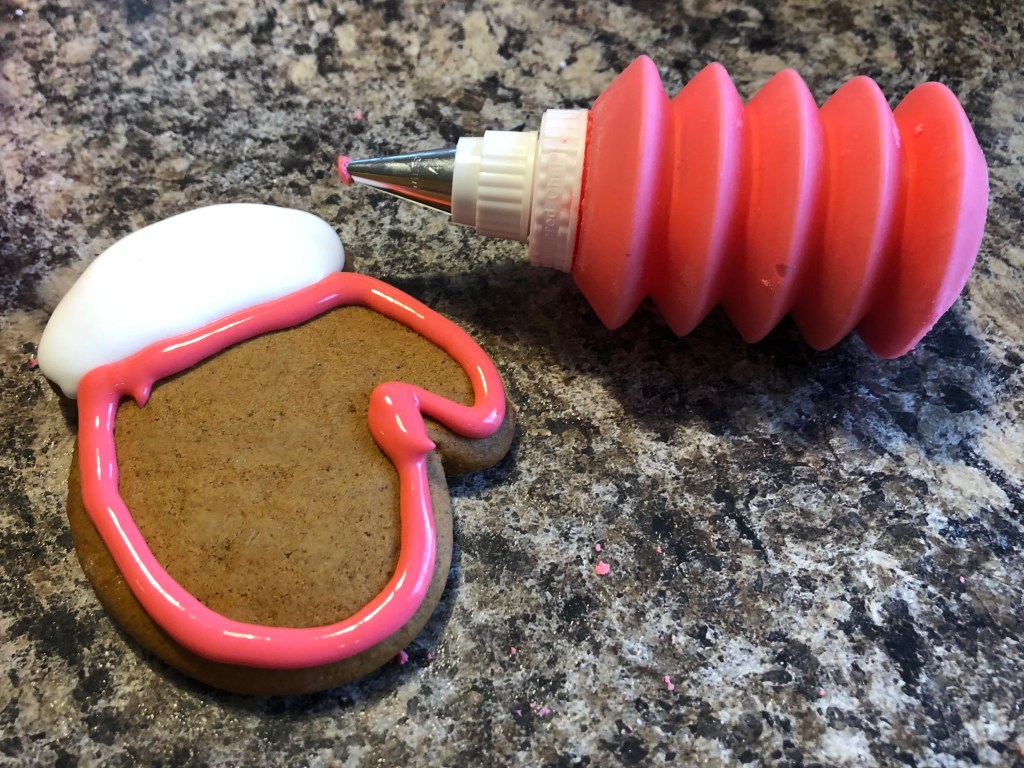
I usually thin the icing out a bit. A little water goes a long way, so be very careful if you are thinning the icing.
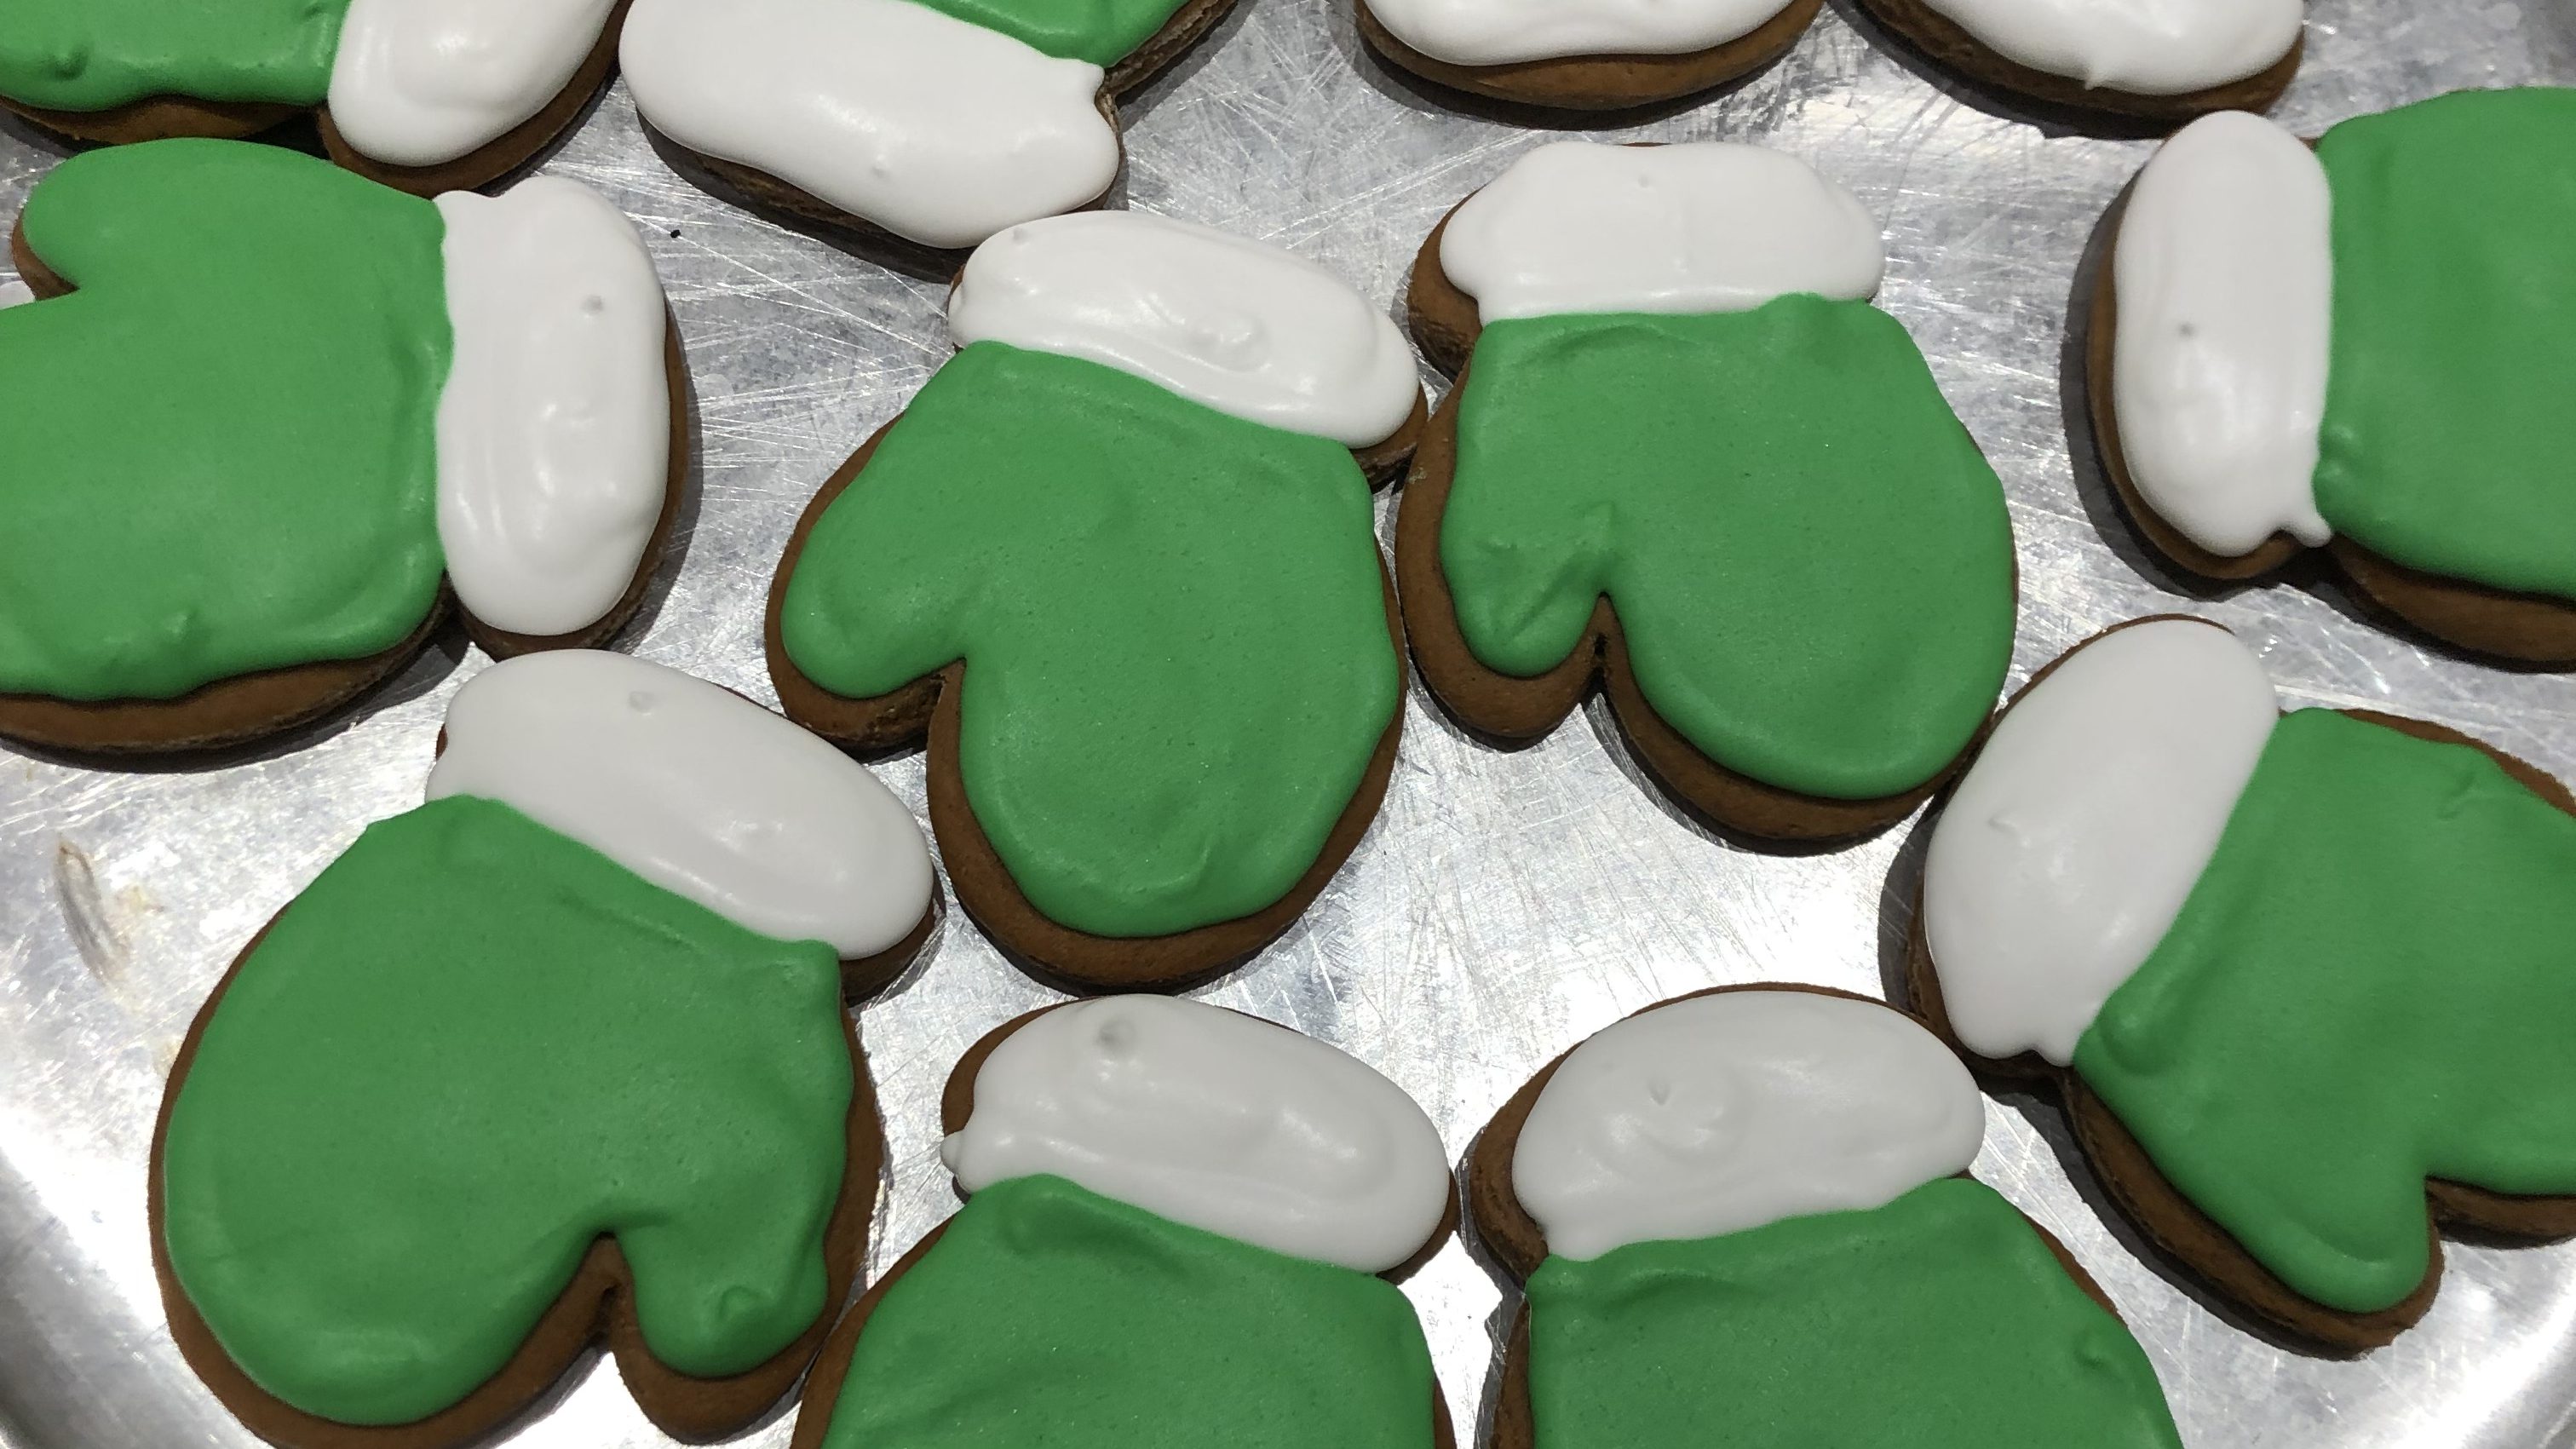
Use piping bags or bottles to decorate the cookies. I pipe an outline of the shape that I want, then ‘flood’ the inside with icing (which could be very slightly thinner to better spread a bit more easily). Sometimes I use a knife or spoon to flood/fill in the shape, other times I use a piping bag or bottle.
Let the icing harden before packaging.

Packaging Method
These are very nice packaged in cellophane bags with a folded over piece of patterned paper ‘treat topper’ stapled at the top of the package. You can add a sentiment if you wish.