100DayProject Day 52
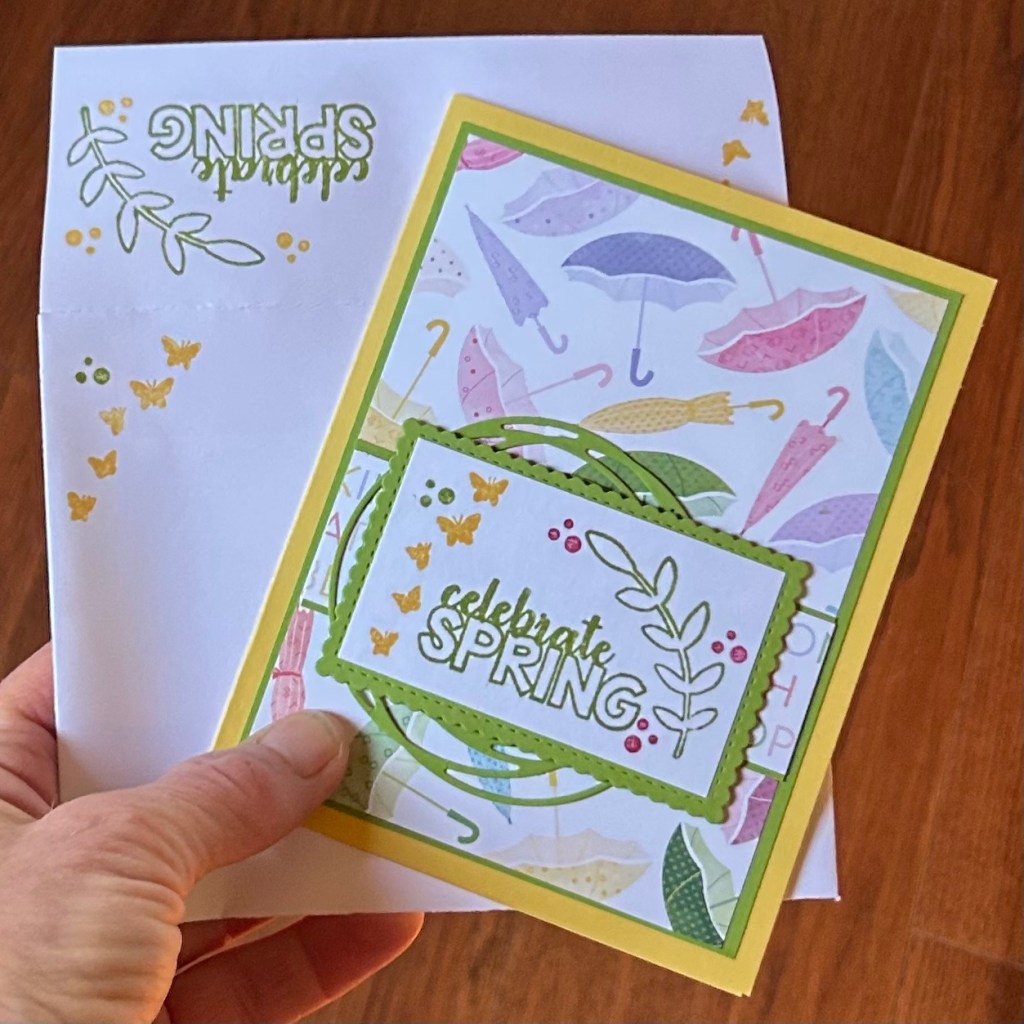
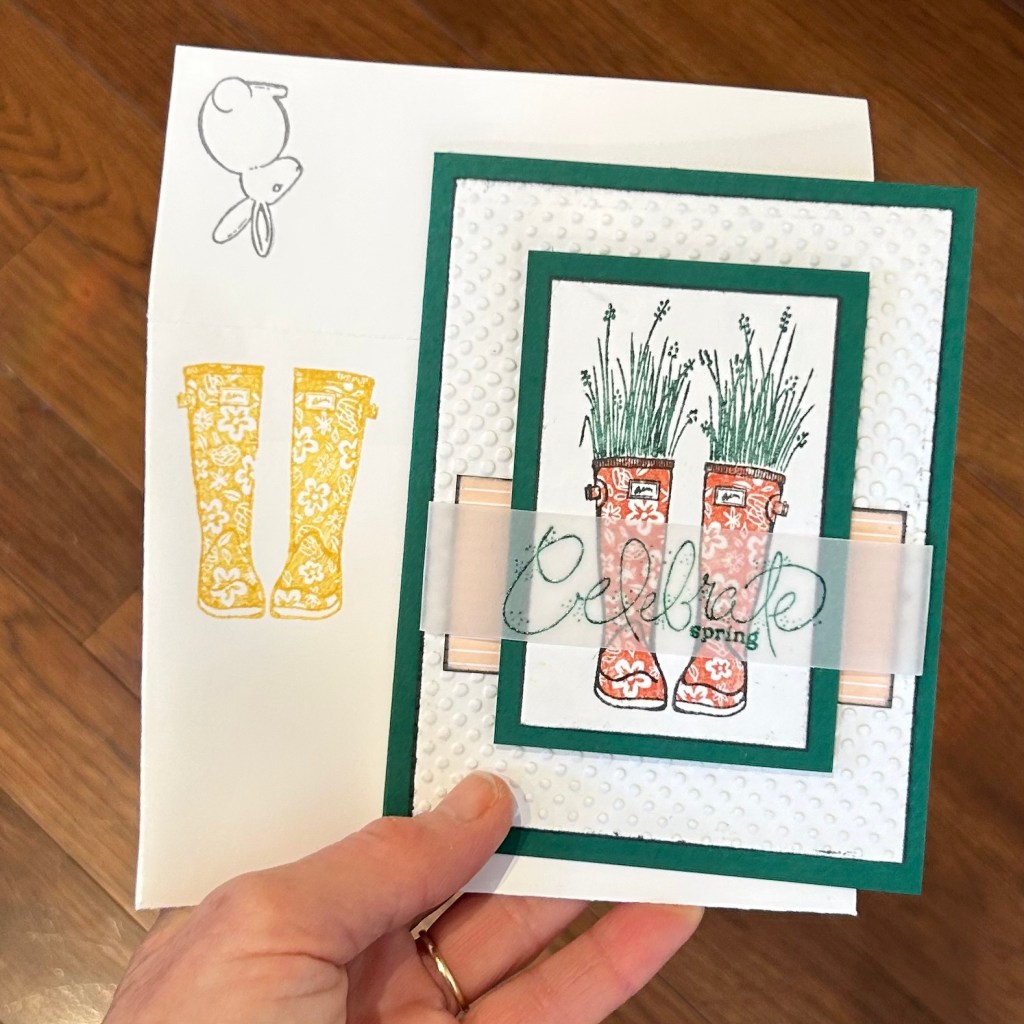
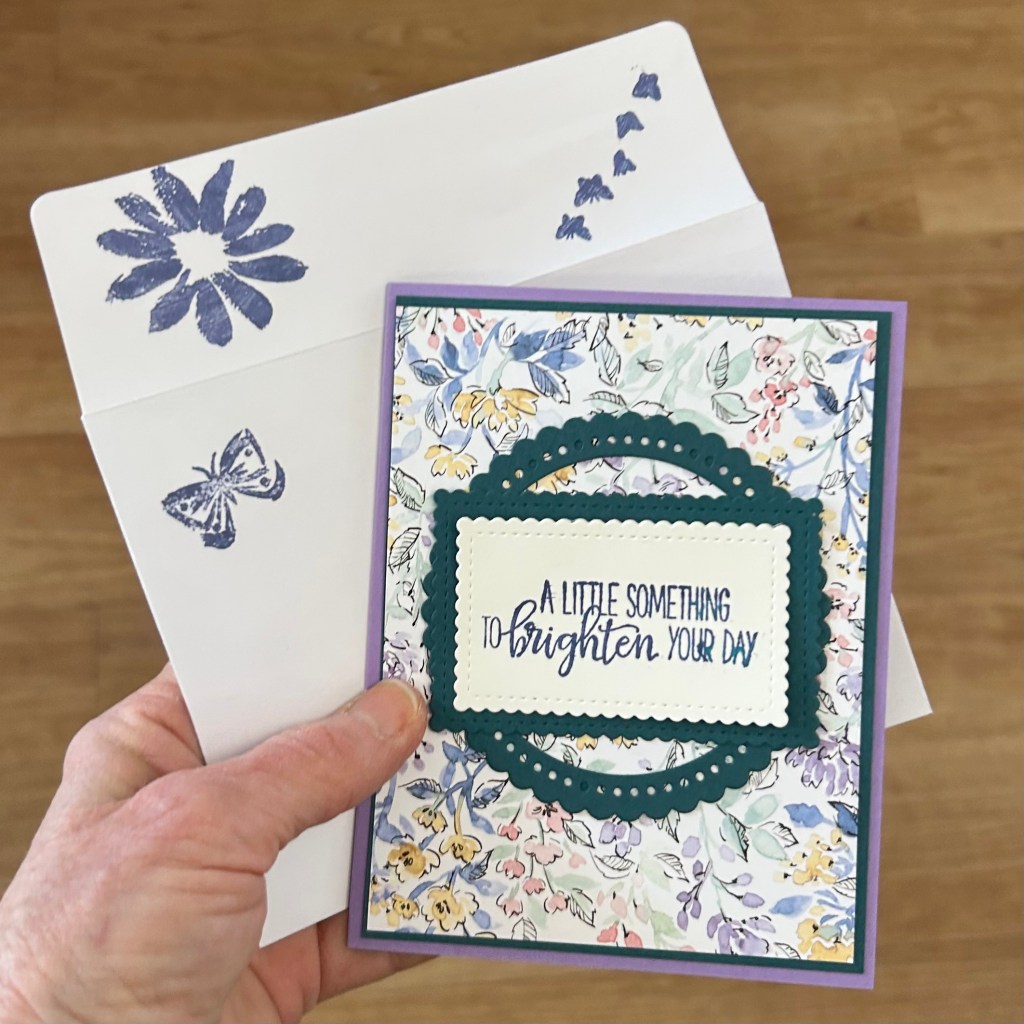
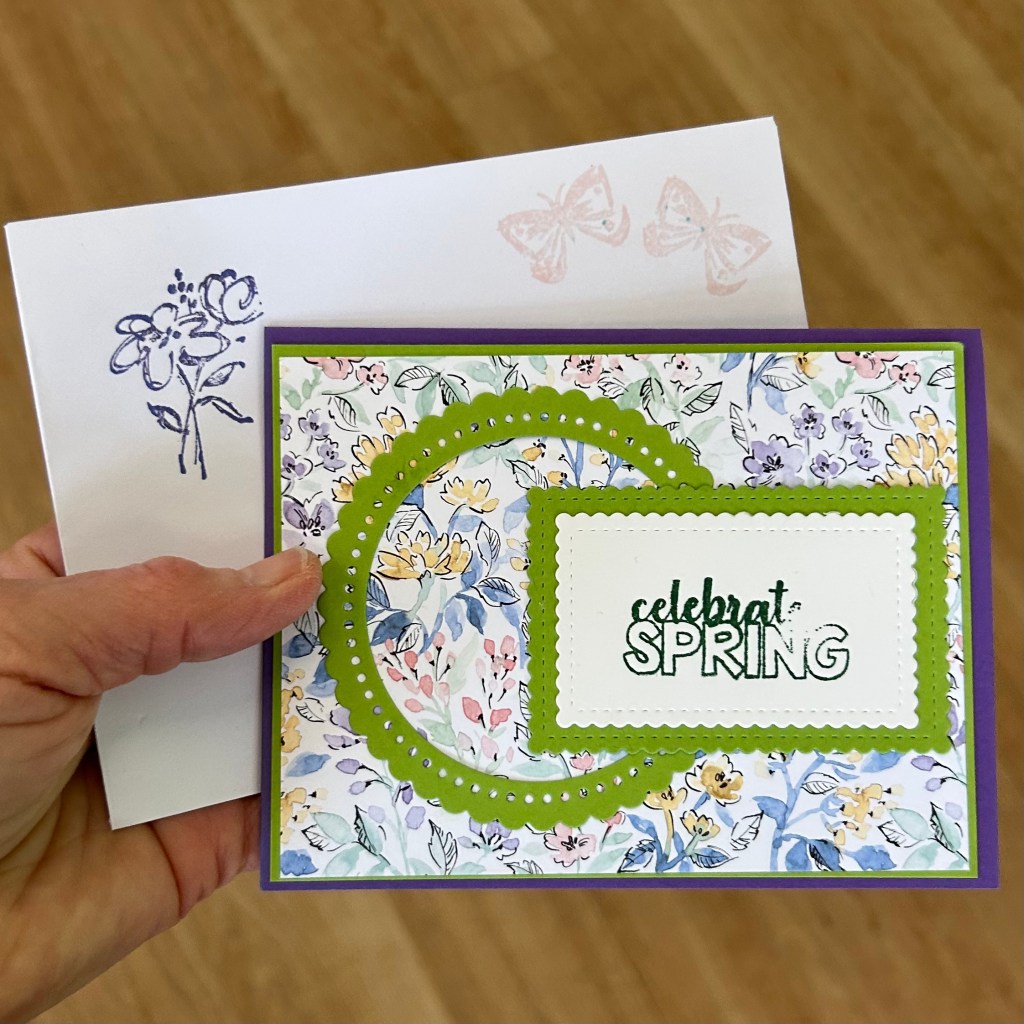
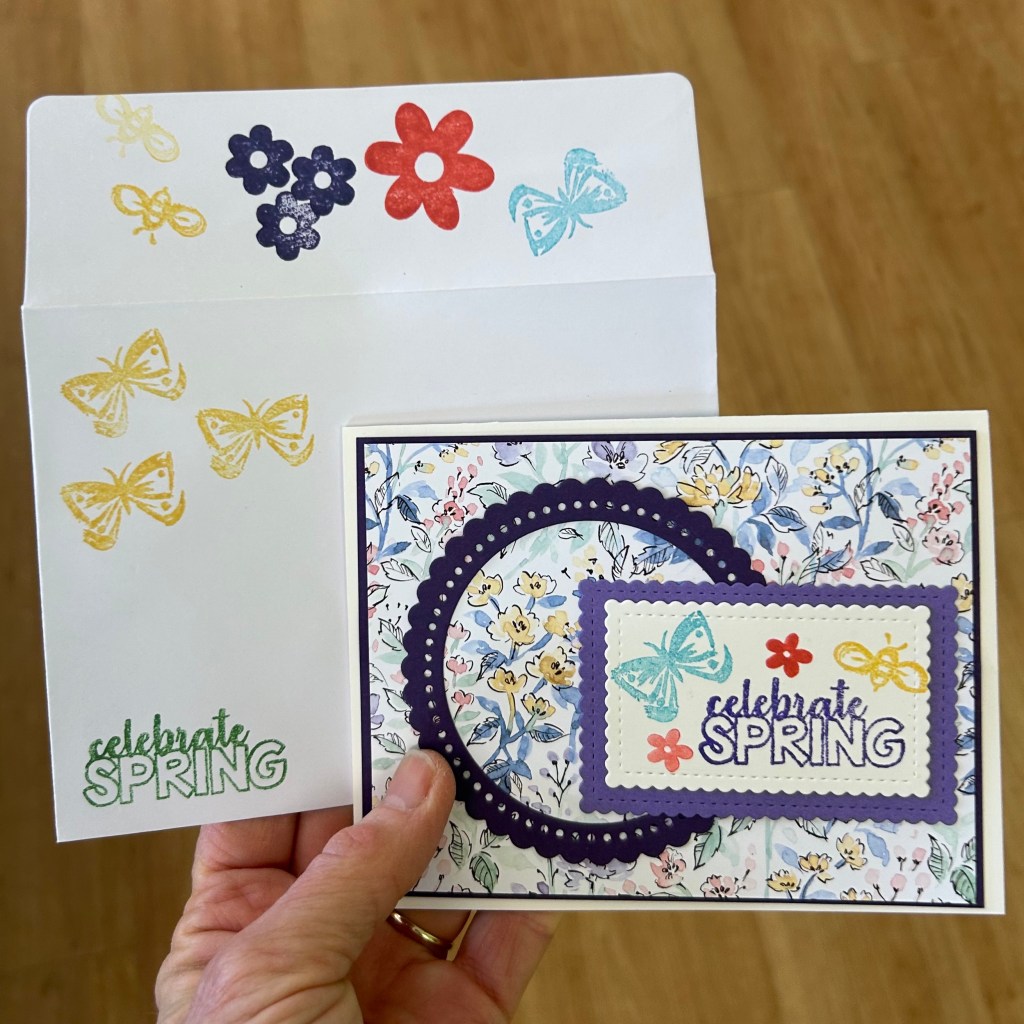
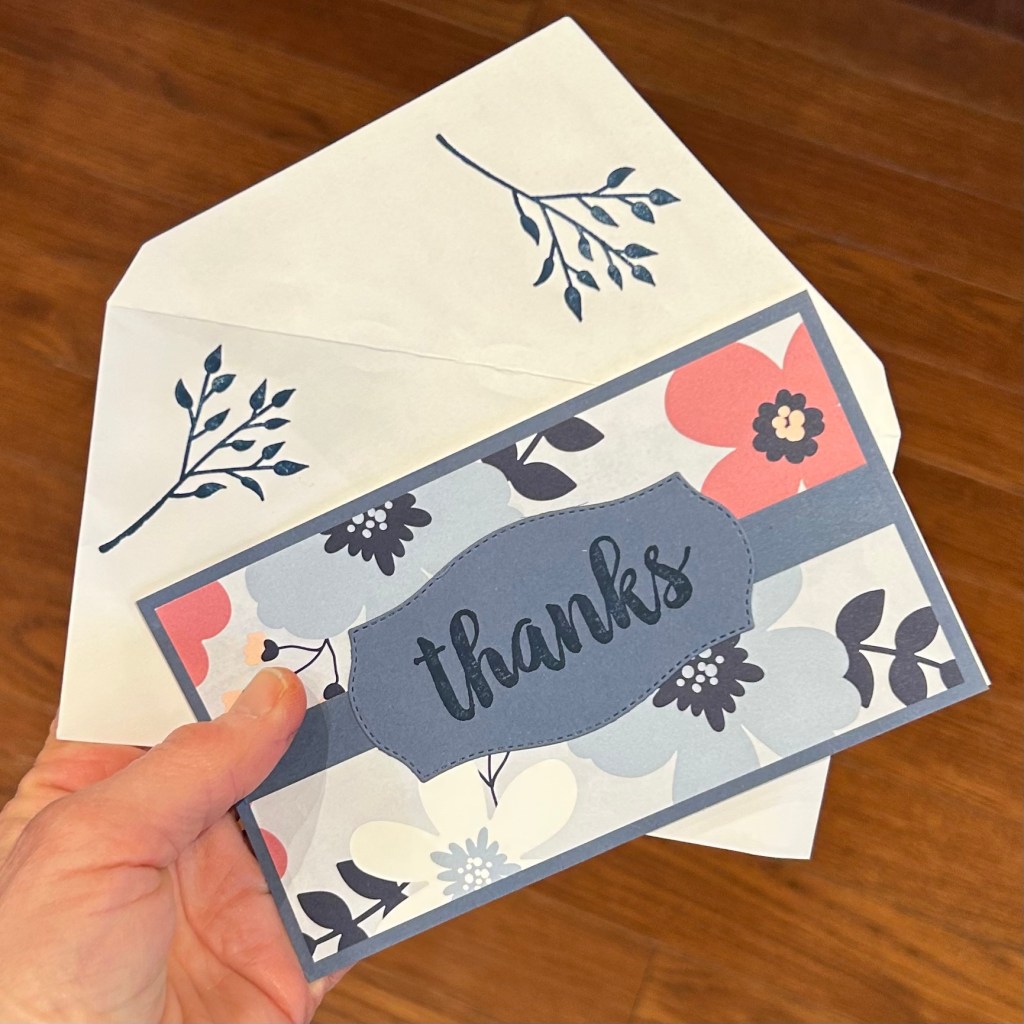
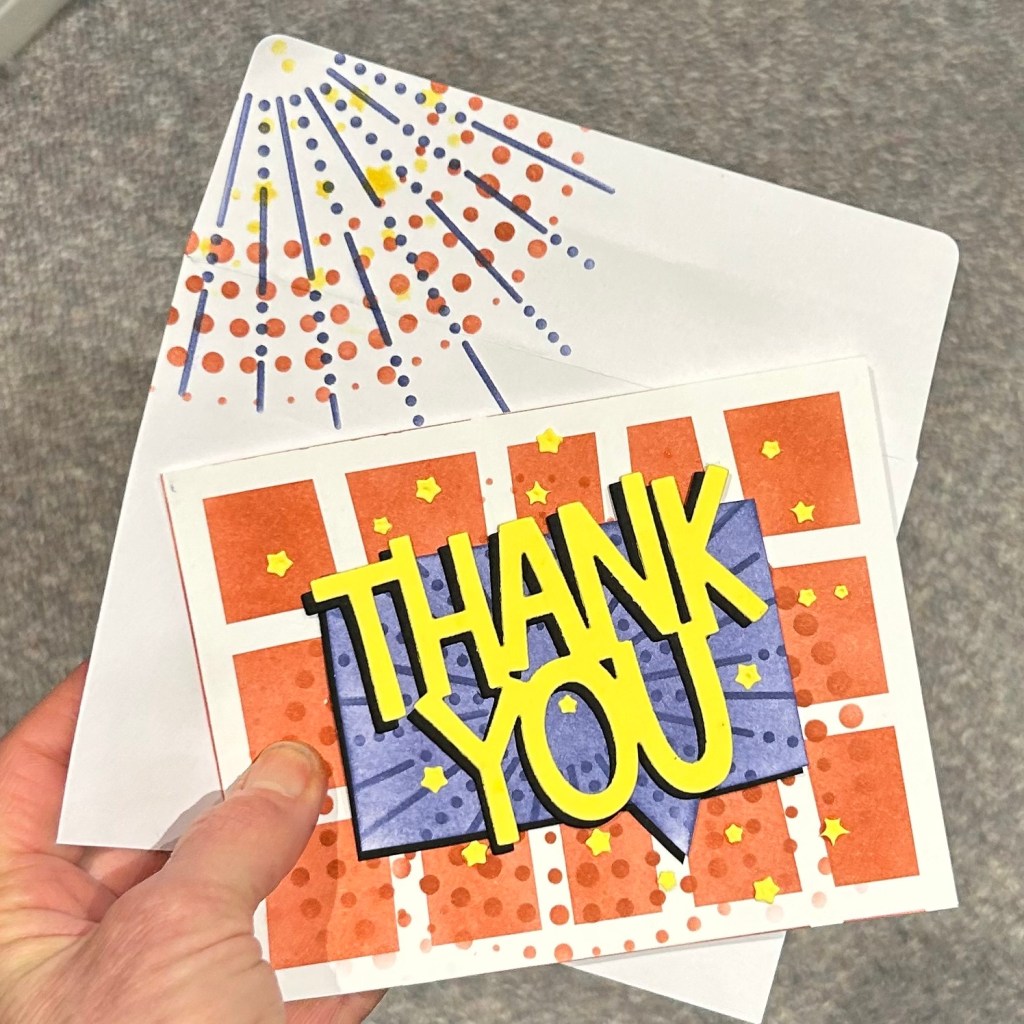
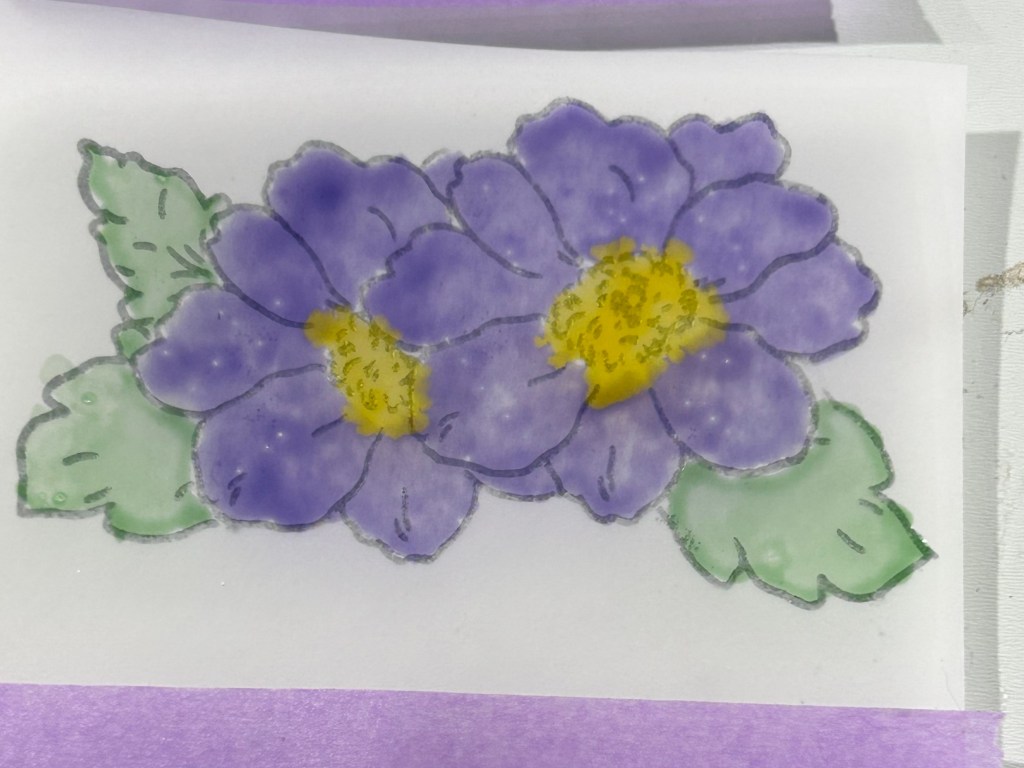
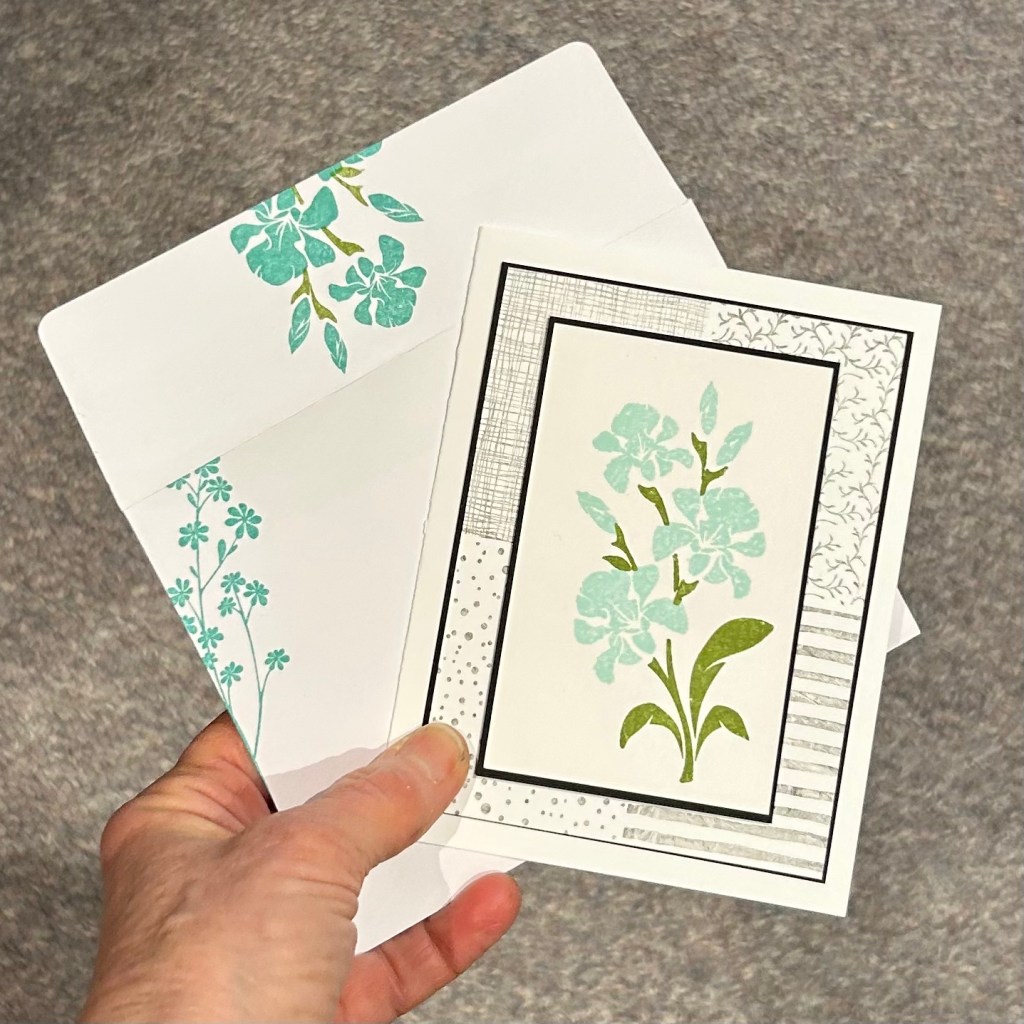
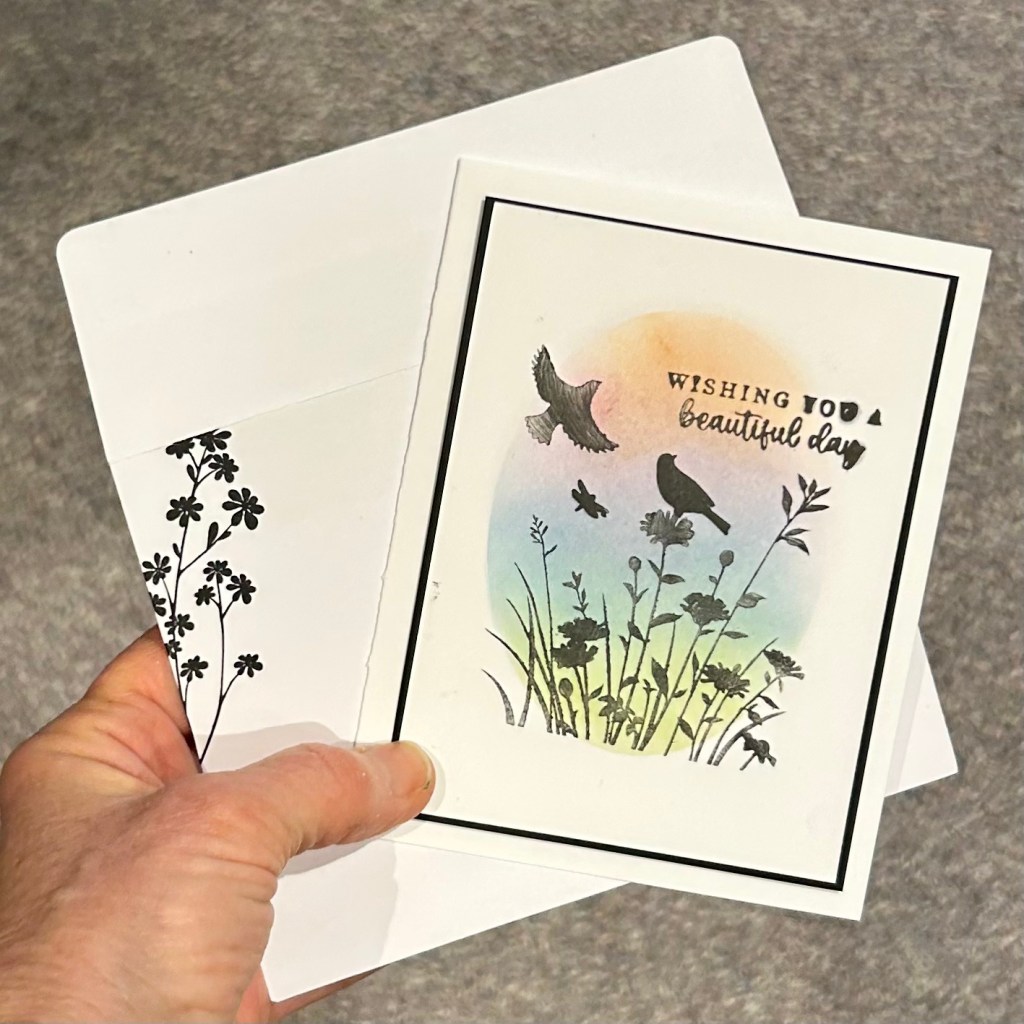
These are the three cards that we made in my 10:30 online class for Dementia Society today.
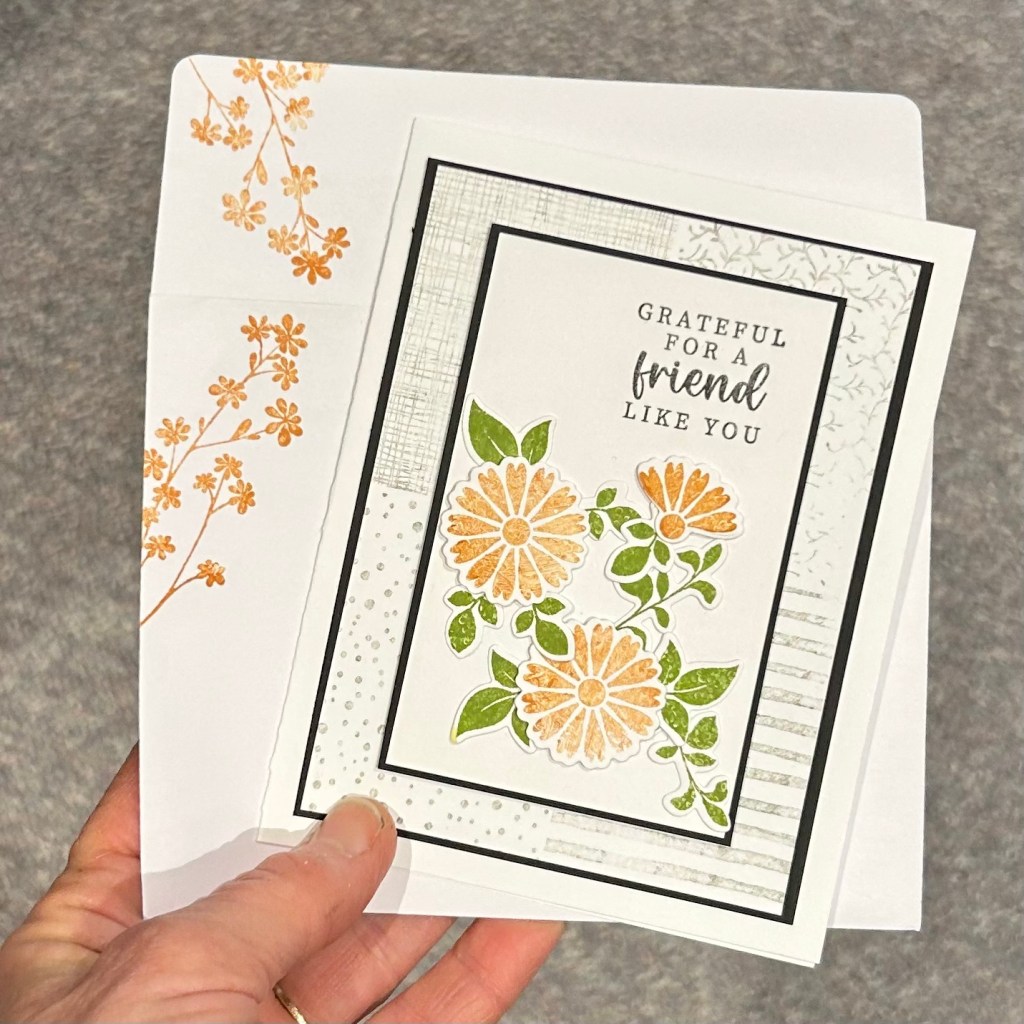
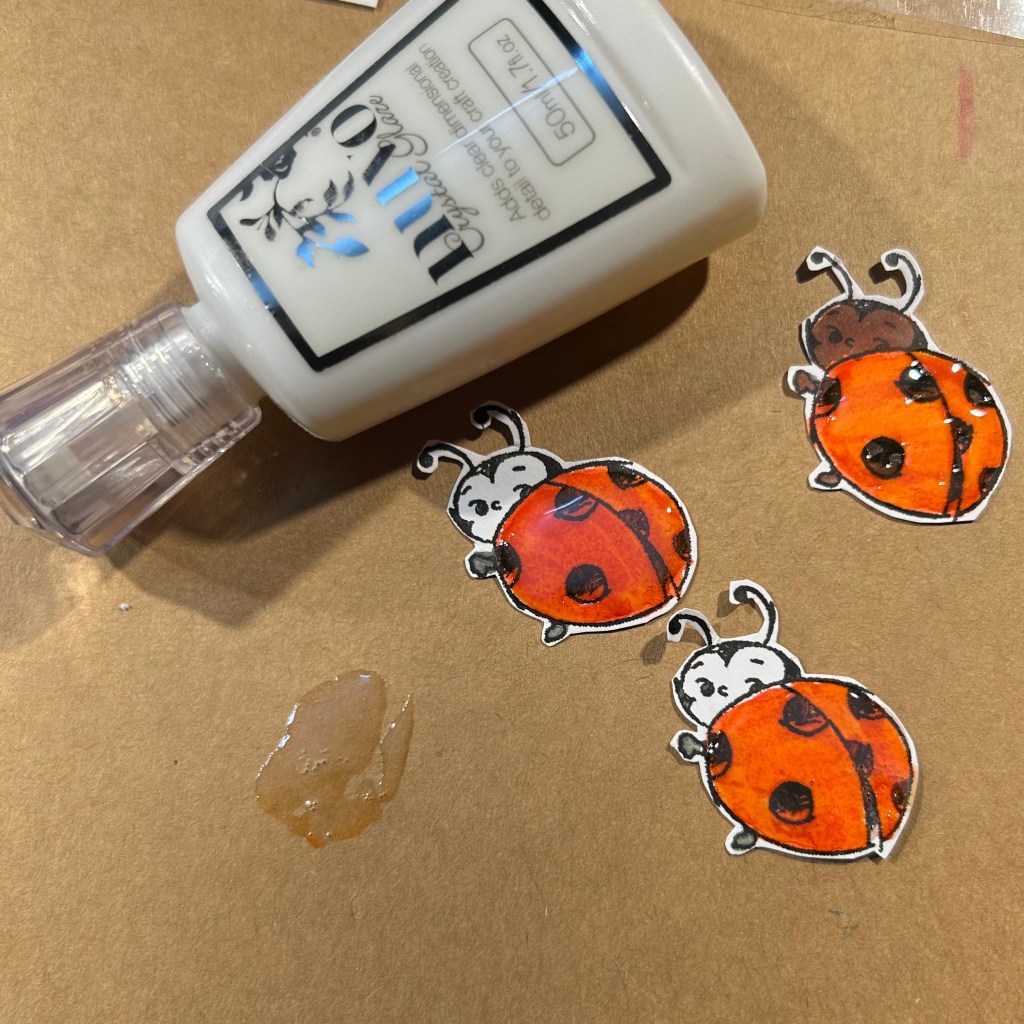
I was trying to figure out how to colour in ladybugs and am not yet quite happy with the result. At dinner I consulted with Roland and Kevin. Tomorrow I’m going to try to colour the head in black and perhaps add eyes (and maybe other facial features) with a white marker.


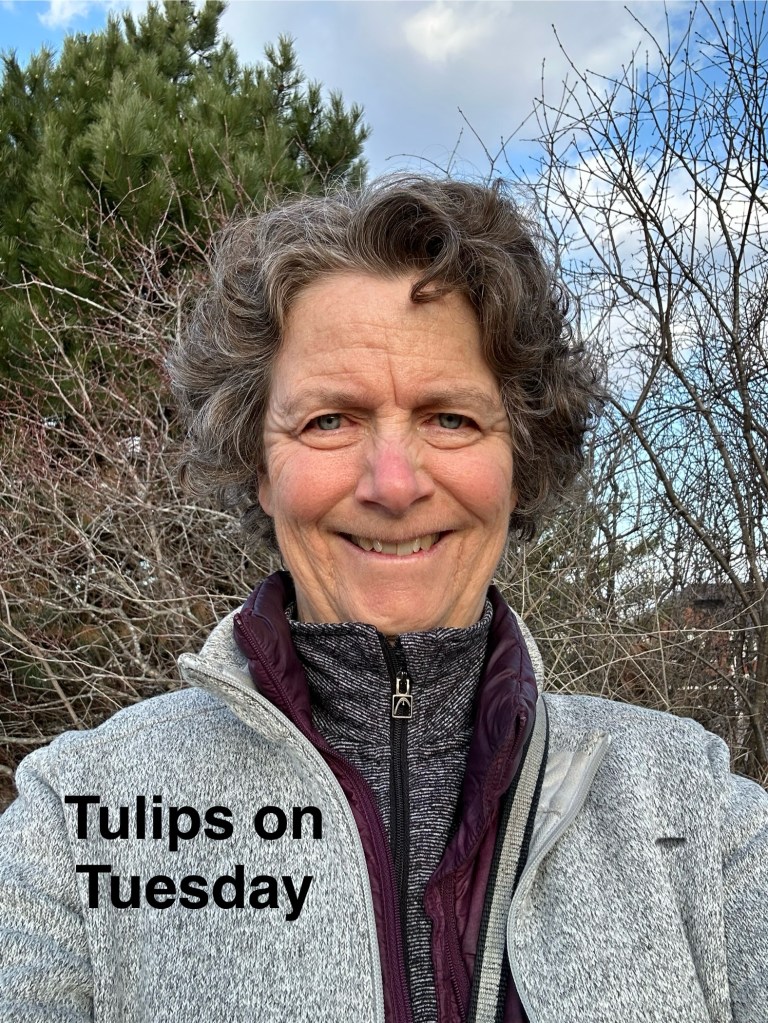
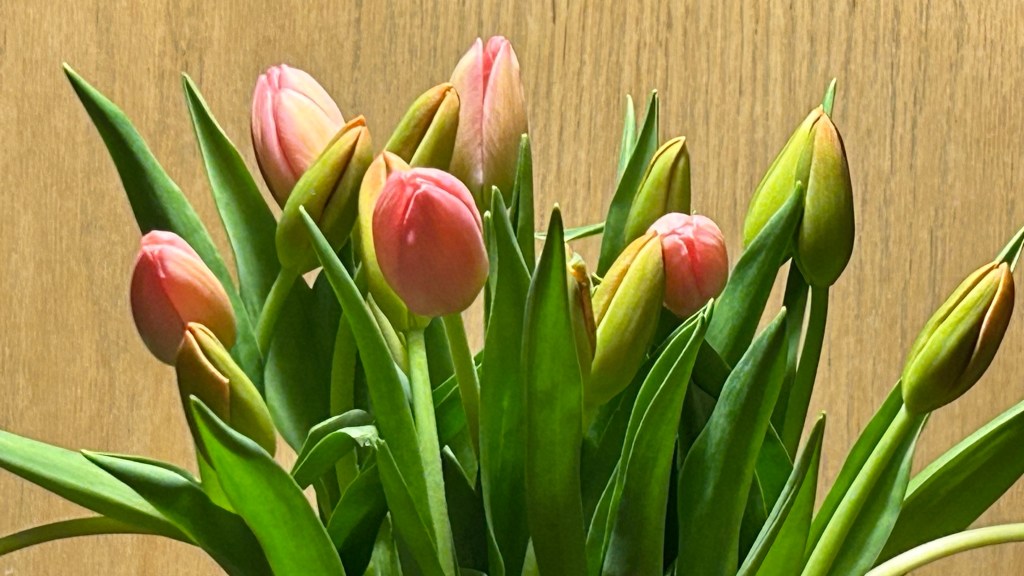
Tulips on Tuesday

Here I am starting my writing at 9:40; again up past my ideal bedtime. So this will be pretty short. I have a fair bit to say but I think I will at to this tomorrow.

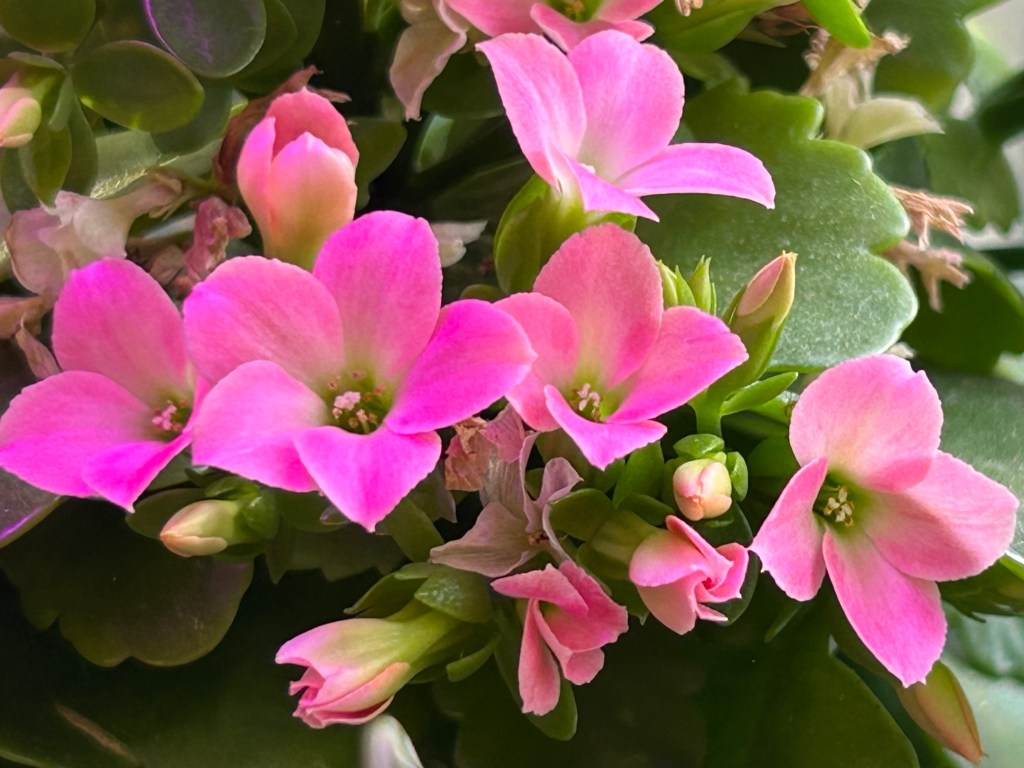
Heidi bought and arranged some tulips for her friend, Hannah, last night. So my theme for today is tulips. It’s a good thing I took the photos last night because Heidi and the tulips were gone before I came downstairs.

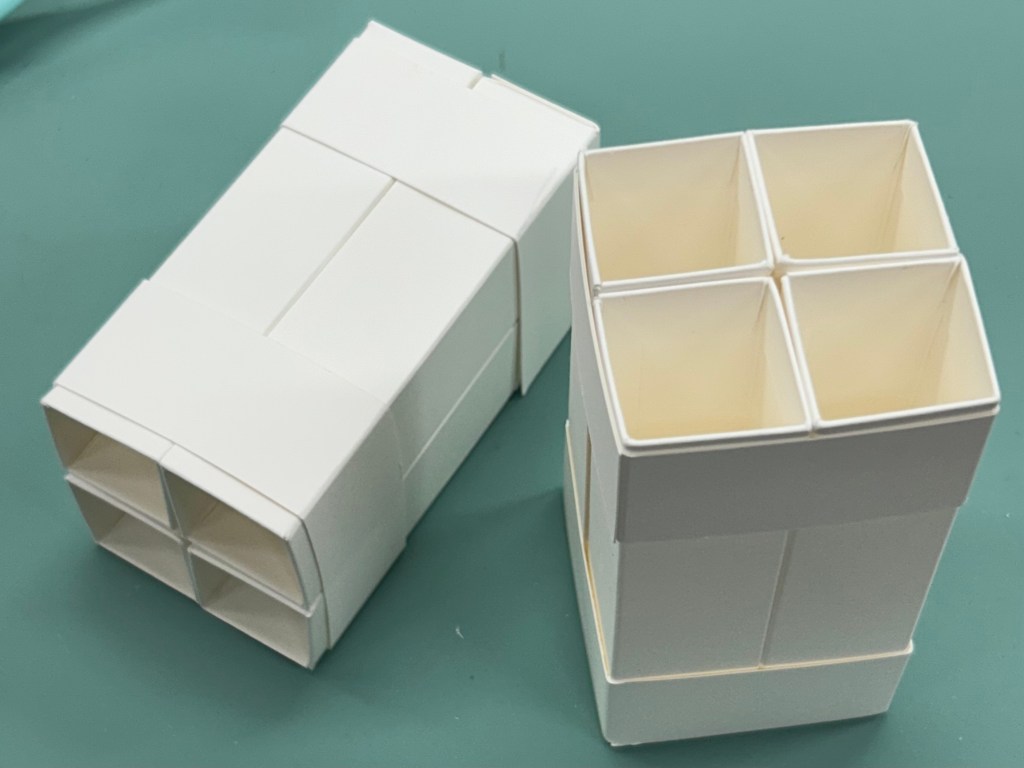
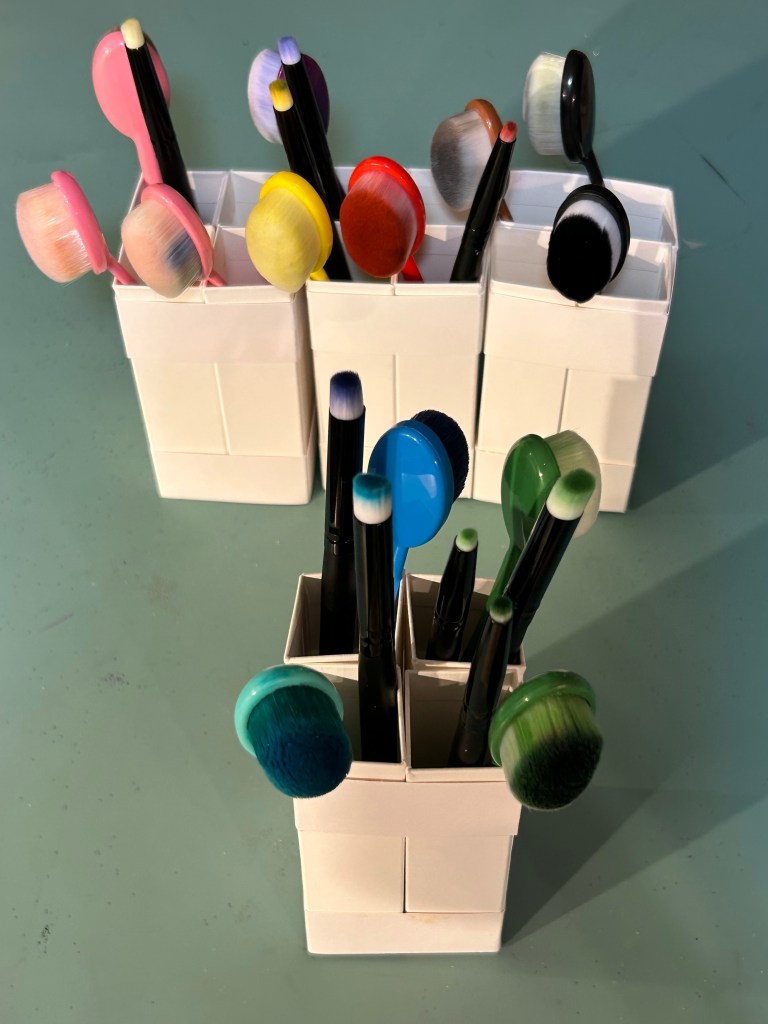
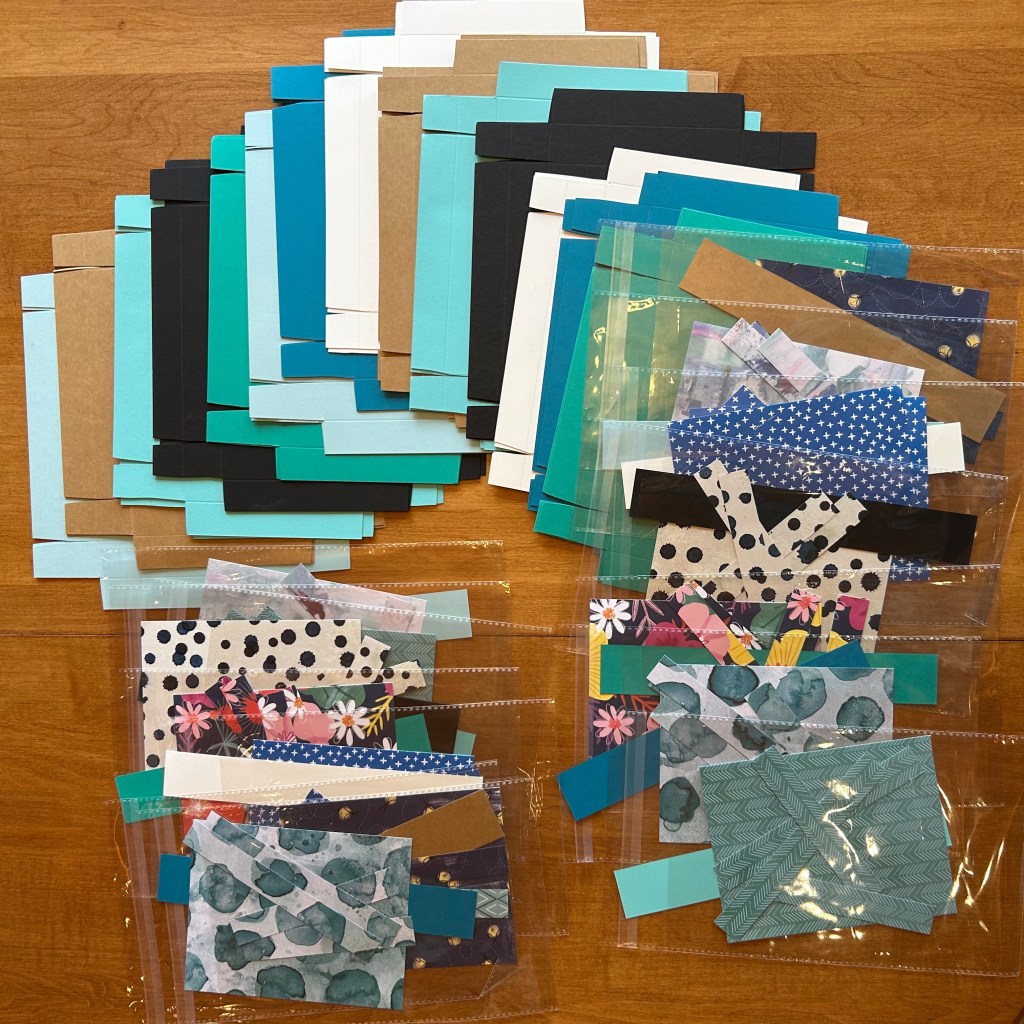
It was a busy day; it’s a good thing that the Arts for All class at Canadian Mental Health Association that I had in my calendar should actually not have been there. I spent some time getting ready for that class before my 10:30 online class and was happy when I found out that it’s another day because I really wasn’t as prepared as I should have been. I did some more work on it after class and did some work on my 100DayProject but don’t yet have another finished card to share. I will share the photos of the 3 cards that my 10:30 online class assembled. The nice thing about having uncomplicated cards to assemble is that we get a lot of time to talk together during class rather than mainly focusing on making sure that everyone can follow along with the projects.
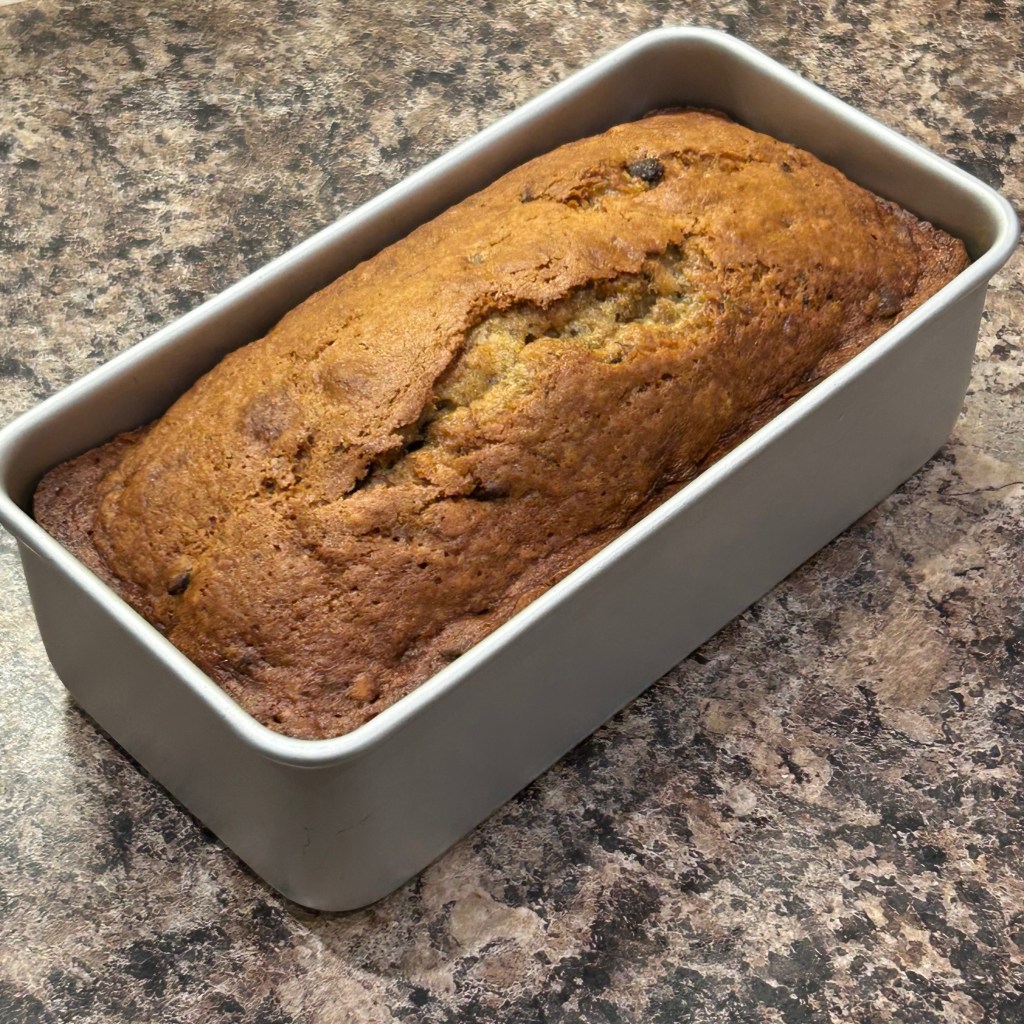
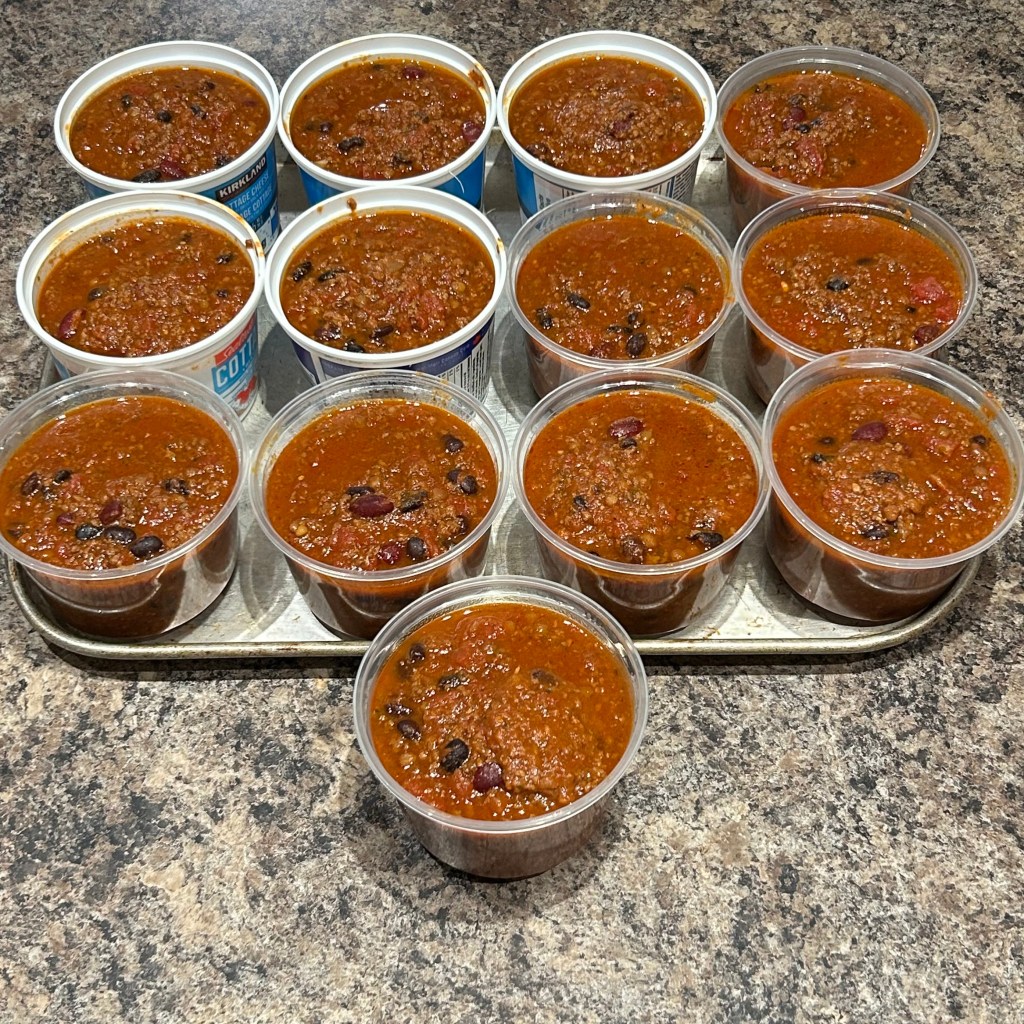
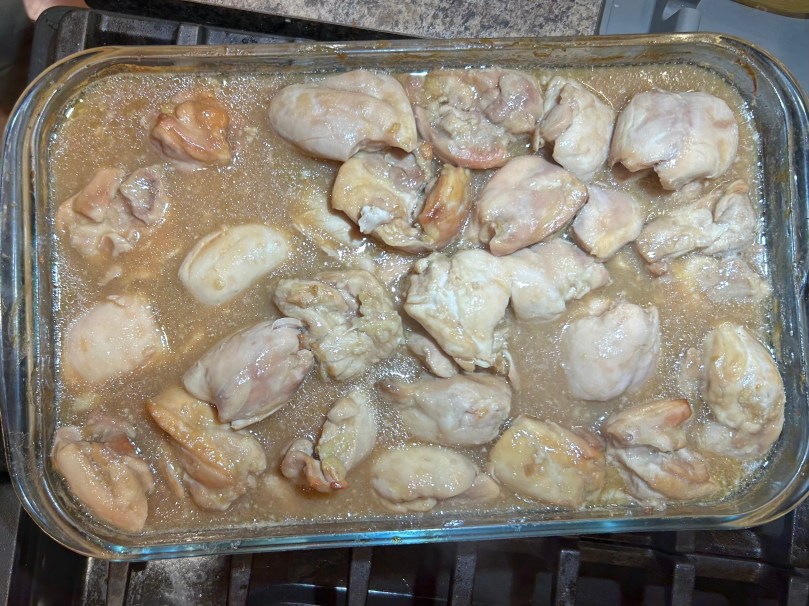
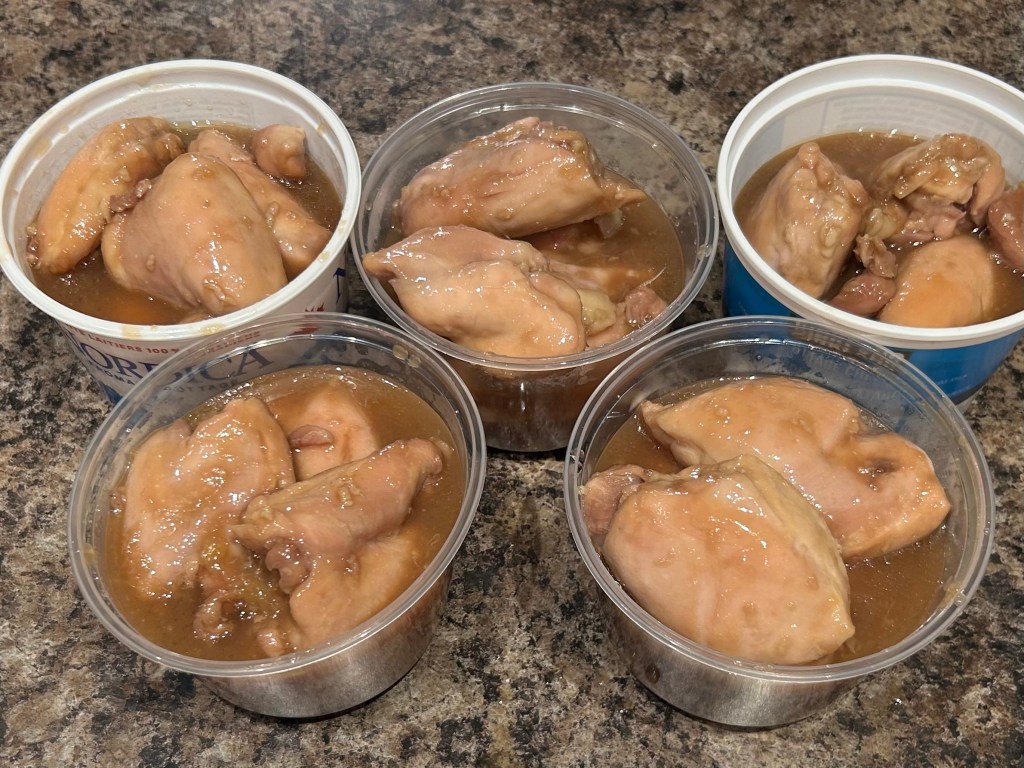
I went with Roland mid-afternoon so he could pick up his car after the tire swap. I did some groceries at Costco on the way home then did a baking and cooking spree before Kevin came for 6:00 dinner and I had my 7:00 walk then dropped some baking off at Louise’s for her to take to Collingwood to share with Stefan, Georgia and the rest of the gang over Easter weekend. I also dropped another Lego set at Karen’s to round out her birthday gift since we were about 10 days short of Lego pieces in her daily envelopes. Then it was time to clean up the kitchen when I got home and to put the chili that I made into containers to put in the freezer, get the corn bread into a plastic bag in the freezer, put away our lemon squares and our banana bread (I’ll type up and post that recipe soon). I’ve left my chicken bone broth on simmer for overnight. I usually make a broth after buying a Costco roasted chicken. I’ll make some type of soup with it tomorrow.