Inspiration
During a recent Creative Cards and Crafts class, we got talking about all things pumpkin. Abbie showed us a squash from her garden, which led to us sharing all about our garden harvests as well as about what we like to make with pumpkin and other favourite fall ingredients.
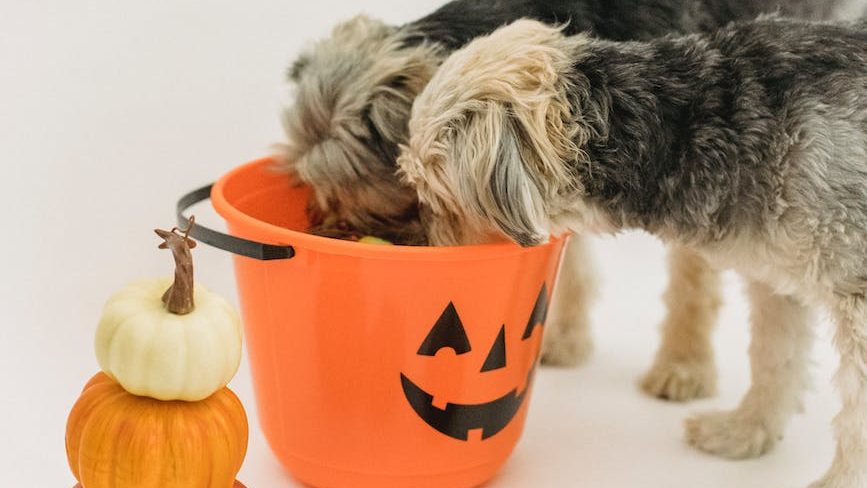
Nancy shared that her dog loves the pumpkin treats that she makes which are also good for human consumption if you want to taste them yourself. As much as I love the idea of cooking up a harvest from my own or a friend’s garden, somehow I usually can only manage baking using canned pumpkin rather than starting from scratch with pie pumpkins. How about you? Do you start with pie pumpkins, or do you opt for canned pumpkin puree?
I have a big can of pumpkin puree. In addition to trying to make Luna some dog treats, I am going to make some pumpkin muffins (with mini chocolate chips of course), and to make some pumpkin truffles, some just with pumpkin spice, and some others with pumpkin puree. I will include links to those recipes as well. What will you make with your extra pumpkin puree?
Ingredients
1 egg
1 1/2 cups whole wheat flour
1/4 c ground flax seeds (optional – can replace with other dry ingredients)
1/4 cup natural peanut butter
1 cup pumpkin puree
1-2 tbsp liquid stock (or applesauce) (optional – can replace with other liquid)
1 tsp cinnamon
Method
- Preheat oven to 350° F.
- Combine egg, flour, ground flax seeds, peanut butter, pumpkin and cinnamon in a large
mixing bowl. Add stock/applesauce and stir until well-combined. Use your hands to press
the dough into a ball. - Place dough ball on a flat surface (sprinkle with more flour) and roll out evenly with a
rolling pin. Dough should be about ¼ inch thick. Cut and place on ungreased baking
sheet. - Bake for 20 minutes. Reduce heat to 300°F and bake for another 30 minutes.
Recipes from which this recipe evolved
Most of my recipes evolve from recipes that I find in cookbooks and on the internet. It seems that Nancy has a similar approach . Here are some of the recipes that led to the development of Nancy’s Pumpkin and Peanut Butter Dog Treats recipe that is featured above.
Pumpkin Dog Treats
Source
Pumpkin Dog Treats
Ingredients
1 large egg
1 cup pumpkin puree (220 g)
2 cup whole wheat flour (252 g)
More flour for rolling
Method
- Preheat oven to 350°F.
- jAdd egg, and pumpkin puree to a medium mixing bowl and beat until smooth. Fold in the
flour and knead until a dough forms. - Flour the counter or a large cutting board, roll the dough out to about ¼” thick. Cut into
shapes with cookie cutters. Re-roll the scraps and continue cutting into shapes. - Place cookies on a baking sheet between ½” to 1” apart. Bake for 20 minutes. Rotate pan,
flip cookies, reduce oven temperature to 300°F and bake for another 30 minutes. - Remove from oven and allow to cool completely on a wire rack. Store in an airtight container for up to two weeks.
Peanut Butter and Pumpkin Dog Treats
Source
Peanut Butter and Pumpkin Dog Treats
Ingredients
1 cup whole wheat flour
1/2 cup natural peanut butter
1/4 cup pumpkin
1/4 cup liquid vegetable, chicken or beef stock
1 teaspoon cinnamon
Method
- Preheat oven to 350° F.
- Combine flour, peanut butter, pumpkin and cinnamon in a large mixing bowl. Add stock
and stir until well-combined. The dough will be thick. Once combined, use your hands to
press the dough into a ball. - Place dough ball on a flat service (with a sprinkle of flour if needed) and roll out evenly
with a rolling pin. Dough should be about ¼ inch thick. Use a cookie cutter to cut the
dough into desired shape and place on ungreased baking sheet. - Bake for 18+ minutes or until golden brown and hard to the touch. The baking time will
vary based on the the size of the treats. Store in an airtight container.
Homemade Dog Biscuits
Source
Homemade Dog Biscuits
Ingredients
1 cup whole wheat flour
1 cup oats
1/2 cup ground flaxseed
1/2 to 1 cups beef broth [last time I used apple sauce- all the beef broth had garlic/onions]
1/4 cup peanut butter
Method
Preheat the oven to 350° F.
In a medium bowl, stir together the flour, oats and flaxseed. Mix in 1/2 cup beef broth and
peanut butter. Mix well, adding additional beef broth if necessary to bring the mixture
together to a thick dough. Form into a ball and turn out on a lightly floured surface.
Roll to about 1/4 inch thickness and cut out to desired shape.
Bake for about 20 minutes or until golden brown, flipping halfway.
Cool completely, then keep in an airtight container for about one week.