These cards were created using and adorable penguin stamp set by Simon Hurley. I received this set in a recent Scrapbook and Today’s (SCT) Crop & Create Card Making Virtual Event. I love all things SCT and Simon Hurley.
I highly recommend Simon’s videos and products. Although still quite young, he has been creating wonderful videos for many years and has been designing products for quite a few years now as well. I am pretty sure that this particular Simon Hurley stamp and die set was created as an exclusive for the SCT C&C event.
SCT is based out of Toronto and produces a fantastic magazine which you can view online for free. They also have a great YouTube channel and produce amazing events at very good prices. You always get lots of great products and lessons in their virtual events.
Card 1
This portrait-orientation card is quite straight forward to assemble. Make sure you are using the portrait orientation card front, portrait orientation inner layer and portrait orientation ink blended oval for this card.
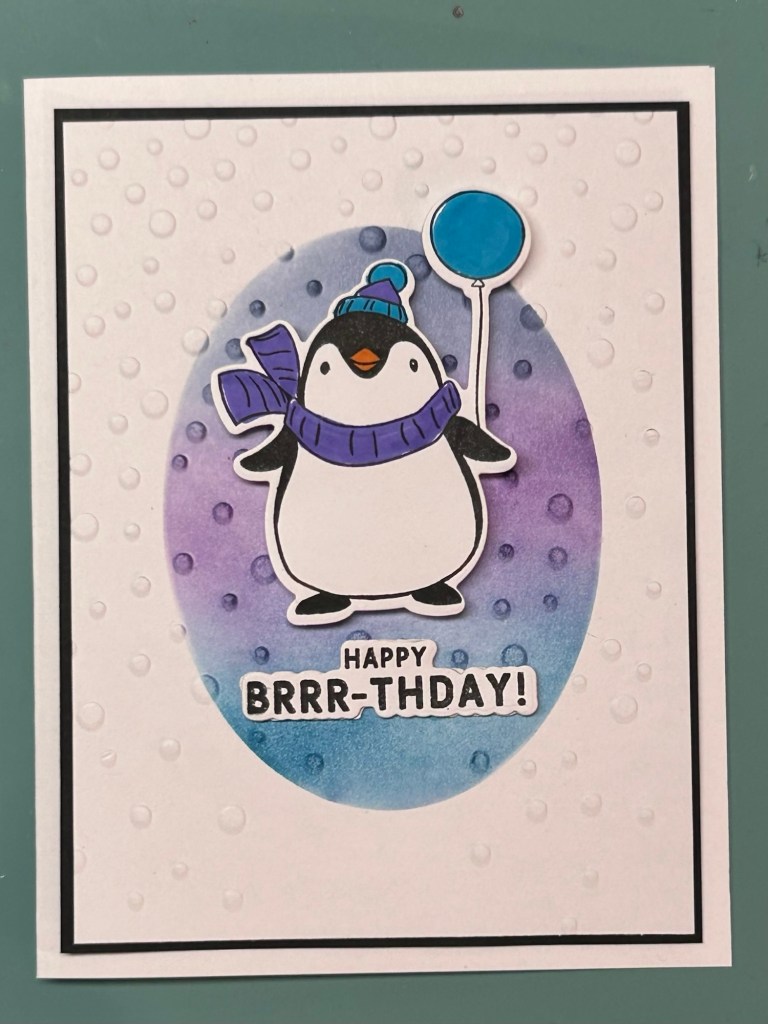
Adhere the inner layer to inside of card base.
Adhere the layer with the ink blended oval to the black rectangle then adhere to the card front.
Optionally using dimensional foam, adhere a penguin to the card front within the oval, keeping in mind where you will be placing your sentiment strip.
Optionally using dimensional foam, adhere your sentiment strip to the card front.

Card 2
This landscape-orientation card is quite straight forward to assemble. Make sure you are using the landscape orientation card front, landscape orientation inner layer and landscape orientation ink blended oval for this card.
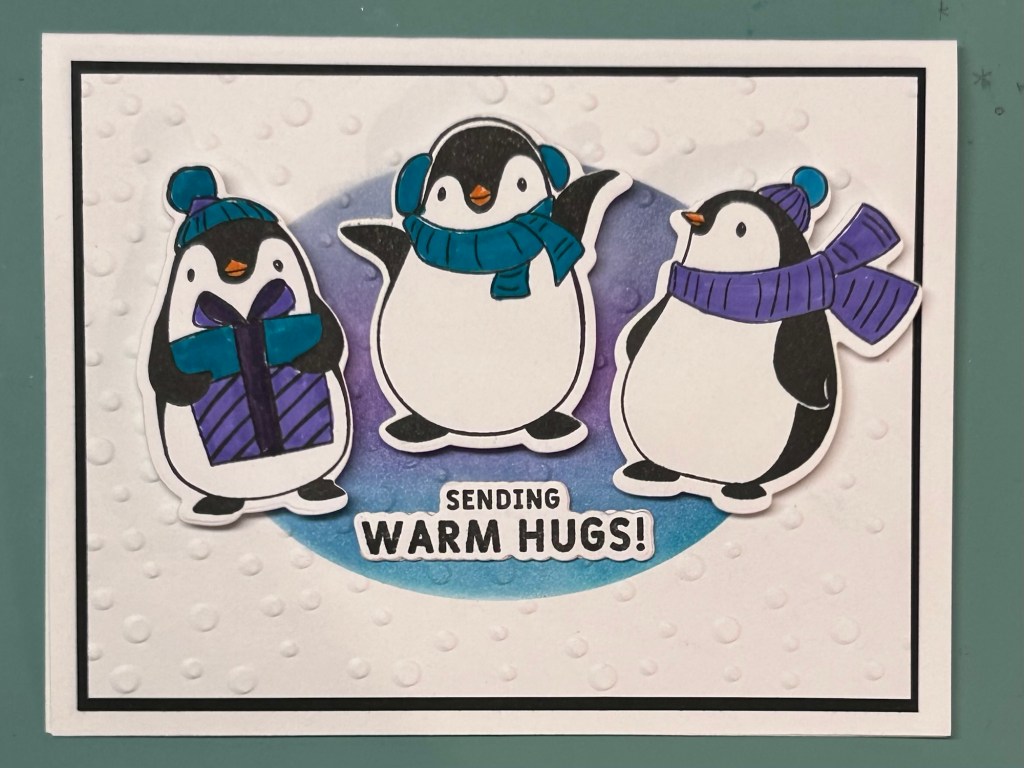
Adhere inner layer to inside of card base.
Adhere the layer with the ink blended oval to the black rectangle then adhere to the card front.
Arrange 1-3 penguins and optionally using dimensional foam, adhere the penguin(s) to the card front within the oval, keeping in mind where you will be placing your sentiment strip.
A Few Notes
These cards are wonderful to create at in-person classes. In-person workshop participants will be able to ink blend the ovals on the card front as well as ink blend the edges of the inner layer. And they will be able to colour in their penguins using a broader variety of colouring mediums than online participants may have on hand.
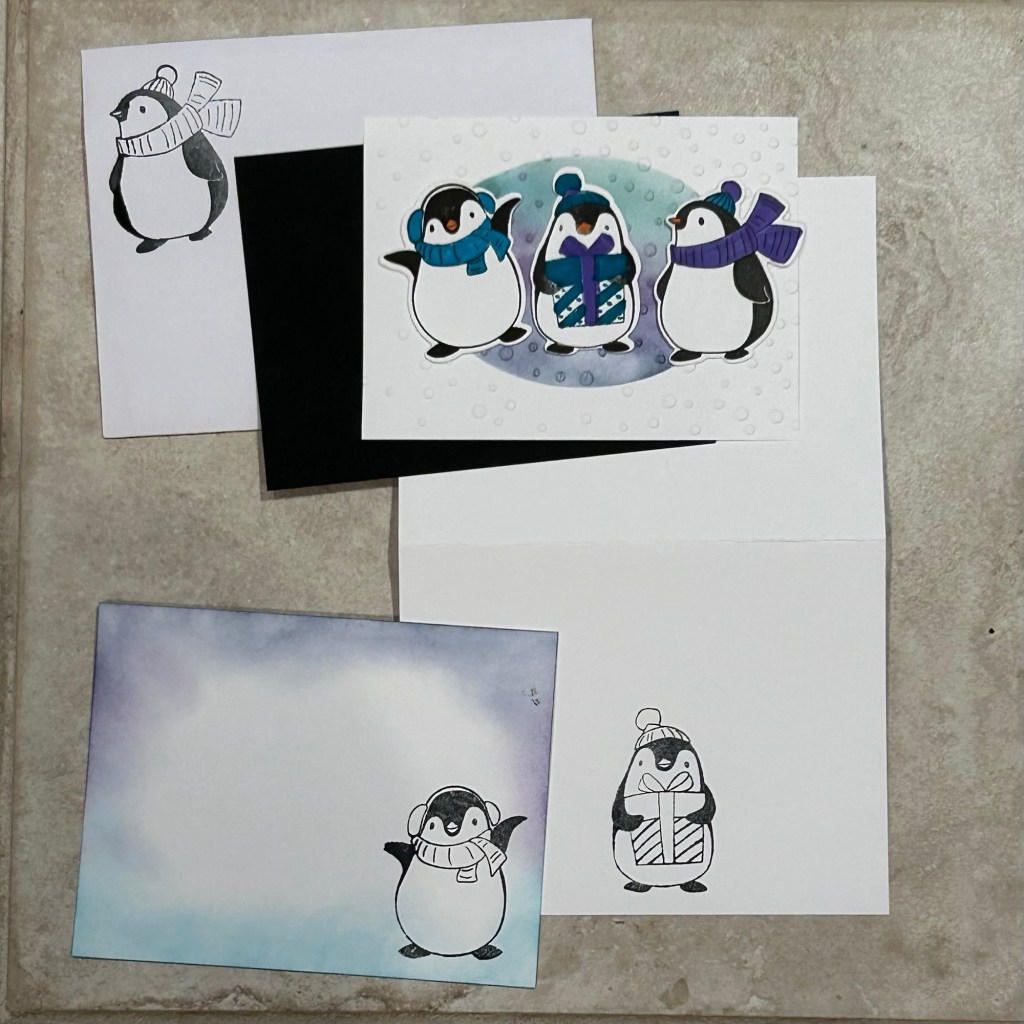
The ovals were ink blended using a Gina K masked oval stencil that I received in an SCT C&C online workshop. The same oval was used to make one of the Beautiful Day cards. For in-person classes, I created additional oval stencils using a Spellbinders oval die and transparency film that I bought at Staples or Amazon. I found it easier to die cut the transparency film when I put a piece of cardstock under the transparency film.
The ovals were ink blended onto a layer that had been embossed using a Taylored Expressions Snow Flurries embossing folder. I love how the ink blending highlighted the texture created by the embossing folder. I couldn’t find the link to the embossing folder but found a snow flurry stencil that would also create a great background.
It would also be nice to add some sequins or other embellishments to enhance the snow effect and to add some Wink of Stella or other glimmer or glitter effect to the penguins.
